To make grill marks on your food, start by preheating your grill to a high temperature and oiling the grates to prevent sticking. Place your food on the grill and let it cook without moving it for a few minutes. After some time, rotate it 45 degrees to create crosshatch marks, then flip to grill the other side.
Creating grill marks is more than a visual effect; it often indicates optimal searing, locking in juices and enhancing texture. Different foods require different timing and heat to achieve ideal marks without overcooking. Knowing these nuances elevates your grilling skill and makes your food look as good as it tastes.
This article covers how to prepare your grill, choose ideal foods, master timing and temperature, use essential tools, and troubleshoot common mistakes to consistently achieve beautiful grill marks.
Preparing Your Grill for Perfect Grill Marks
Cleaning and Oiling Grill Grates
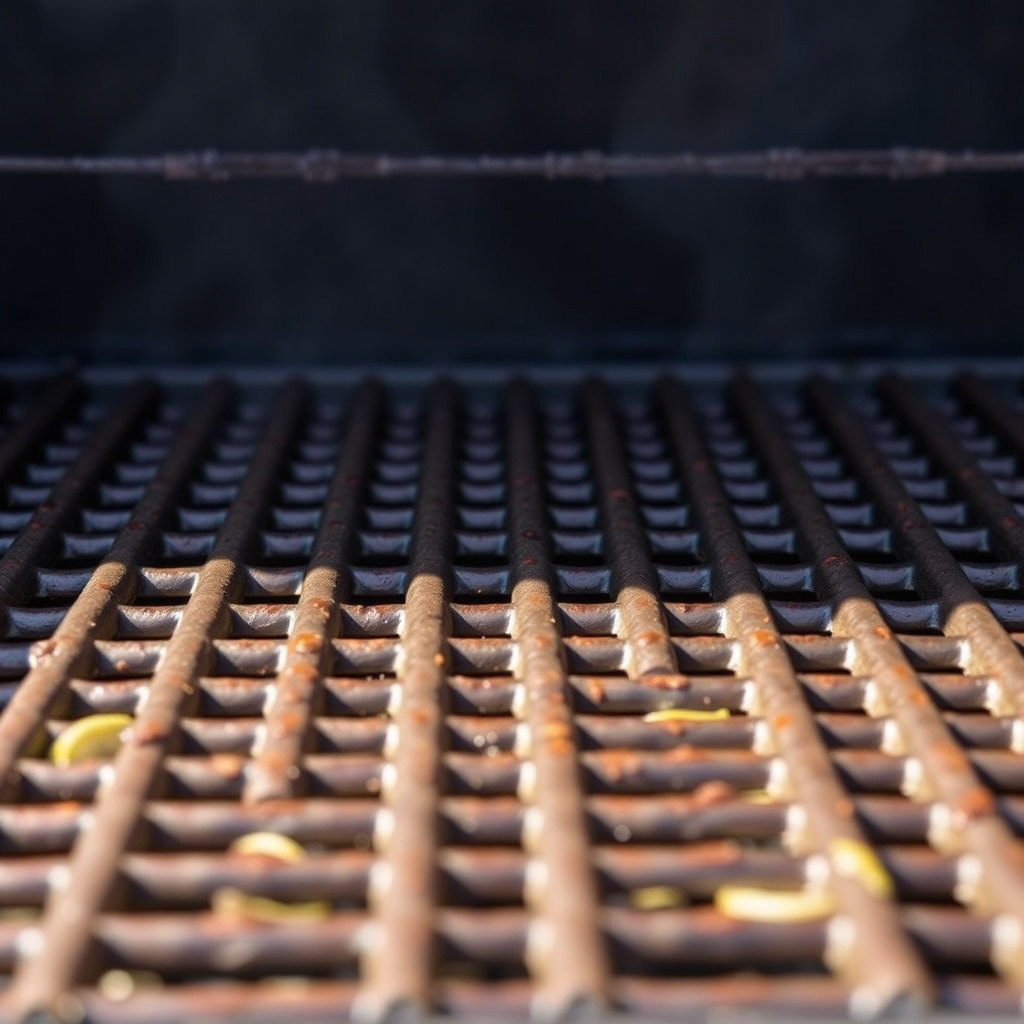
Before grilling, clean your grill grates thoroughly to remove residue that can interfere with searing. Use a metal brush when the grill is hot to scrape off old debris. After cleaning, oil the grates using a paper towel dipped in high smoke point oil, held with tongs, to create a non-stick surface that enhances grill marks.
Properly maintained grates not only prevent food from sticking but also promote even heat distribution, which is key for crisp, defined marks. Avoid applying oil directly to food, as this can cause flare-ups and uneven charring.
Preheating and Temperature Management
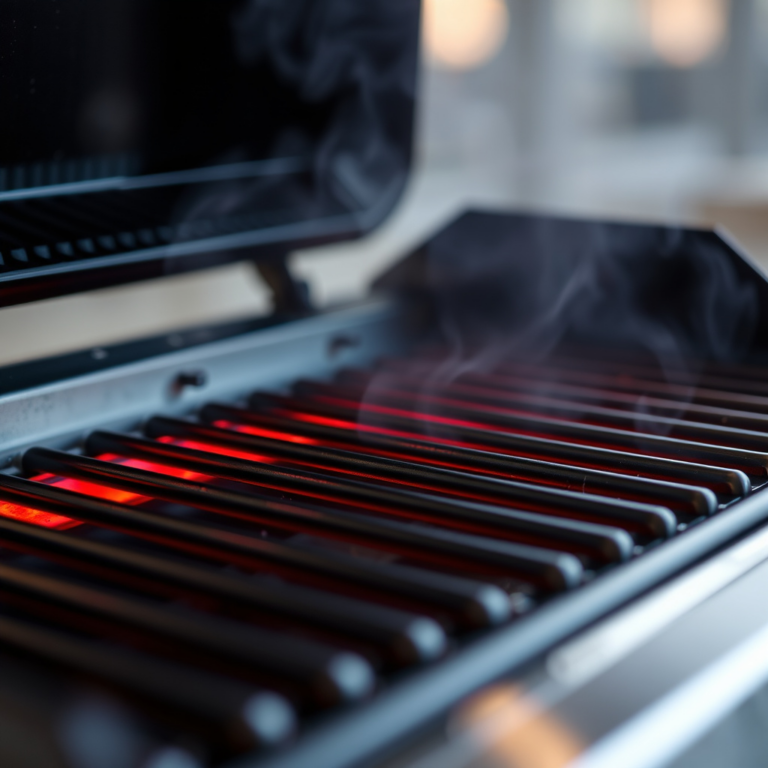
Preheat your grill to a high temperature, around 450-550°F (230-290°C), to achieve effective searing. A hot grill surface is necessary to darken the contact points quickly and create those iconic grill marks.
If your grill has multiple zones, set one side to high heat and the other to medium or low heat. This allows you to sear foods over intense heat and then move them to cooler areas to finish cooking without burning.
Selecting Foods Ideal for Grill Marks
Best Foods for Grill Mark Techniques
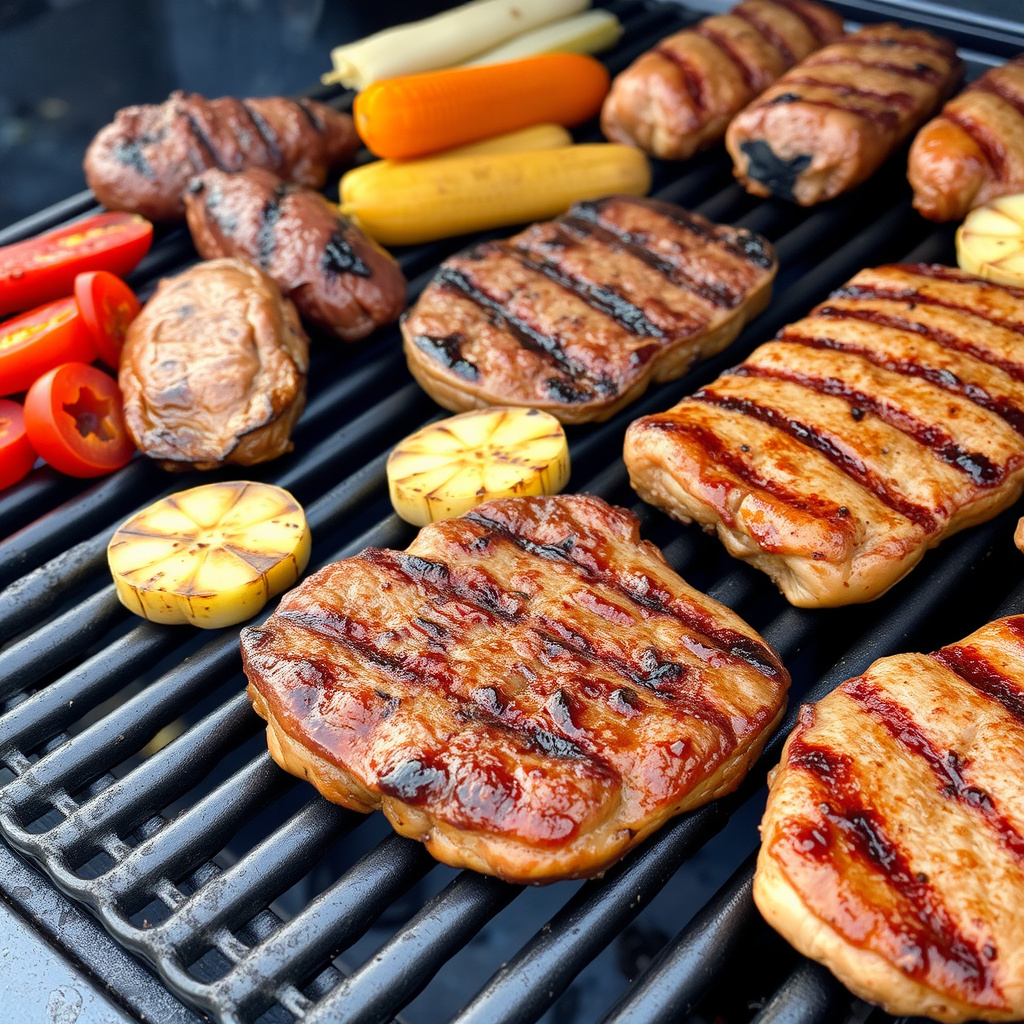
Steaks, chicken breasts, firm fish fillets, and vegetables like zucchini or bell peppers are well-suited for grill marks. These foods have firm textures and enough surface moisture to sear effectively without sticking or falling apart.
Thin or delicate items, like fish flakes or leafy vegetables, might not hold grill marks well but can benefit from indirect heat or grilling baskets to avoid damage.
- Steaks
- Chicken breasts
- Firm fish fillets
- Zucchini
- Bell peppers
Preparing Food for Optimal Marking
Pat your food dry before grilling to remove excess moisture. A dry surface sears better and helps achieve distinct grill marks. Season or marinate as desired but avoid sugar-heavy marinades that can burn quickly.
For thick cuts, consider bringing them closer to room temperature before grilling to ensure even cooking and better marks. Cut vegetables uniformly so they cook at the same rate.
Mastering Timing and Rotation for Grill Marks
Proper Contact Time on the Grill
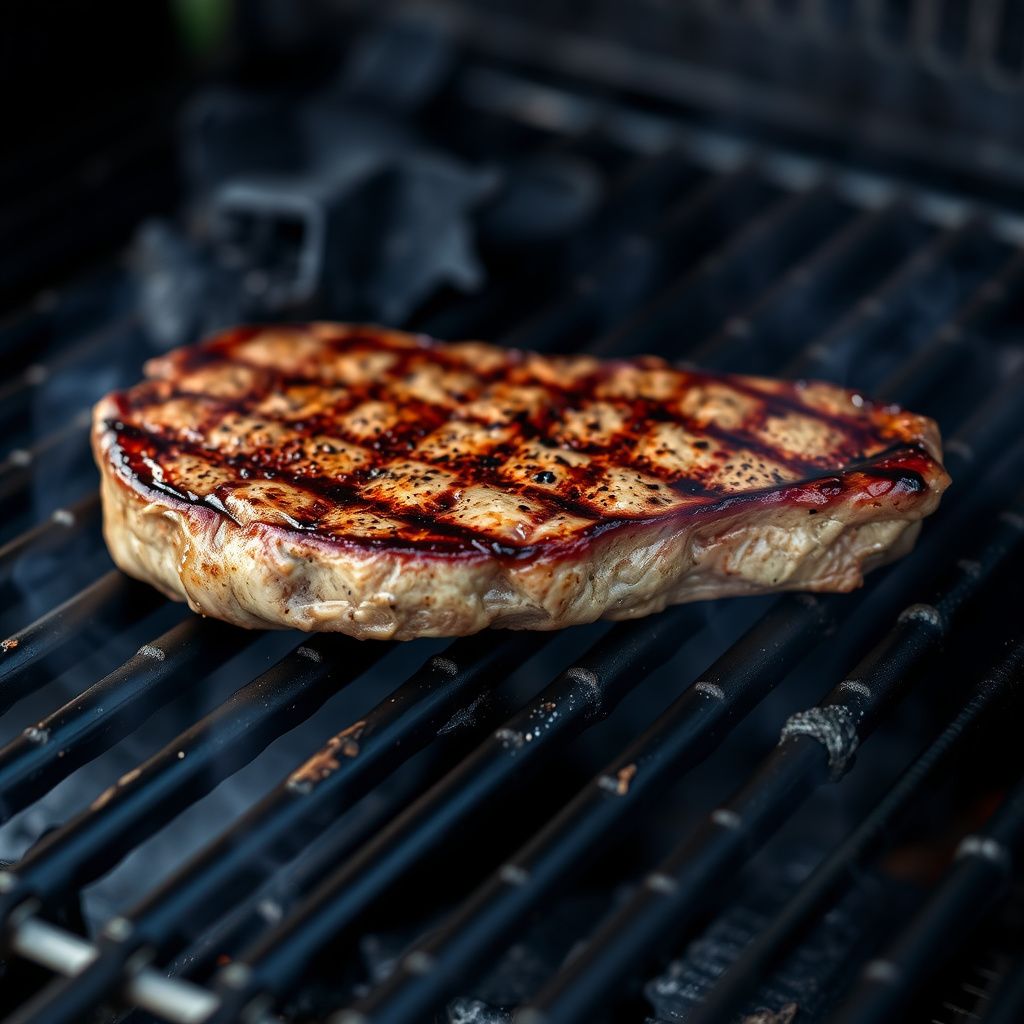
Place food on the hot grill and leave it untouched for 2-4 minutes depending on thickness and type. Moving it too soon prevents clear grill marks and disrupts the searing process.
Watch for natural release from the grates as a sign the sear is ready. Foods typically lift easily when the grill marks have formed well.
For more on this, see our related guide: How to Control Temperature on a Gas Grill for Perfect Grilling.
Creating Crosshatch Grill Marks
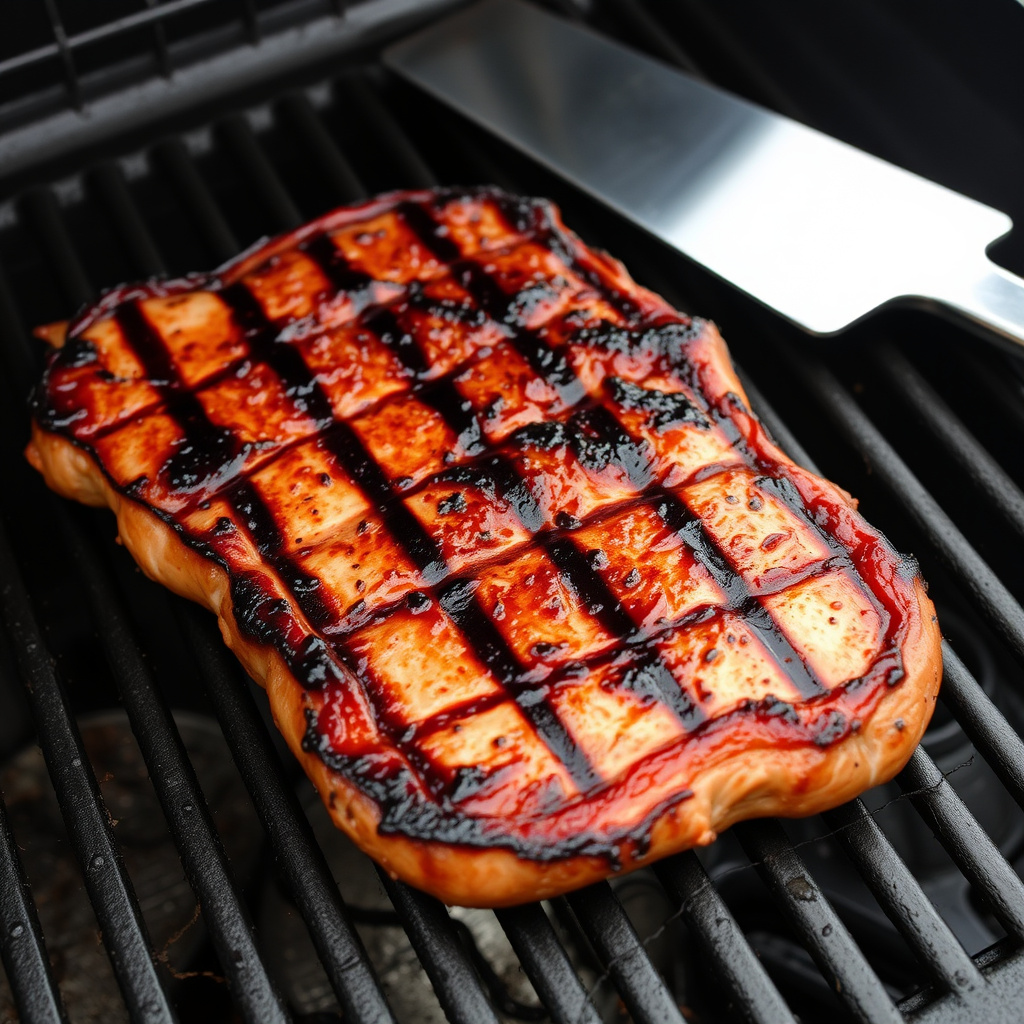
After the initial sear, rotate the food 45 degrees without flipping to create a crosshatch pattern. Let it cook for another 2-3 minutes before flipping to the other side to repeat the process.
This technique enhances visual appeal by showing uniform, diamond-shaped grill marks, widely seen in professional grilling.
Tools and Accessories to Aid Grill Marking
Using Grill Presses and Tongs
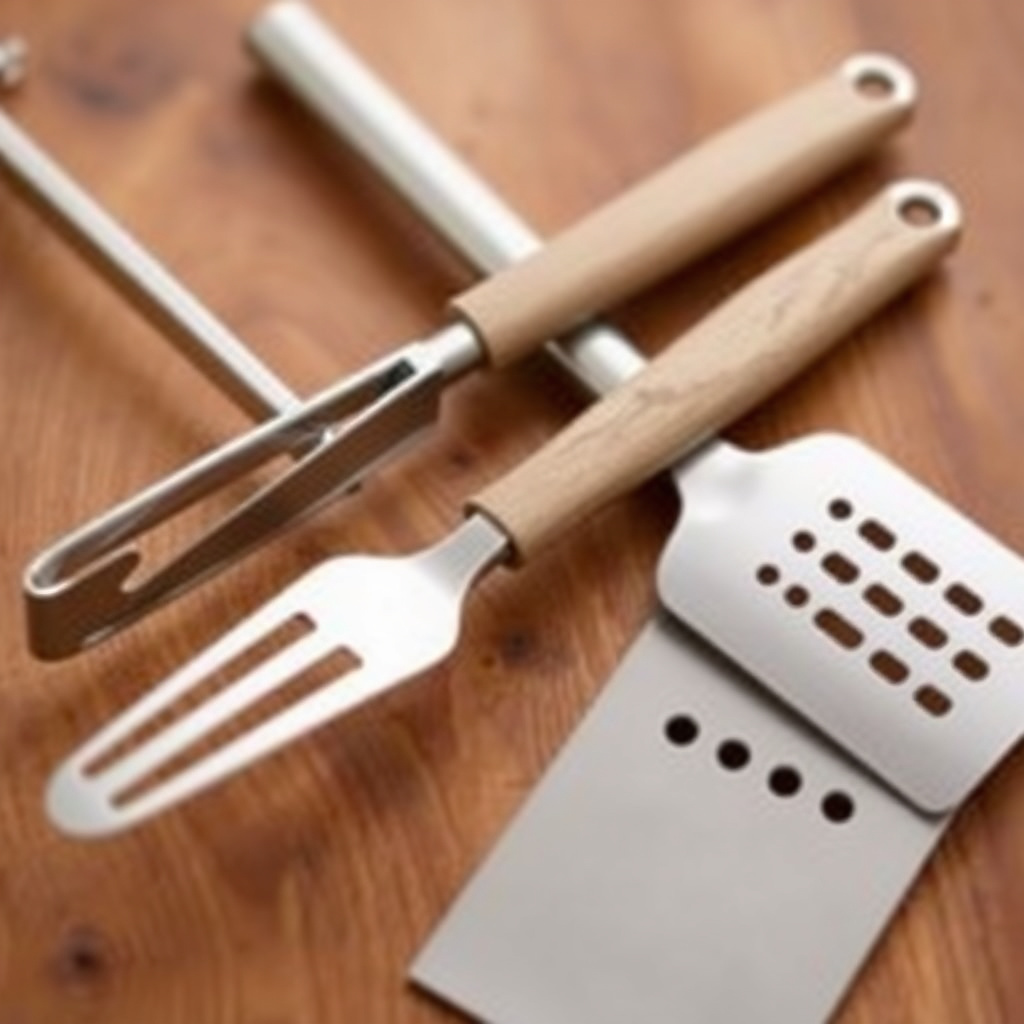
A grill press helps apply firm, even pressure on the food, improving contact with grates and enhancing mark definition. Use it gently to avoid squeezing out juices.
Long-handled tongs allow precise placement and rotation without piercing the food, preserving moisture while helping with timing and positioning.
- Grill press
- Long-handled tongs
- Spatula
Thermometers and Timers for Precision
Digital thermometers ensure your food reaches ideal internal temperatures while grill markings form, preventing overcooking. Timers help maintain consistent cooking intervals essential for spot-on grill marks.
Using these tools reduces guesswork, combining visual cues with science to perfect your grilling results.
How to Avoid and Fix Common Mistakes
Preventing Food from Sticking
Food sticking often means the grill or grates are not hot enough or inadequately oiled. Another cause is moving the food prematurely before the sear forms a natural release.
Pat food dry, preheat thoroughly, and oil grates before placing food. If sticking happens, loosen with gentle tongs or spatula and avoid force that tears the food.
For more on this, see our related guide: How to Keep Food from Sticking to Grill: Practical Tips for Perfect Grilling.
Correcting Uneven or Faint Grill Marks
Uneven heat zones or dirty grates can cause patchy grill marks. Regularly clean the grill surface and consider rotating food positions to use hottest parts of the grill.
Reposition food carefully and extend contact time in the problem areas to improve mark clarity if possible as cooking progresses.
Cleaning Up After Grilling to Maintain Quality
Post-Grill Cleaning Techniques
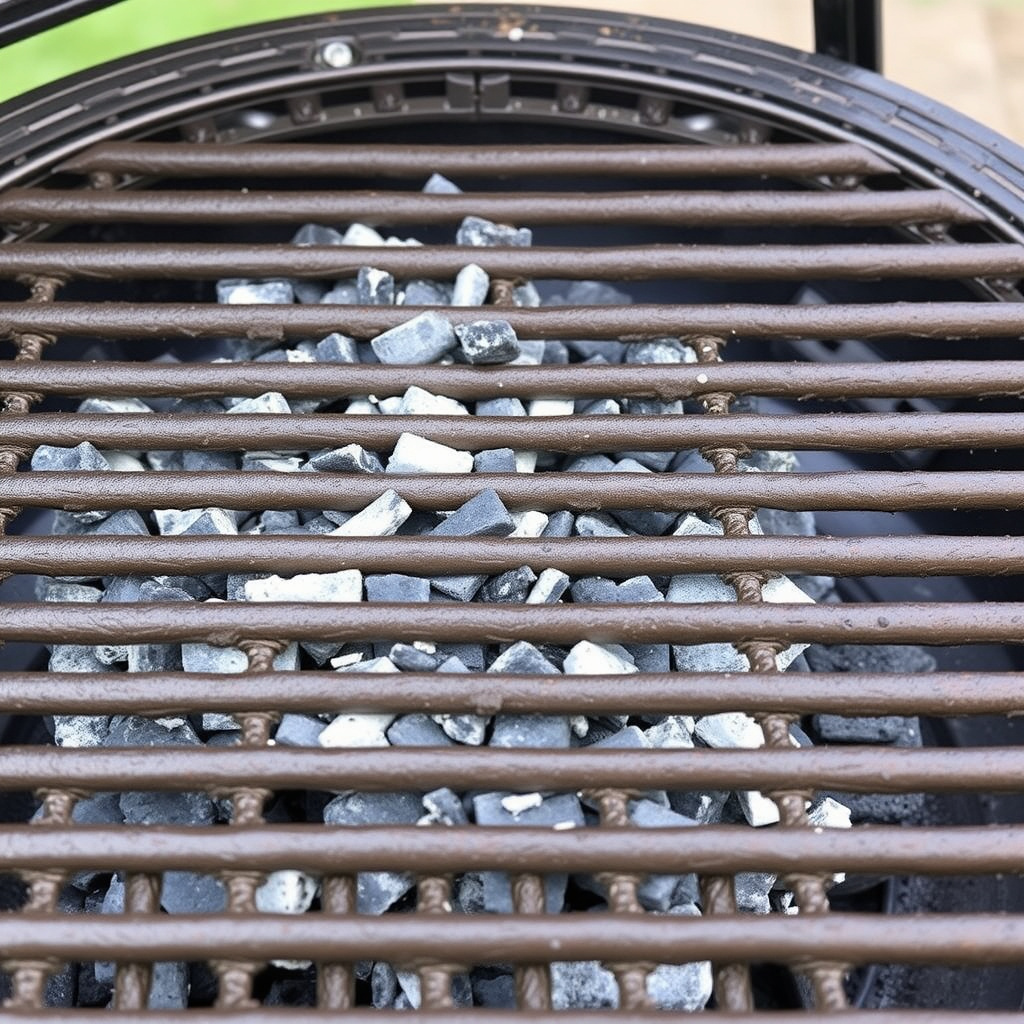
After cooking, while the grill is still warm, use a stiff wire brush to scrub off food residues. This keeps grates in prime condition for future grilling sessions and helps maintain the correct heat and searing ability.
Avoid using excessive water on hot grills to prevent rust; instead, cool down gradually and clean once it's safe.
For more detailed information about grilling methods, see the grilling techniques overview. Grilling techniques overview.
Storage and Maintenance Tips
Cover the grill when not in use to protect from elements and keep grates dry. Periodically re-oil to prevent corrosion and maintain the non-stick quality crucial for consistent grill marks.
Season cast-iron grates by applying a thin oil layer during off-season to prolong lifespan.
Grill Mark Techniques Category Comparison
Here’s how different grill mark approaches and grilling methods stack up for ease, quality, and versatility.
| Technique | Ideal Food Types | Ease of Use | Visual Appeal | Heat Requirement |
|---|---|---|---|---|
| Direct High Heat Searing | Steaks, chicken, firm veggies | Moderate | High | High (450-550°F) |
| Using Grill Press | Steaks, burgers | Easy | Very High | High (450-500°F) |
| Indirect Grilling Crosshatch | Thicker cuts, delicate fish | Moderate | Medium | Medium (350-400°F) |
| Cast Iron Grill Pan Marks | Indoor grilling, vegetables | Easy | Good | High (400-450°F) |
| Electric Grill with Marking Plates | Convenient for small meats | Very Easy | Good | Medium (400°F) |
Frequently Asked Questions
Why does my food stick to the grill despite oiling?
Food sticks when the grill isn't hot enough or the oil isn't on the grates properly. Ensure grates are preheated and oiled directly, and avoid moving food too soon before searing.
Can I make grill marks on vegetables as well as meat?
Yes, firm vegetables like zucchini and bell peppers take grill marks well. Make sure they are sliced evenly and dry for the best results.
How long should I leave food on the grill to get good marks?
Typically, leave food for 2-4 minutes on high heat before rotating or flipping. Timing varies with thickness and grill temperature.
Does flipping food frequently prevent grill marks?
Yes, flipping too often disrupts searing and prevents clear marks. Let food cook undisturbed to form proper grill marks.
Is it better to use gas or charcoal grills for making grill marks?
Both can create grill marks, but charcoal delivers higher surface heat and smoky flavor, while gas offers more temperature control and consistency.
Key Takeaways
- Preheat and oil your grill grates thoroughly for clean searing.
- Use foods with firm textures and dry surfaces for best grill marks.
- Allow undisturbed cooking time before rotating or flipping for clear marks.
- Utilize tools like grill presses and thermometers to enhance results.
Conclusion
Making grill marks involves balancing heat, timing, and food preparation. The main principle is starting with a hot, well-oiled grill and placing food carefully without moving it prematurely. Recognizing the right moments to rotate or flip preserves surface integrity, creating those distinctive sear lines that signify quality grilling. Attention to the grill’s condition and choosing appropriate food types also play vital roles in successful outcomes, making grill marks not just a fancy visual but a sign of skillful cooking.
For everyday grilling, direct high heat searing is a dependable technique to achieve bold grill marks quickly on steaks and vegetables. Using a grill press can enhance definition for burgers or thicker cuts, while indirect grilling methods help when handling delicate or larger pieces without overcharring. Indoor options like cast-iron grill pans or electric grills offer alternatives that still allow for attractive markings, especially where outdoor grilling is less accessible. These varied approaches suit different grilling styles and food types, so select methods that fit your needs.
Starting with a clean, hot grill and practicing timing with your specific foods will improve your grill marking. Experiment with rotating food at 45-degree angles to get crosshatch patterns and resist the urge to flip too often. Pair these actions with proper tools and heat zones on your grill for consistent results. Whether you’re grilling for casual weeknight dinners or special occasions, mastering grill marks adds a visual and flavorful touch that impresses every time.