Replacing a grill igniter requires removing the old igniter, disconnecting the wiring, and installing a new igniter in its place. The process generally involves removing the control panel or burner cover to access the igniter and wiring, disconnecting power or batteries, and then reinstalling a compatible igniter carefully.
A reliable grill igniter is key to starting your grill efficiently without matches or lighters. When it malfunctions, replacing it restores convenience and safety. Understanding how to replace a grill igniter yourself can save both time and money compared to calling a professional or buying a new grill.
This article covers the necessary tools, checking igniter compatibility, step-by-step installation methods, safety tips, troubleshooting common problems, and maintenance advice to keep your grill igniter functioning smoothly.
Identifying Your Grill Igniter Type
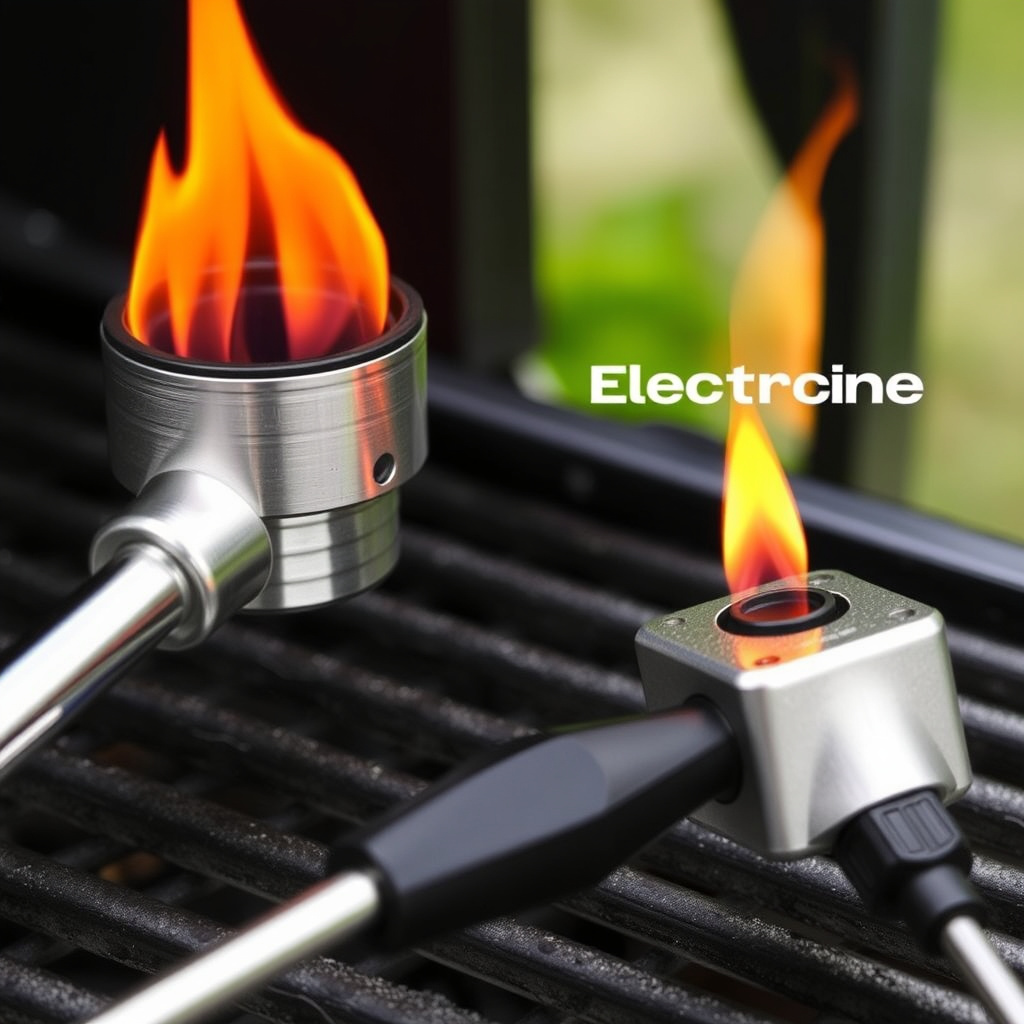
Common Igniter Types Used in Grills
Grill igniters are primarily piezo or electronic. Piezo igniters produce a spark through pressure applied to a crystal, requiring no batteries. Electronic igniters generate a spark via battery power or 12V sources. Recognizing the igniter type is essential for buying the right replacement.
Most modern grills use electronic igniters because they provide a stronger, more consistent spark. Older or budget grills often utilize piezo igniters, favored for their simplicity and no power need. Your grill’s manual or model number helps clarify which type you have.
- Piezo igniter
- Electronic igniter
- Battery-powered
- 12V powered
Checking Compatibility Before Replacement
Purchase a replacement igniter matching your grill’s make and model, or verify the new igniter’s voltage and connection type is compatible. Installing an incompatible igniter can lead to misfires or no spark.
Measure the igniter wire length and confirm the mounting bracket aligns with your grill. Some models require unique mounting plates or connectors, so proper alignment ensures an easier installation and longer-lasting connection.
Tools and Preparation Needed for Grill Igniter Replacement
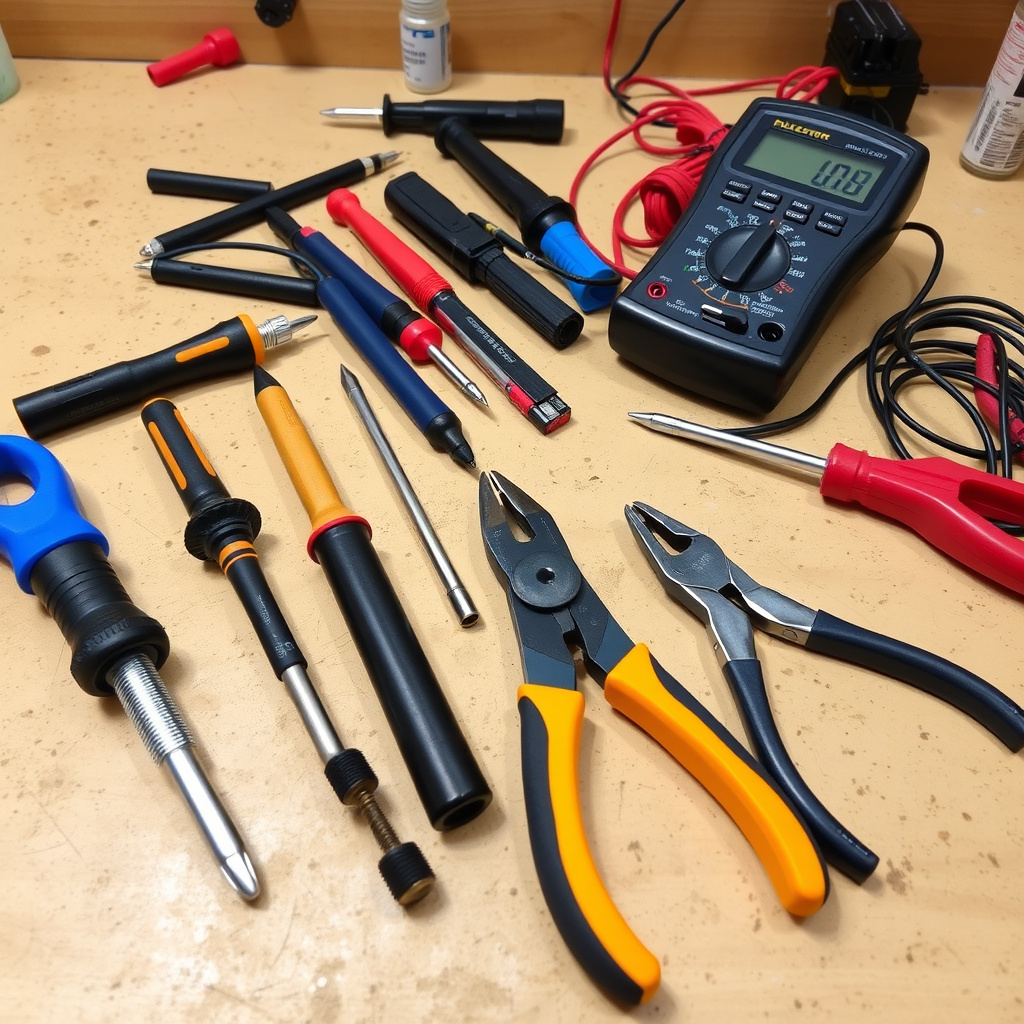
Essential Tools for the Job
Start by gathering a flathead and Phillips screwdriver, needle-nose pliers, and a multimeter for testing electrical continuity. Having these tools on hand makes removing screws, disconnecting wires, and verifying the new igniter straightforward.
Additional items like work gloves and a flashlight can improve safety and visibility. Prepare a small container to keep screws so they don’t get lost during disassembly.
- Flathead screwdriver
- Phillips screwdriver
- Needle-nose pliers
- Multimeter
- Work gloves
For more on this, see our related guide: How to Fix a Pellet Grill That Won’t Ignite: Practical Troubleshooting Tips.
Safety Precautions Before You Begin
Always disconnect the grill’s power source before starting. Unplug electronic igniters or remove batteries to avoid shocks. For gas grills, turn off the gas supply and allow the grill to cool to prevent burns.
Work in a well-ventilated area, and keep tools away from ignition sources while handling wiring. Confirm the igniter is fully de-energized using a multimeter before touching wires.
Step-by-Step Guide on How to Replace a Grill Igniter
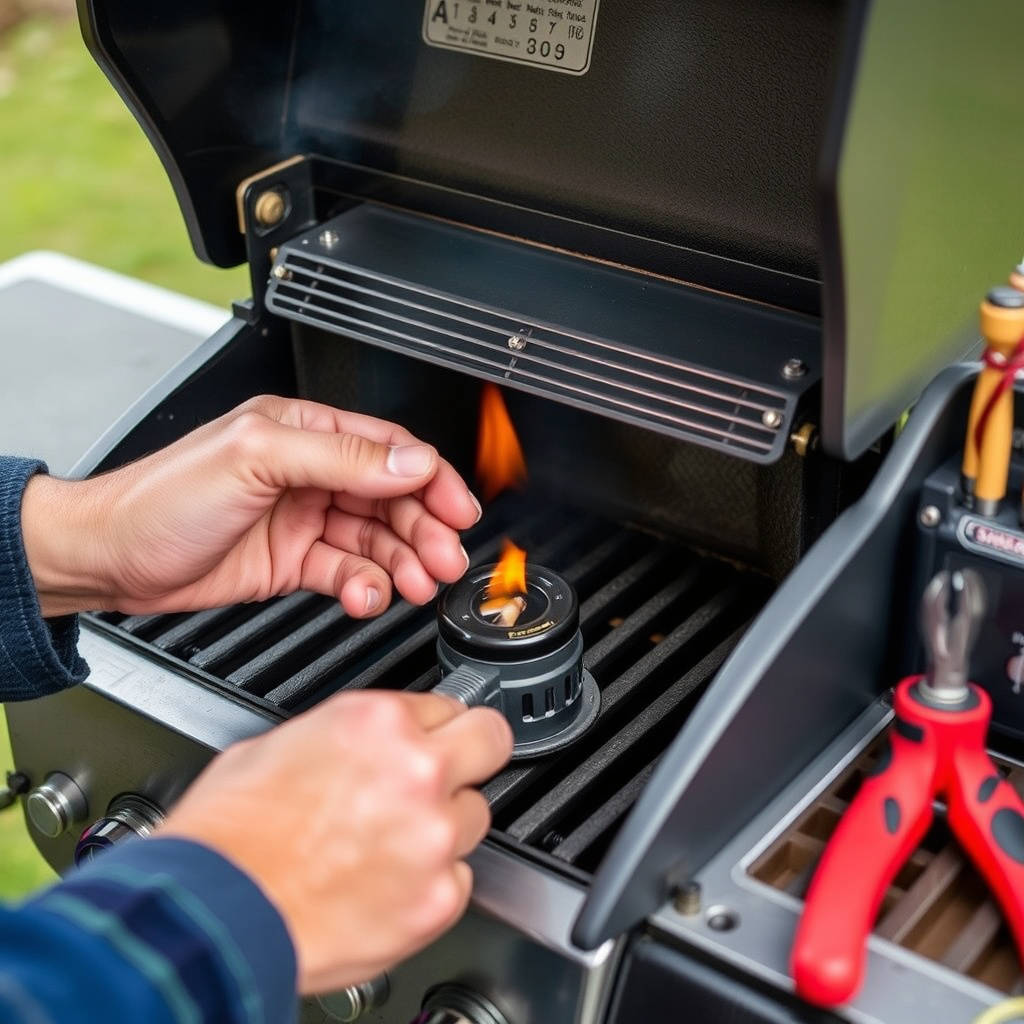
Removing the Old Igniter Safely
Remove screws from the control panel or burner access cover to expose the igniter and wire connection. Trace the igniter wire to the control module or battery pack and disconnect carefully without damaging connectors.
Unscrew or unclip the igniter mounting bracket, and extract the igniter electrode. Inspect the wire for corrosion or damage that might need repair or replacement along with the igniter.
Installing the New Igniter and Testing
Position the new igniter in the same location as the old one and secure it with screws or clips. Reconnect the igniter wire to the control module or battery pack, making sure connections are firm and corrosion-free.
Reattach the control panel or access cover. Restore power or batteries, then push the igniter button to generate a spark. If the spark lights the grill, the replacement was successful. If not, double-check wiring and connections.
Troubleshooting Common Grill Igniter Issues
Why the Grill Igniter Doesn’t Spark
A faulty spark can result from a dead battery, damaged wire, poor connection, or a defective igniter. Corroded wires or dirty electrodes reduce spark strength. Use a multimeter to check for continuity along the igniter wiring circuit.
Clean electrode tips with steel wool or fine sandpaper if corrosion is present. Replace batteries or wiring if damaged. Ensure igniter buttons and switches are functioning and making proper contact.
For more on this, see our related guide: How to Fix a Gas Grill Igniter: Step-by-Step Guide for Quick Repairs.
Igniter Sparks But Grill Fails to Light
If the igniter produces a spark but the grill won’t light, the issue may be with the gas supply, clogged burners, or misaligned igniter tip. Confirm the gas valve is open and fuel flow is steady.
Clean burner ports with a wire brush and realign the igniter electrode tip approximately 1/4 inch from the burner. This proximity helps direct the spark to ignite gas efficiently.
Maintaining Your Grill Igniter for Longevity
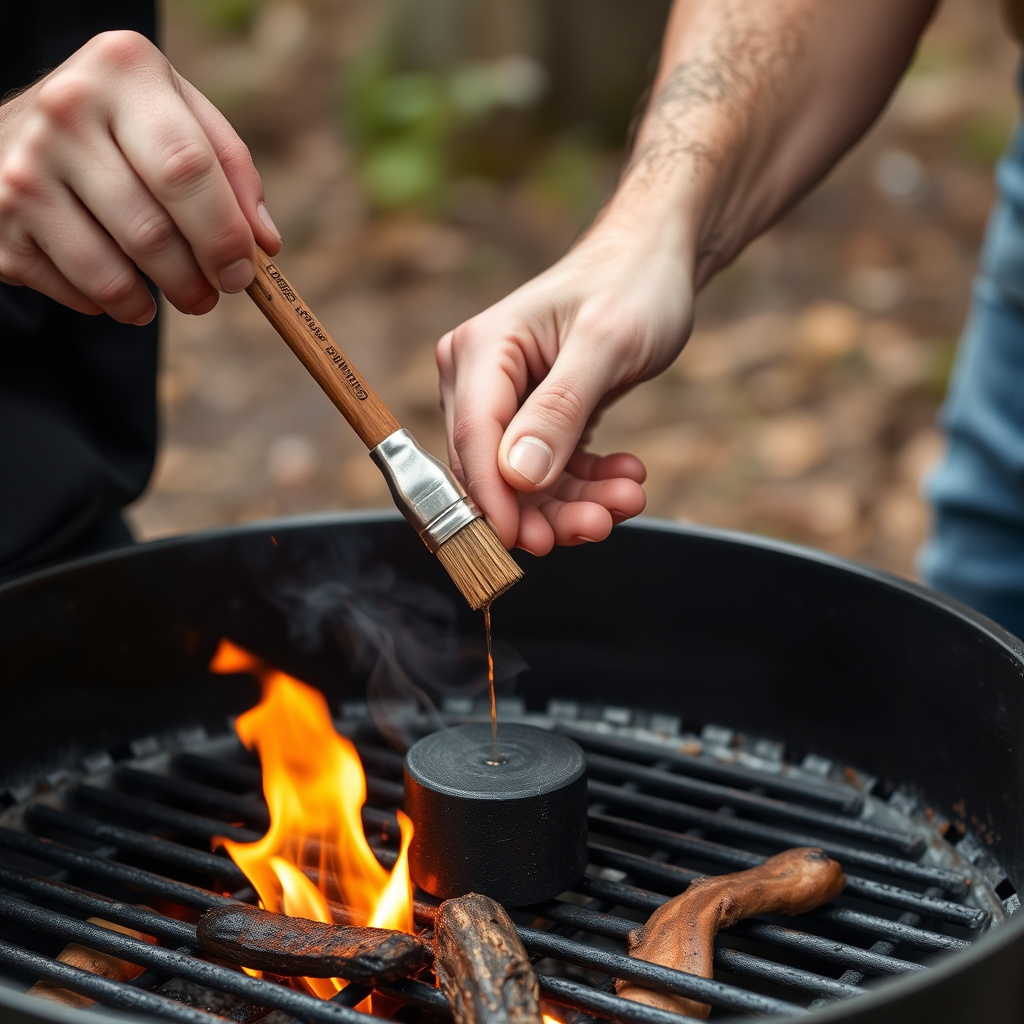
Regular Cleaning and Inspection
Wipe down the igniter electrode regularly to prevent grease buildup and corrosion that interfere with spark quality. Brush the electrode lightly with steel wool or a small wire brush yearly.
Inspect the igniter wiring and connections for wear or exposure to moisture. Replace flashing or cracked wire covers to maintain a dry, secure connection.
For more detailed information on igniter mechanisms and safety precautions, the Wikipedia page on igniters offers a comprehensive overview. grill igniter information and safety guidelines.
Battery Replacement Tips for Electronic Igniters
Replace batteries once a year or when ignition reliability declines. Use high-quality alkaline batteries to ensure consistent voltage supply to the igniter module.
Keep the battery compartment dry and clean. Remove batteries if the grill will not be used for extended periods to avoid corrosion and leakage.
Grill Igniter Replacement Types Comparison
Here’s a comparison of common grill igniter types to help you choose the best fit for your grill replacement needs.
| Igniter Type | Power Source | Average Lifespan | Ease of Replacement | Approximate Cost |
|---|---|---|---|---|
| Piezo Igniter | No power (manual pressure) | 10+ years | Easy | $10-$20 |
| Battery-powered Electronic | AA or AAA batteries | 1-2 years (battery life) | Moderate | $15-$30 |
| 12V Electronic | 12V power cord or grill battery | 3-5 years | Moderate | $20-$40 |
| Universal Replacement Kit | Varies | Varies | Varies | $25-$50 |
Frequently Asked Questions
Can I replace a grill igniter myself without professional help?
Yes, replacing a grill igniter is a manageable DIY task with basic tools and following safety steps. Carefully remove the old igniter, disconnect wiring, and install a compatible replacement.
How often should I replace the grill igniter?
Igniters typically last several years, but battery-powered ones may require yearly battery replacement. Replace the igniter if sparking becomes weak or inconsistent despite cleaning.
What causes a grill igniter to stop working?
Common causes include dead batteries, corroded wiring, damaged electrodes, or loose connections. Environmental exposure and grease buildup also reduce igniter performance.
Is it necessary to turn off the gas when replacing a grill igniter?
Yes, always turn off the gas supply and ensure the grill is cool before replacing the igniter to avoid risks of fire or injury.
Can a universal igniter replacement kit fit all grills?
Universal kits fit many but not all grills. It’s important to check your grill model and the kit compatibility to guarantee correct fit and function.
Key Takeaways
- Grill igniter replacement involves removing the old igniter and installing a compatible new one safely.
- Confirm igniter type and compatibility before purchasing to avoid misfit and malfunction.
- Use the right tools and disconnect power or gas supplies before starting work.
- Regular maintenance and cleaning extend igniter life and ensure reliable ignition.
Conclusion
Replacing a grill igniter yourself can restore your grill’s functionality quickly without incurring professional repair costs. By identifying your grill’s specific igniter type, using the proper tools, and carefully following safety steps, you can ensure a successful installation that lasts. This process also improves your understanding of your grill’s mechanics, helping to troubleshoot future ignition issues.
For gas grills with electronic igniters, battery-powered replacements are common and easy to swap annually. Those with older piezo igniters can often find compatible replacements at a lower cost and with straightforward installation. Checking compatibility carefully helps avoid the frustration of returns and repeated attempts. You can also consider universal replacement kits for added flexibility if your grill model is less common.
If you notice weak sparks or difficulty lighting after replacing the igniter, double-check the electrode arrangement and gas flow. Maintaining the igniter with regular cleaning and battery changes will keep your grill ready for every cookout. Start your replacement project with patience and attention, then enjoy hassle-free grilling for seasons ahead.