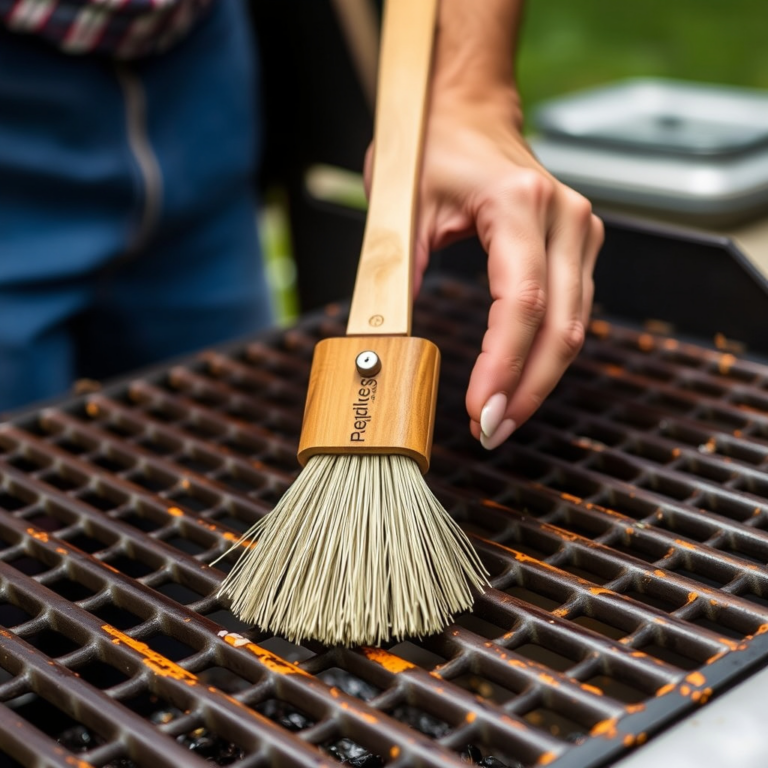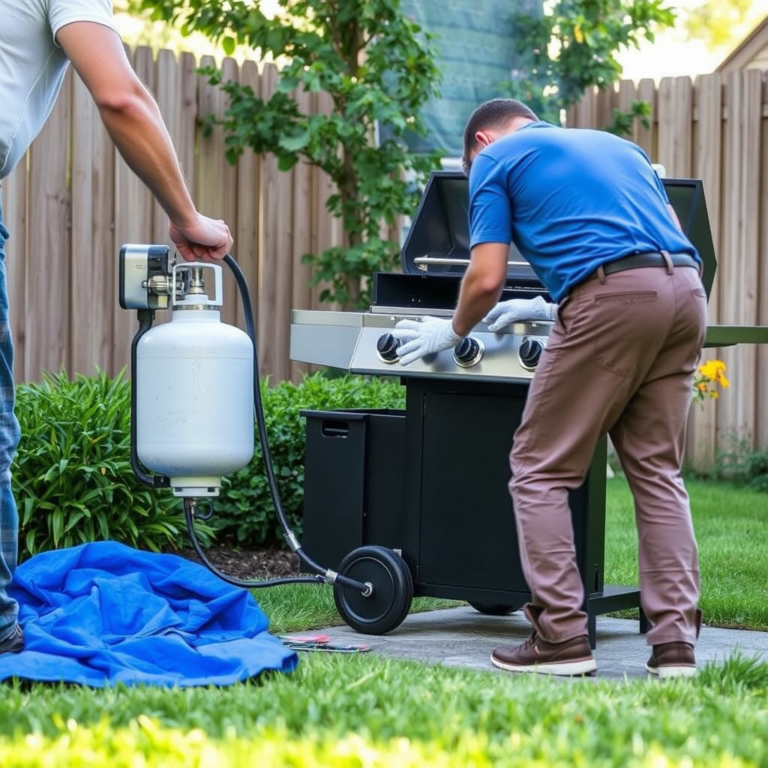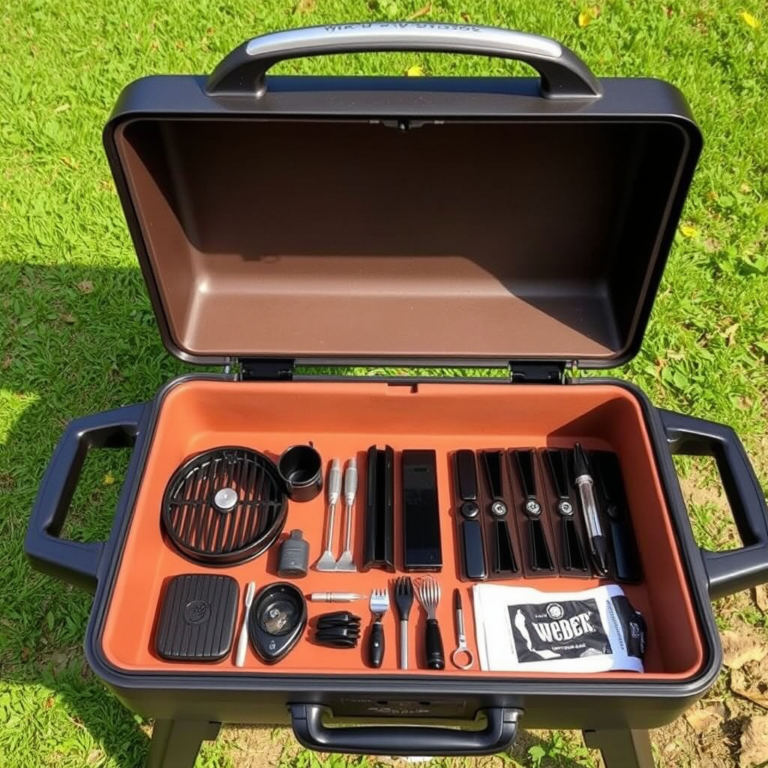
Seasoning a grill involves creating a protective coating on the grates to prevent rust and enhance non-stick cooking surfaces. The process starts with cleaning your grill thoroughly, then applying a thin layer of oil, and heating it to bond the oil to the metal. This forms a durable coating that improves flavor and extends the life of your grill.
Proper seasoning is vital because grills are exposed to high heat and moisture which can cause rust and food sticking. Regular seasoning not only protects your equipment but also makes cleaning easier and helps food cook more evenly. Whether your grill is brand new or has seen a few seasons, maintaining this layer of seasoning keeps it performing well.
This article will cover the essential steps to season a grill, including selecting the right oils, the best heating techniques, and routine care tips to maintain the seasoning. Additionally, we’ll explore how different grill types and materials affect the seasoning process, helping you get the best results every time.
Preparing Your Grill for Seasoning
Cleaning the Grill Grates
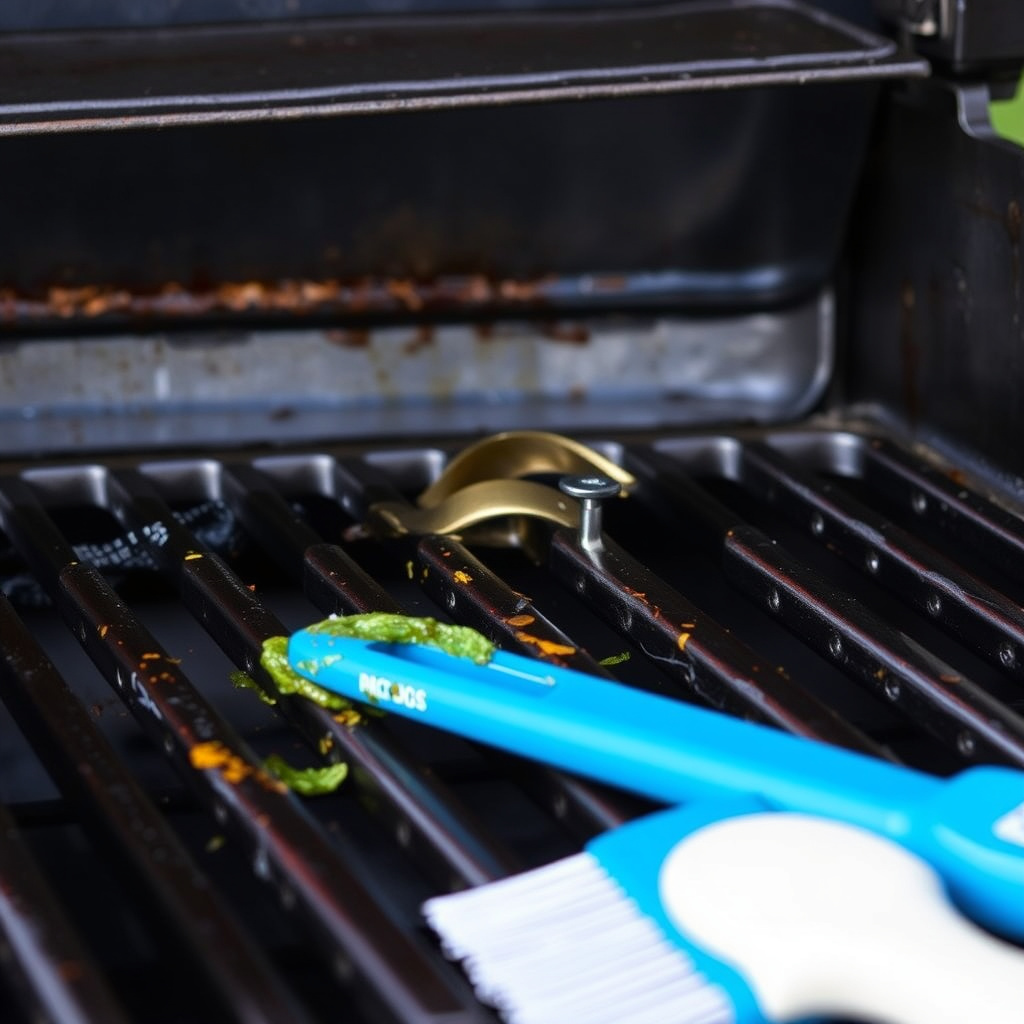
Start by removing all food debris and grease from the grates using a grill brush or scraper. For new grills, wash off any factory oils or protective coatings with warm, soapy water. For used grills, a thorough scrub to remove burnt-on residues will ensure the seasoning binds properly to the metal.
After scrubbing, rinse the grates well and dry them completely to prevent rust during the seasoning process. Moisture can interfere with oil bonding, reducing the effectiveness of the seasoned layer.
- Use a stiff wire brush or scraper
- Apply warm soapy water for new grills
- Rinse thoroughly and dry completely
Choosing the Right Oil for Seasoning
Selecting the correct oil is key to building a durable seasoned surface. Oils with high smoke points like vegetable oil, canola oil, flaxseed oil, or grapeseed oil work best since they polymerize well under high heat without burning.
Avoid low smoke point oils such as olive oil or butter for seasoning as they tend to smoke excessively and leave sticky residues. The oil should be applied in a thin, even layer to avoid pooling and dripping during the heating phase.
- Use oils with smoke points above 400°F (204°C)
- Avoid olive oil and butter for seasoning
- Apply oil sparingly and evenly
Seasoning Your Grill Grates
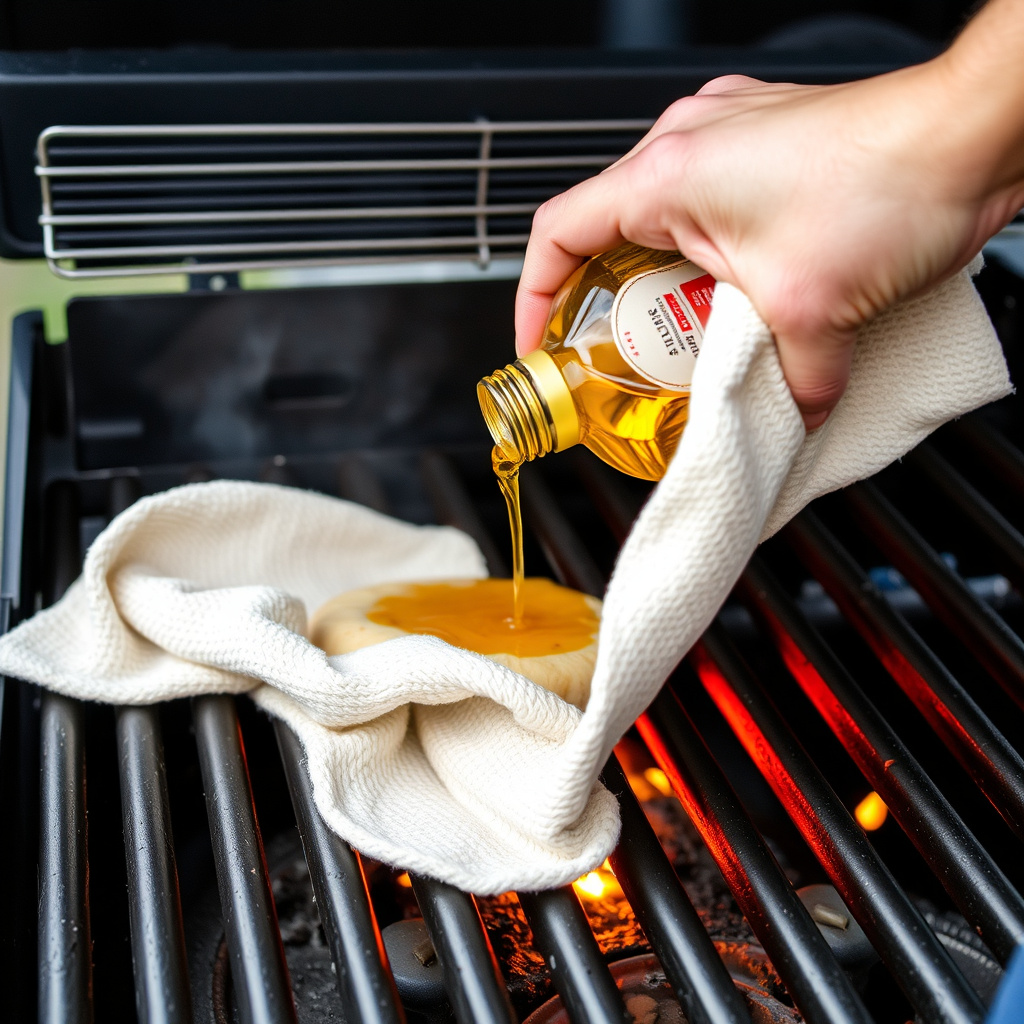
Applying Oil Evenly
Once the grill grates are clean and dry, use a folded cloth or paper towel dipped in your chosen oil to coat the grills thoroughly. Rub the oil on every surface of the grates; this ensures the metal is fully covered and ready to bond with the oil during heating.
Be careful not to use too much oil; a thin layer is adequate and prevents messy drips that could cause flare-ups. Use tongs to hold the cloth or paper towel when applying oil to keep your hands safe from grease and heat.
- Use a cloth or paper towel to apply oil
- Cover entire grill surface lightly
- Avoid excess oil to prevent drips
For more on this, see our related guide: How to Clean Grill Burners for Safe and Efficient Cooking.
Heating the Grill to Bond the Oil
After oiling, preheat the grill to a high temperature—typically between 400°F to 500°F—and maintain this heat for 15 to 30 minutes. This heating causes the oil to polymerize, creating a tough, rust-resistant layer bonded to the metal surface.
For charcoal grills, spread the coals evenly and let the grill heat on its own. Gas grills can be set to the desired temperature using built-in controls. Allow the grill to cool naturally after seasoning to let the layer stabilize.
- Heat to 400-500°F for 15-30 minutes
- Use even heat distribution
- Let grill cool naturally afterward
Maintaining the Seasoned Layer on Your Grill
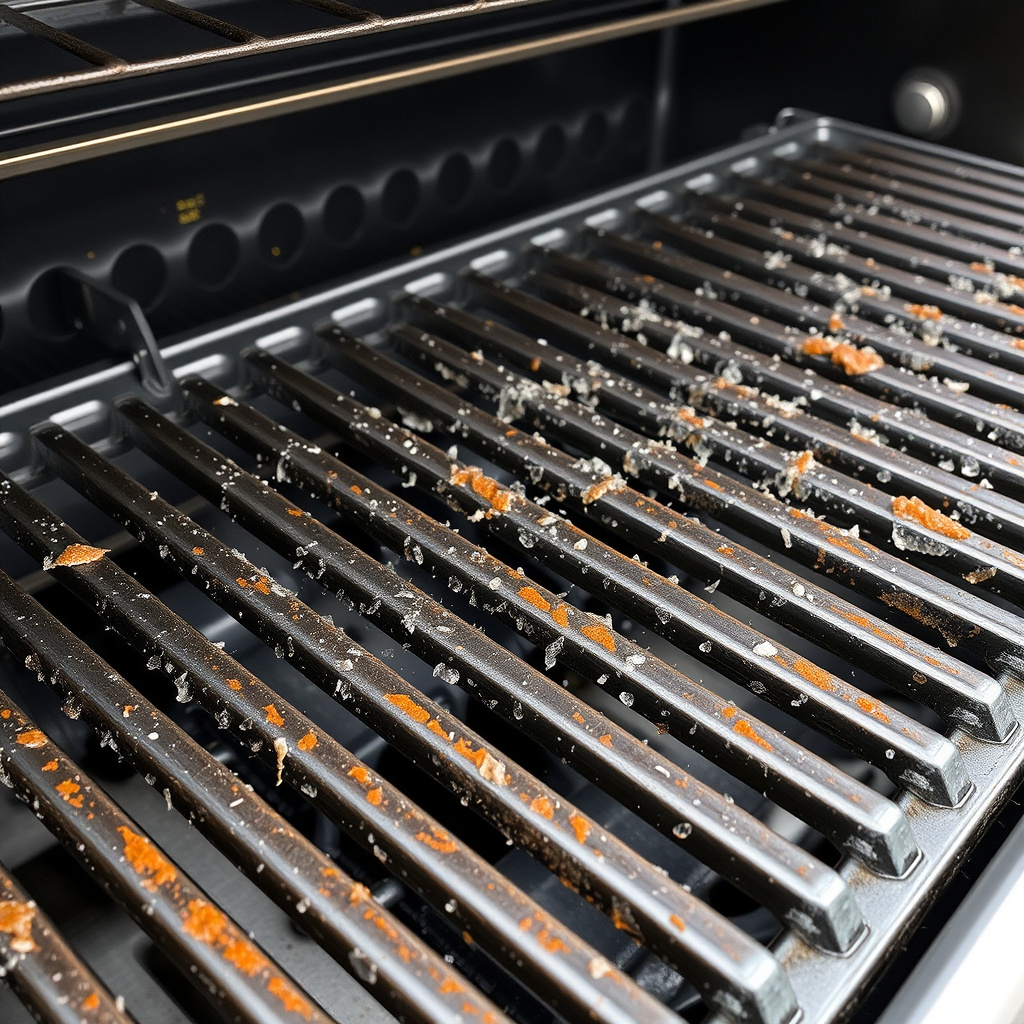
Routine Cleaning After Each Use
Cleaning your grill promptly after cooking preserves the seasoning by preventing buildup of food residue and grease. Use a grill brush to scrape the grates while still warm and wipe with a lightly oiled cloth to refresh the protective coating.
Avoid harsh soaps or soaking the grates, as water contact can deteriorate the seasoned layer. Light maintenance keeps your grill ready for the next use without compromising the protective oil layer.
- Brush grates warm after cooking
- Wipe with lightly oiled cloth
- Avoid excessive water or soap
Reapplying Oil Periodically
Even with good care, the seasoning layer will wear over time due to cooking and cleaning. Reapply a thin film of oil and heat the grill every few cooking sessions or after deep cleaning to rebuild the protective layer and maintain performance.
This periodic oiling is simple but critical to keep the grill’s surface rust-free and non-stick, extending the grill's life and enhancing food flavor.
- Oil and heat grill every few uses
- Re-season after deep cleaning
- Maintain with thin, even layers
Seasoning Different Types of Grill Grates
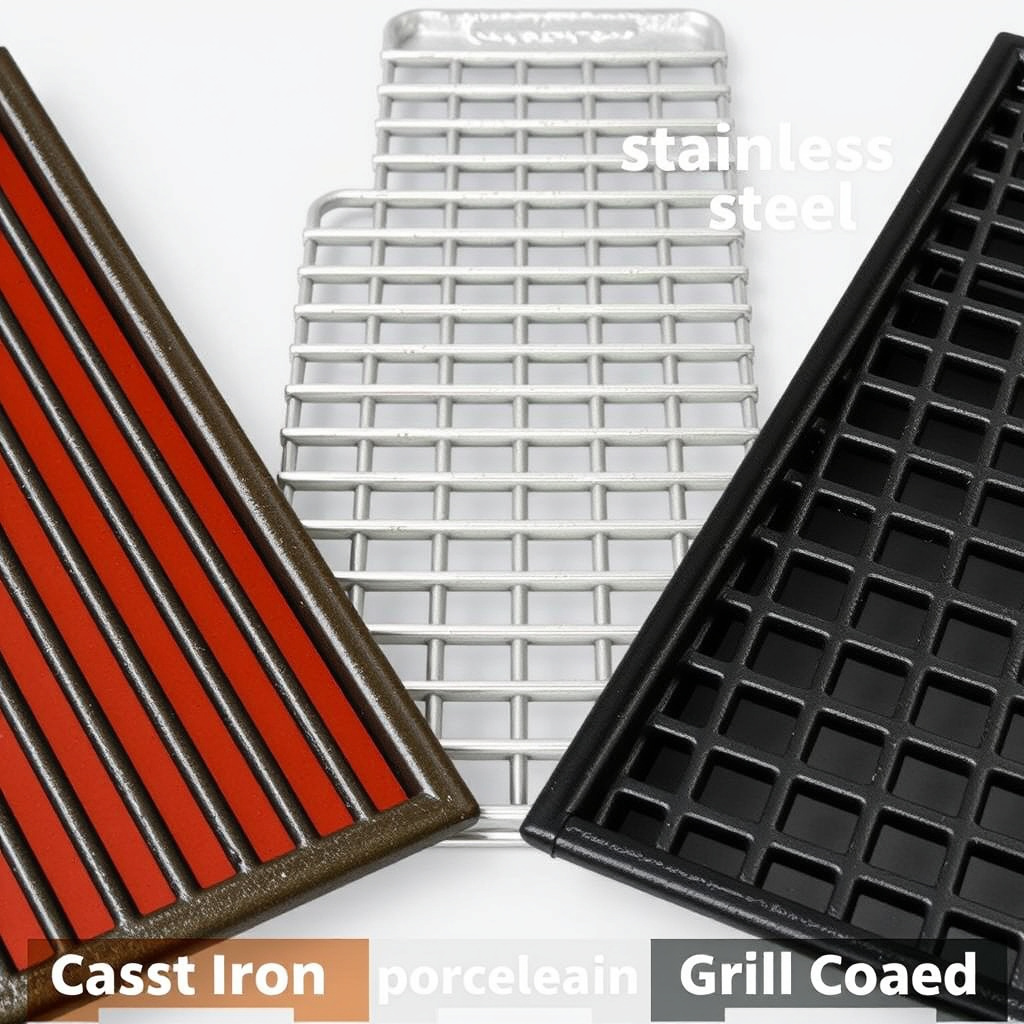
Seasoning Cast Iron Grates
Cast iron grills benefit the most from seasoning because they are prone to rust and have naturally porous surfaces that absorb oil. Applying a polymerized oil layer fills the pores and creates a non-stick barrier while protecting the metal from moisture.
Consistent seasoning with oils that have high smoke points can transform a cast iron grate’s surface over time, improving cooking results and rust resistance significantly.
- Best for cast iron grills
- Creates non-stick, rust-proof barrier
- Needs regular seasoning maintenance
For more on this, see our related guide: How to Clean a Grill with Vinegar: A Simple Guide for Spotless BBQs.
Seasoning Stainless Steel and Porcelain-Coated Grates
While stainless steel and porcelain-coated grates are more resistant to rust, seasoning them still improves non-stick cooking and makes cleaning easier. Avoid abrasive scrubbers that can damage coatings and focus on light oiling after cleaning.
Porcelain coatings do not absorb oil like cast iron but benefit from oil layers that reduce sticking. Stainless steel seasoning extends the surface life and prevents food from adhering during cooking.
- Helps reduce food sticking
- Use gentle cleaning methods
- Oiling improves surface durability
Advanced Tips for Perfect Grill Seasoning
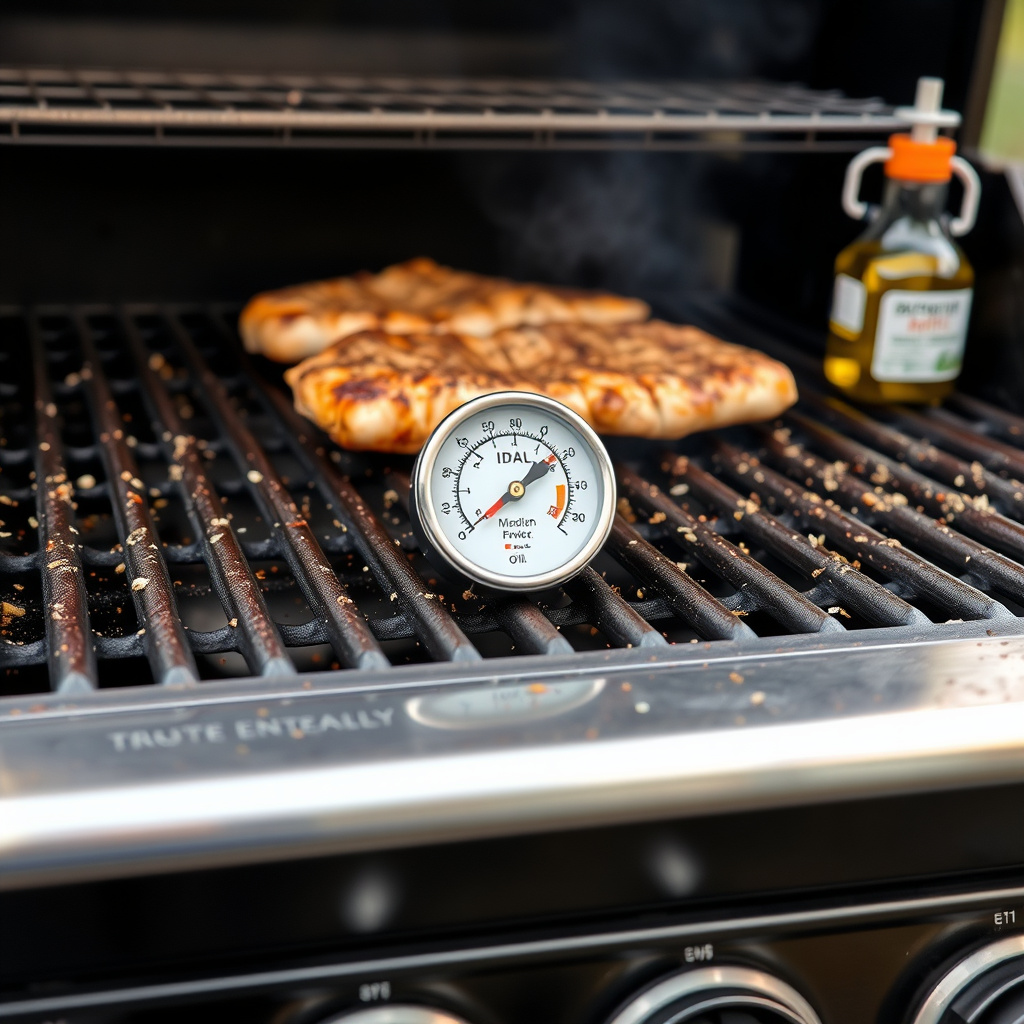
Using Flaxseed Oil for Durable Coating
Flaxseed oil’s molecular structure allows it to bond exceptionally well with grill metals, forming a thick, durable seasoning layer. It polymerizes quickly and dries hard when heated properly, producing a tough surface that rivals traditional cast iron seasoning.
Although a bit more expensive, flaxseed oil is favored by grill enthusiasts who want a lasting, smooth finish. Apply in multiple thin coats with proper heating intervals for best results.
- Polymerizes into a hard, durable layer
- Requires thin, repeated coats
- Preferred by grill aficionados
For more detailed historical and chemical background on seasoning cookware and grills, see this helpful resource on seasoning a grill on Wikipedia. seasoning a grill on Wikipedia.
Avoiding Common Seasoning Mistakes
One frequent error is applying too much oil, which can create sticky, uneven seasoning instead of a smooth surface. Another is skipping the heating step, which prevents the oil from bonding properly and leads to flaking or peeling.
Always season in a well-ventilated area to handle smoke, and never forget to dry your grill thoroughly before oiling. This prevents rust and ensures your seasoned layer lasts longer.
- Do not overapply oil
- Always heat to bond oil
- Dry grill completely before seasoning
Grill Seasoning Methods Category Comparison
Here’s a comparison of popular grill seasoning techniques focusing on effectiveness, ease, and suitability for different grill types.
| Method | Best For | Ease of Use | Durability |
|---|---|---|---|
| Basic Oil and Heat | All grills | High | Moderate |
| Flaxseed Oil Multiple Coats | Cast iron and enthusiasts | Moderate | High |
| Commercial Grill Seasoners | Convenience seekers | High | Low to Moderate |
| High-Heat Self-Seasoning Cycles | Gas grills with temperature control | Easy | Moderate |
Frequently Asked Questions
How often should I season my grill?
Season your grill every few cooking sessions or after a thorough cleaning to maintain a protective coating and prevent rust.
Can I use olive oil to season my grill?
Olive oil has a low smoke point and can leave sticky residues, so it is not recommended for seasoning grills.
What is the best oil for seasoning grill grates?
Oils with high smoke points like vegetable oil, canola oil, and flaxseed oil are best for creating durable seasoning layers.
Is seasoning necessary for stainless steel grill grates?
While stainless steel resists rust, seasoning improves non-stick properties and protects the surface from food sticking.
Can I season a porcelain-coated grill grate?
Yes, but use light oil layers and gentle cleaning to avoid damaging the porcelain coating.
Key Takeaways
- Seasoning creates a protective, rust-resistant layer on grill grates.
- Use high smoke point oils applied in thin layers for best results.
- Regular maintenance extends seasoning longevity and grill life.
- Different grate materials need tailored seasoning approaches.
Conclusion
Seasoning a grill is a straightforward yet essential process that greatly enhances its longevity and cooking performance. By carefully cleaning the grates, applying the right oils, and heating to bond the oil, you build a durable, non-stick protective layer. Recognizing your grill’s material—whether cast iron, stainless steel, or porcelain-coated—helps adjust your seasoning technique for optimal results. This thoughtful approach prevents rust, improves food release, and makes maintenance easier.
For those with cast iron grills, regularly seasoning with high smoke point oils or flaxseed oil is particularly beneficial, as these grates absorb oil and are prone to rust. Stainless steel and porcelain-coated grates benefit from light seasoning that improves non-stick qualities without damaging surfaces. Beginner grillers might start with a basic oil and heat method, while enthusiasts can try flaxseed oil multi-coat applications for ultimate durability. Understanding these nuances empowers you to get the best cooking surface from your grill.
To protect your investment and elevate your grilling experience, begin with a thorough cleaning followed by choosing an oil suitable for your grill type. Apply oil thinly and heat the grill to allow polymerization. Maintain the seasoning through routine brushings and occasional re-oiling after cleaning. Experimenting with different oils and seasoning cycles will hone your method. With these steps, your grill will deliver tastier food and stand up to many grilling seasons ahead.