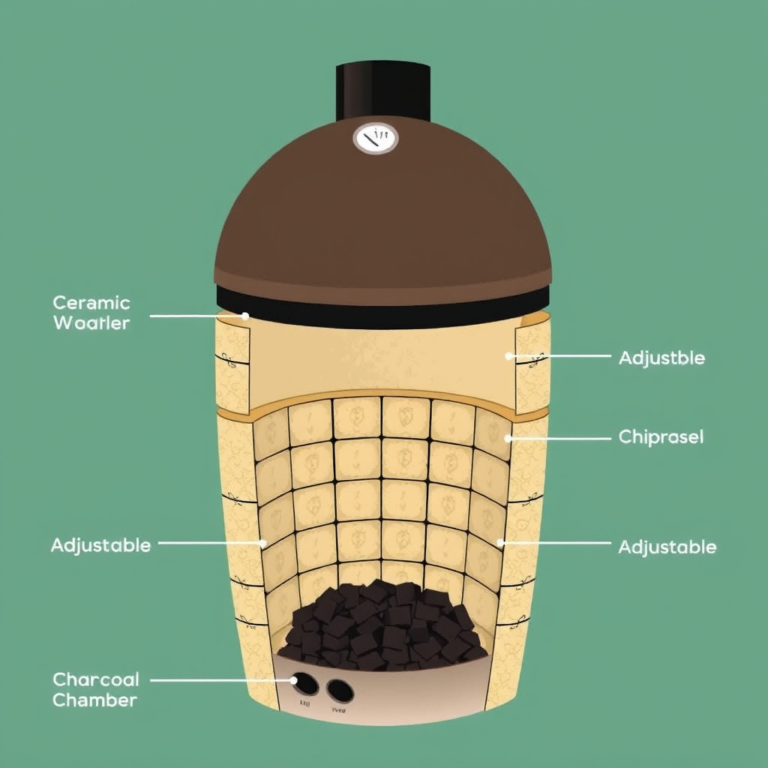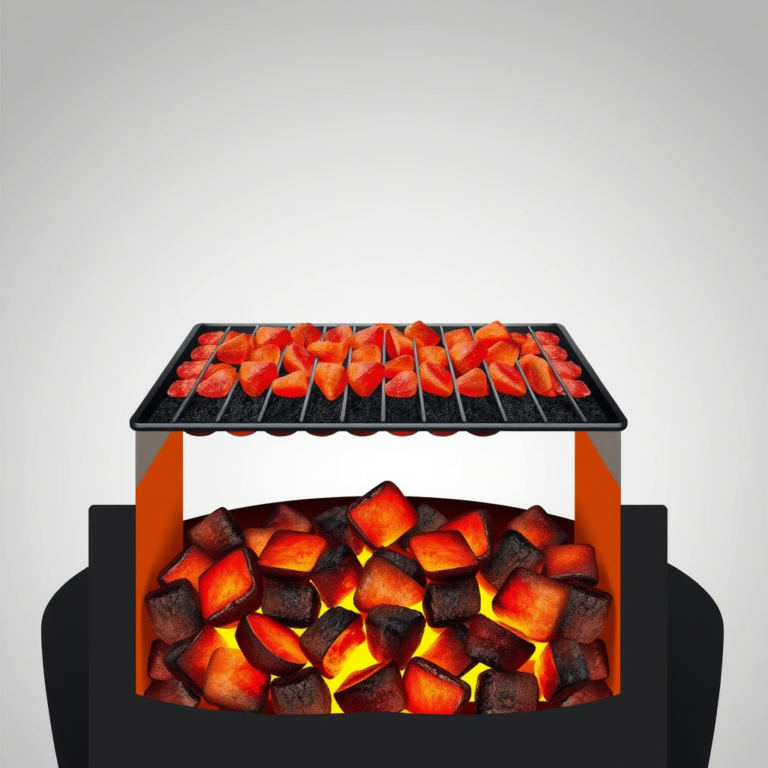
Building an outdoor kitchen with a grill starts by choosing the right location, selecting durable materials, and planning the layout around your cooking and entertaining needs. Begin with a solid foundation, incorporate ventilation, and ensure access to utilities like gas and electricity.
Creating an outdoor kitchen enhances your backyard living space and makes cooking during warm months more enjoyable and social. It raises your home's value and allows you to entertain guests in a relaxed setting without running back and forth to the indoor kitchen.
This article will guide you through key aspects such as design planning, material selection, building a grill station, incorporating storage and countertops, and practical considerations like safety and maintenance. Whether you want a simple grill island or a full outdoor kitchen setup, these insights will help you build it effectively.
Planning Your Outdoor Kitchen Layout
Choosing the Right Location
Selecting the ideal spot for your outdoor kitchen involves factors like wind direction, sun exposure, and proximity to your indoor kitchen. A location sheltered from strong winds helps control smoke from the grill, while adequate sunlight ensures comfort during daytime cooking.
Consider existing utilities such as gas lines or electrical outlets, as this will affect installation complexity and cost. Also, avoid placing the kitchen too far from your house to facilitate easy access to supplies and waste disposal.
- Near the house for convenience
- Away from prevailing winds
- On level ground
- Clear of overhanging trees
Designing Functional Zones
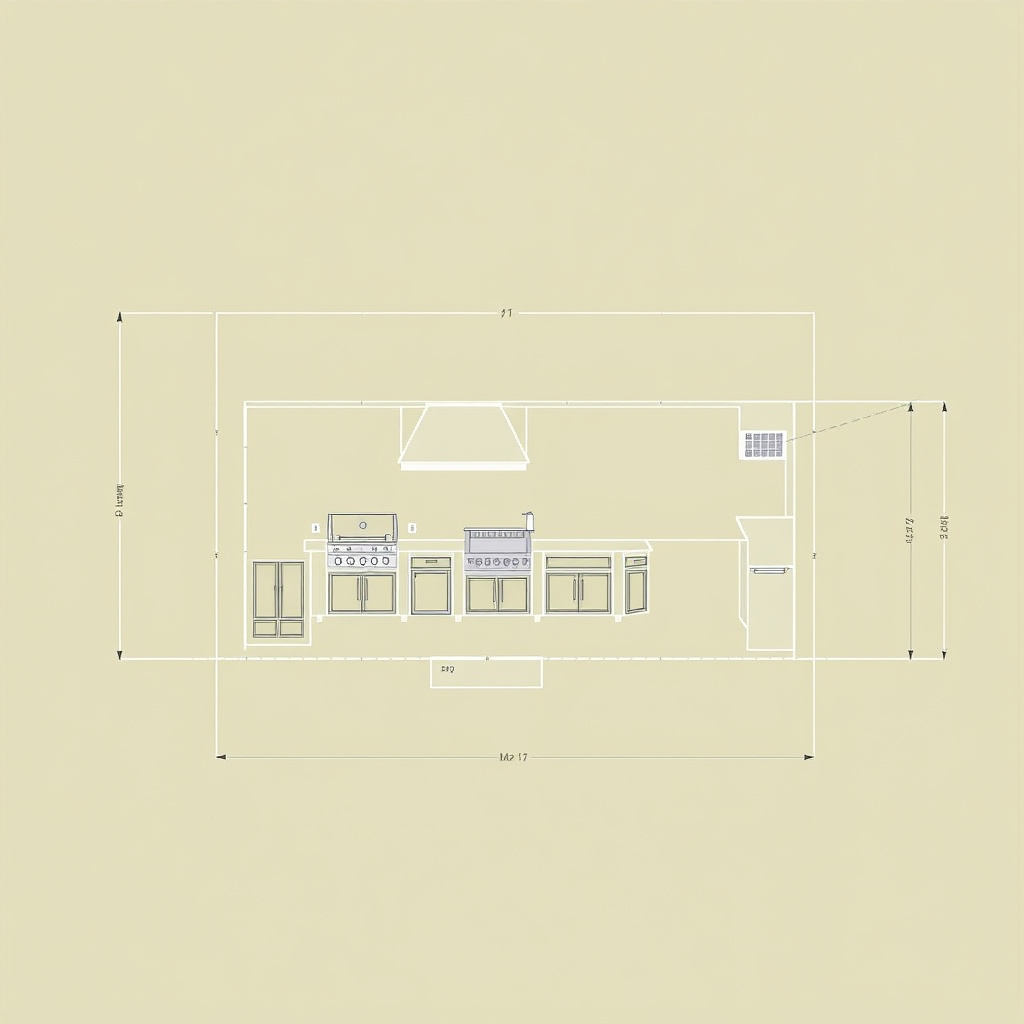
Dividing your outdoor kitchen into zones — cooking, prep, cleanup, and serving — streamlines meal preparation and social interaction. Position the grill centrally with prep surfaces adjacent and a sink nearby for easy cleaning.
Integrating a bar or seating area into the design encourages guest interaction while also providing space for plating and serving dishes efficiently.
- Cooking zone with grill as centerpiece
- Prep zone with countertops
- Cleanup zone with sink and trash
- Social zone with seating or bar
Selecting Materials for Durability and Style
Outdoor Kitchen Countertops and Cabinets
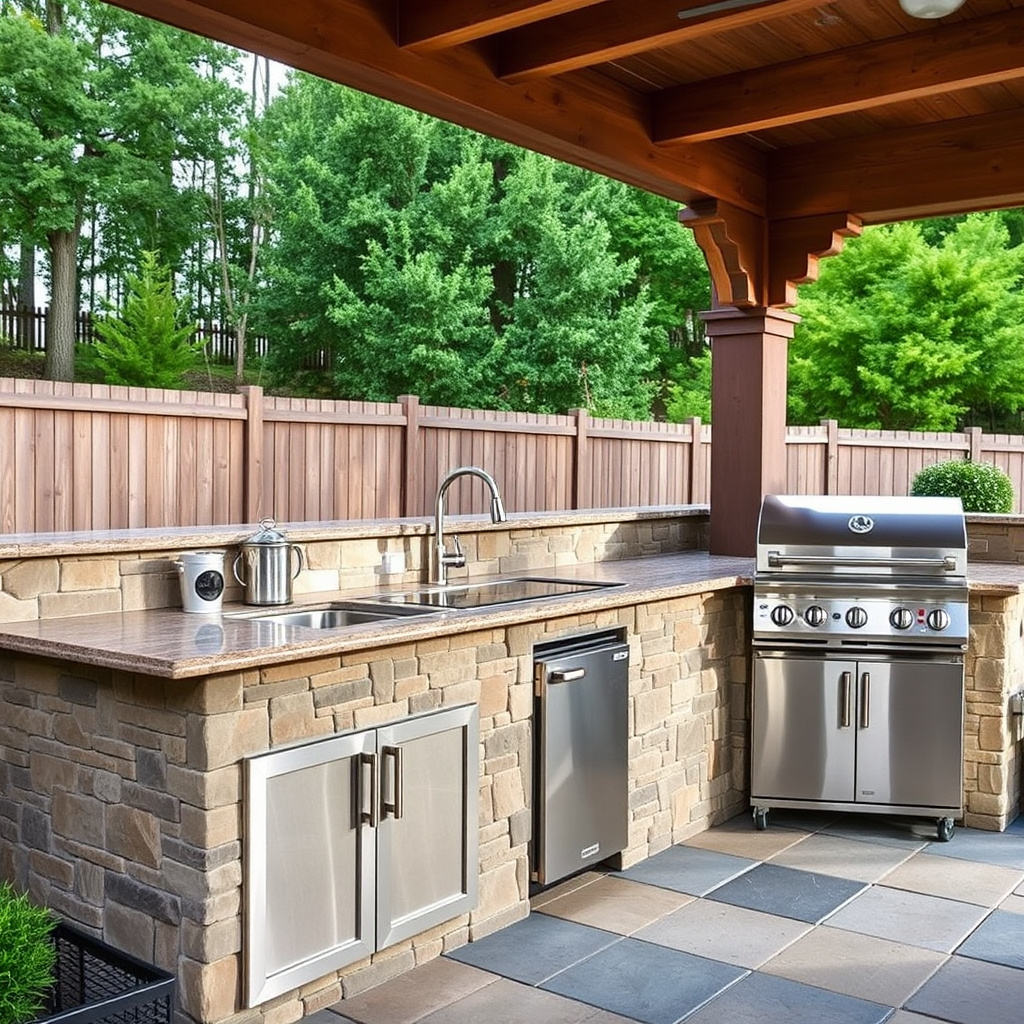
Countertops need to withstand weather exposure while being easy to clean. Granite, concrete, and stainless steel are excellent choices due to their durability and resistance to heat and moisture.
Cabinets made from marine-grade polymer or stainless steel ensure longevity and resist rust, insect damage, and sun degradation better than untreated wood.
- Granite: heat and scratch resistant
- Concrete: customizable and durable
- Stainless steel cabinets: rust-resistant
- Polymer cabinets: weatherproof and lightweight
Grill Materials and Features
Opt for stainless steel grills for their corrosion resistance and ease of maintenance. Check for features like multiple burners, rotisserie attachments, and integrated thermometers that enhance cooking versatility.
For the grill station, materials around the grill should be non-flammable and stable, such as brick, stone, or metal frameworks.
- Stainless steel for rust resistance
- Multi-burner setups for larger cooking
- Integrated temperature controls
- Stable, non-flammable grill surrounds
Building the Grill Station and Framework
Constructing a Solid Base
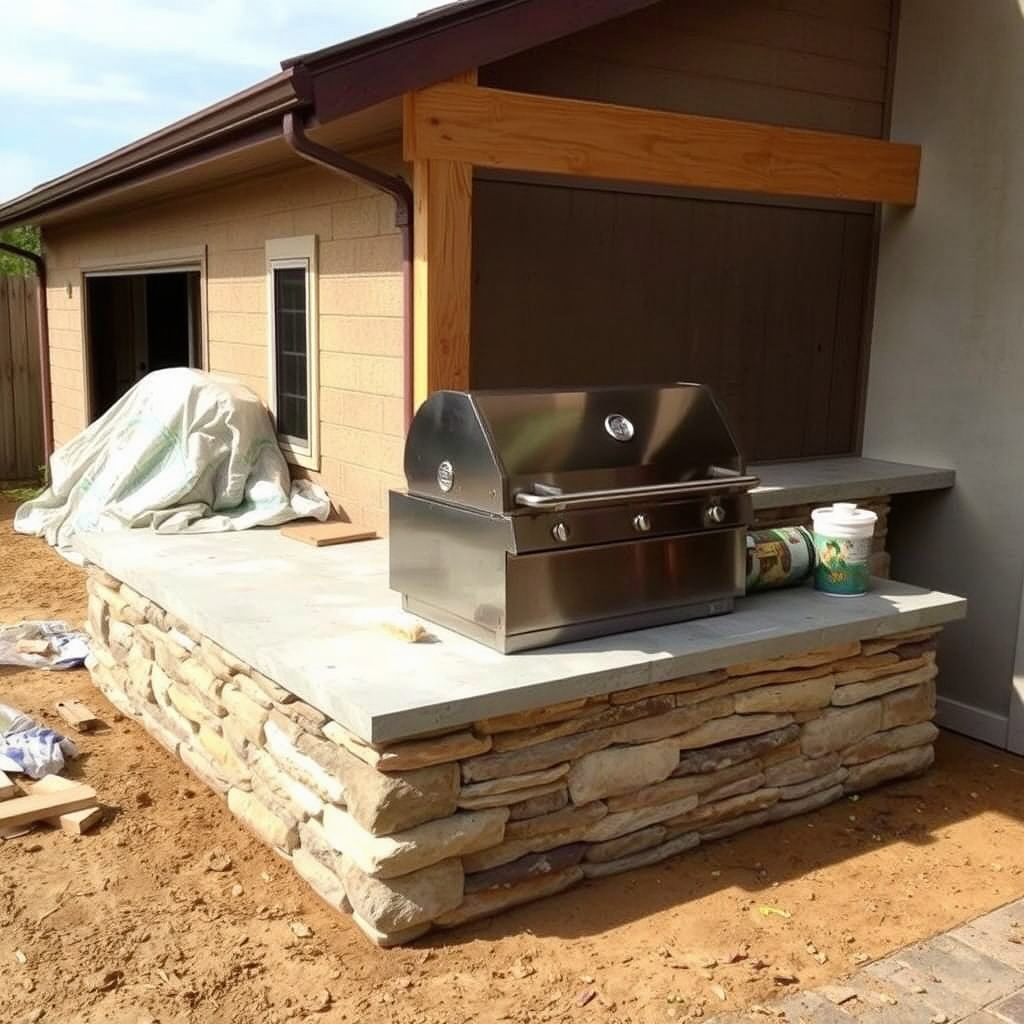
A strong, level foundation typically made from poured concrete or compacted gravel is crucial. This base supports the weight of the grill and countertops while preventing settling or shifting over time.
Ensure the base extends beneath the entire grill and prep area to maintain structural integrity and facilitate drainage away from the kitchen features.
- Poured concrete for stability
- Gravel base with compacted soil
- Proper drainage slope
- Level surface to prevent tilting
For more on this, see our related guide: How to Assemble a Gas Grill: Step-by-Step Guide for a Perfect Setup.
Assembling the Grill and Enclosure
Once the base is prepared, install the grill according to manufacturer instructions. Build the enclosure or surround using fire-resistant materials like stone veneer or brick, allowing for proper ventilation.
Include access doors or panels in the enclosure for easy maintenance and installation of gas or electrical connections.
- Follow manufacturer grill setup
- Use fire-resistant surrounding materials
- Provide ventilation for heat escape
- Include maintenance access panels
Adding Countertops, Storage, and Utilities
Choosing and Installing Countertops
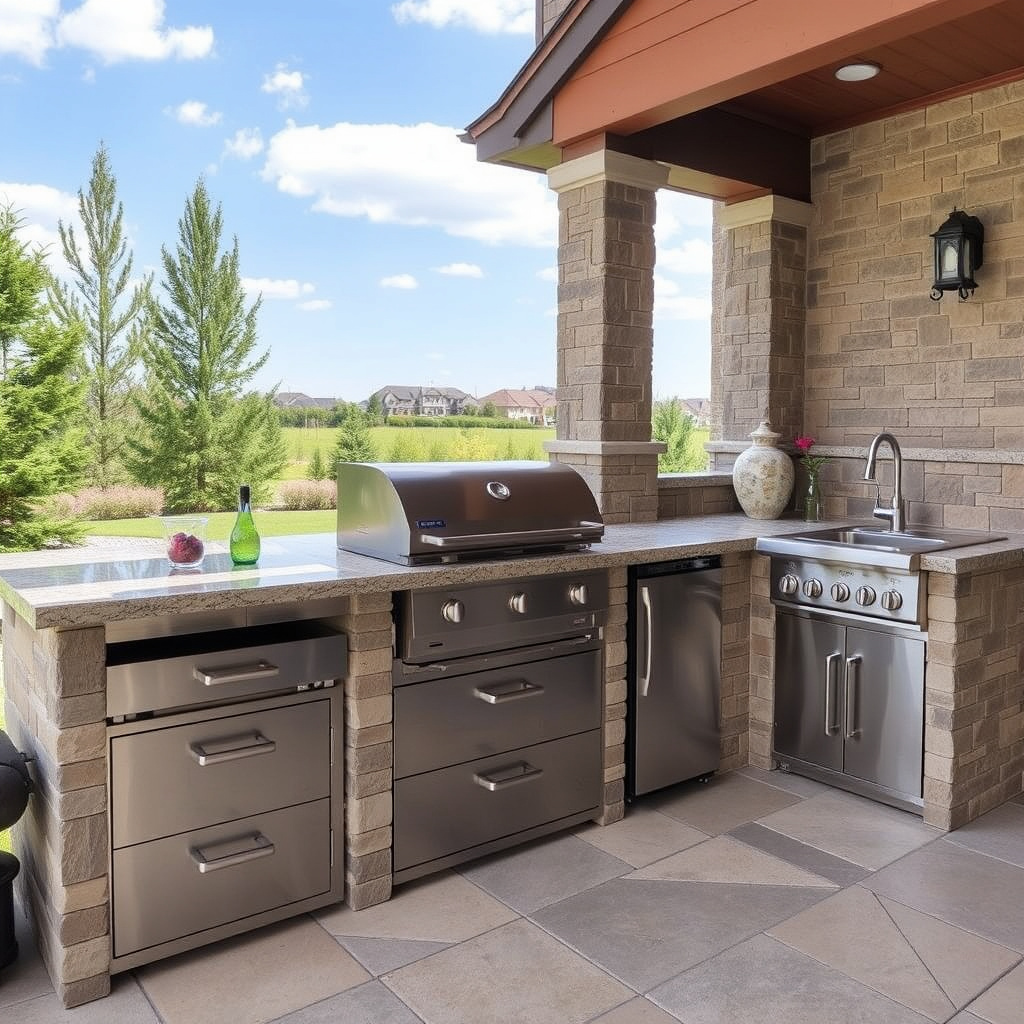
Countertops should balance aesthetics with weather resistance. Granite is popular for its appearance and strength, while concrete offers customizable shapes and finishes. Ensure countertops are sealed properly to prevent staining.
Countertops must be securely anchored to cabinets or the base and have waterproof edging to protect against water damage.
- Seal granite and concrete surfaces
- Waterproof edging materials
- Secure anchoring to cabinets
- Smooth finish for easy cleaning
Planning Storage and Utility Lines
Build weatherproof cabinets or drawers to store grilling tools, utensils, and propane tanks safely. Include waterproof access for utility hookups such as gas lines, electrical outlets, and water supply for sinks.
Properly routed utility lines enhance convenience and comply with safety standards, reducing risks of leaks or electrical hazards.
- Weatherproof and lockable cabinetry
- Safe propane storage compartments
- Electrical outlets with weather covers
- Water supply and drainage for sinks
Safety and Maintenance Considerations
Ensuring Safe Operation
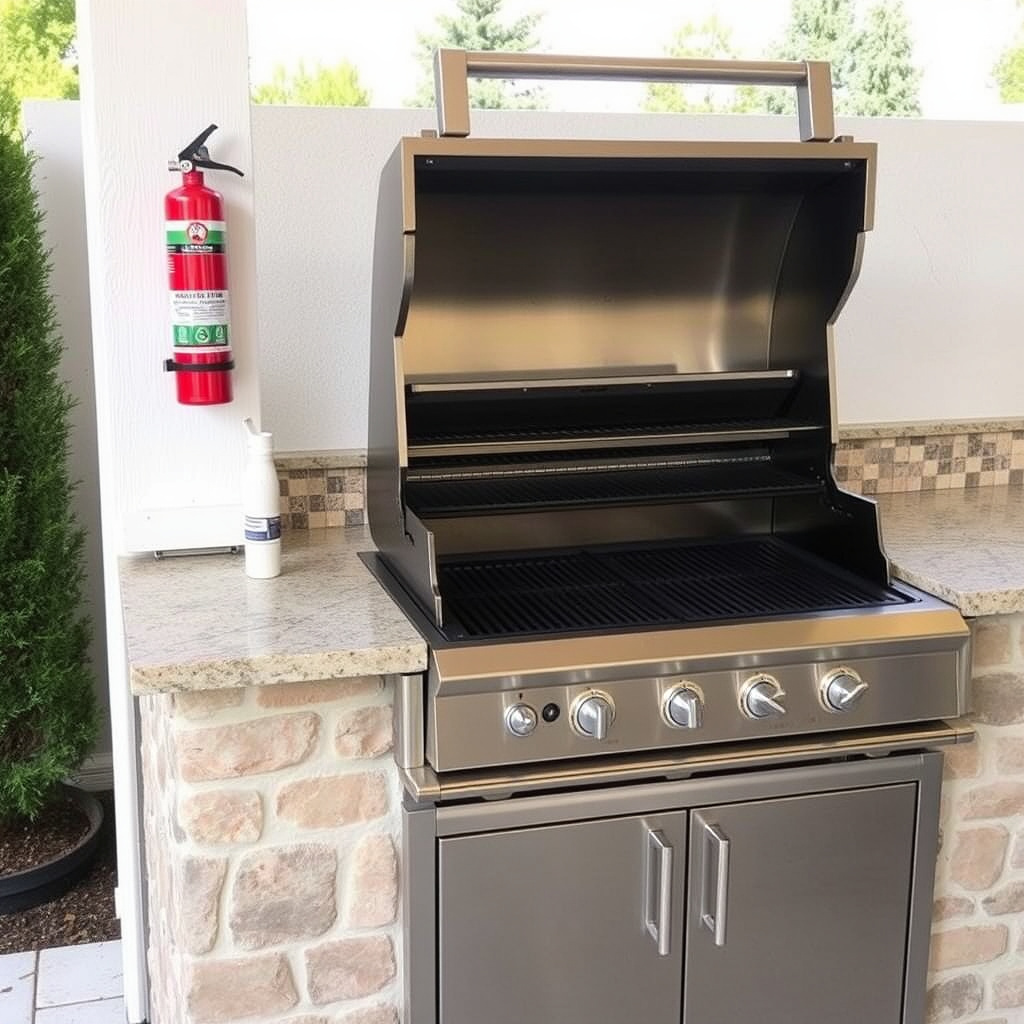
Install a fire extinguisher within easy reach and position the grill away from flammable materials. Regularly inspect gas connections for leaks using soapy water tests.
Also, use heat-resistant gloves while cooking and educate all users about safe grill operation to minimize accidents.
- Keep fire extinguisher nearby
- Locate grill with safe clearance
- Check gas lines regularly
- Use heat-resistant gloves
For more on this, see our related guide: Can You Grill in the Winter? Practical Tips for Cold-Weather Barbecuing.
Cleaning and Protecting Your Outdoor Kitchen
Routine cleaning extends your outdoor kitchen’s life. Wipe down surfaces after use, cover appliances when not in use, and store tools properly. Apply sealants annually to stone and concrete surfaces to prevent moisture damage.
Protect metal components from rust by using grill covers and lubricate hinges or moving parts periodically.
- Clean grill grates and surfaces after each use
- Use protective covers
- Seal stone and concrete yearly
- Lubricate metal hardware
Upgrading with Additional Features
Adding Appliances and Extras
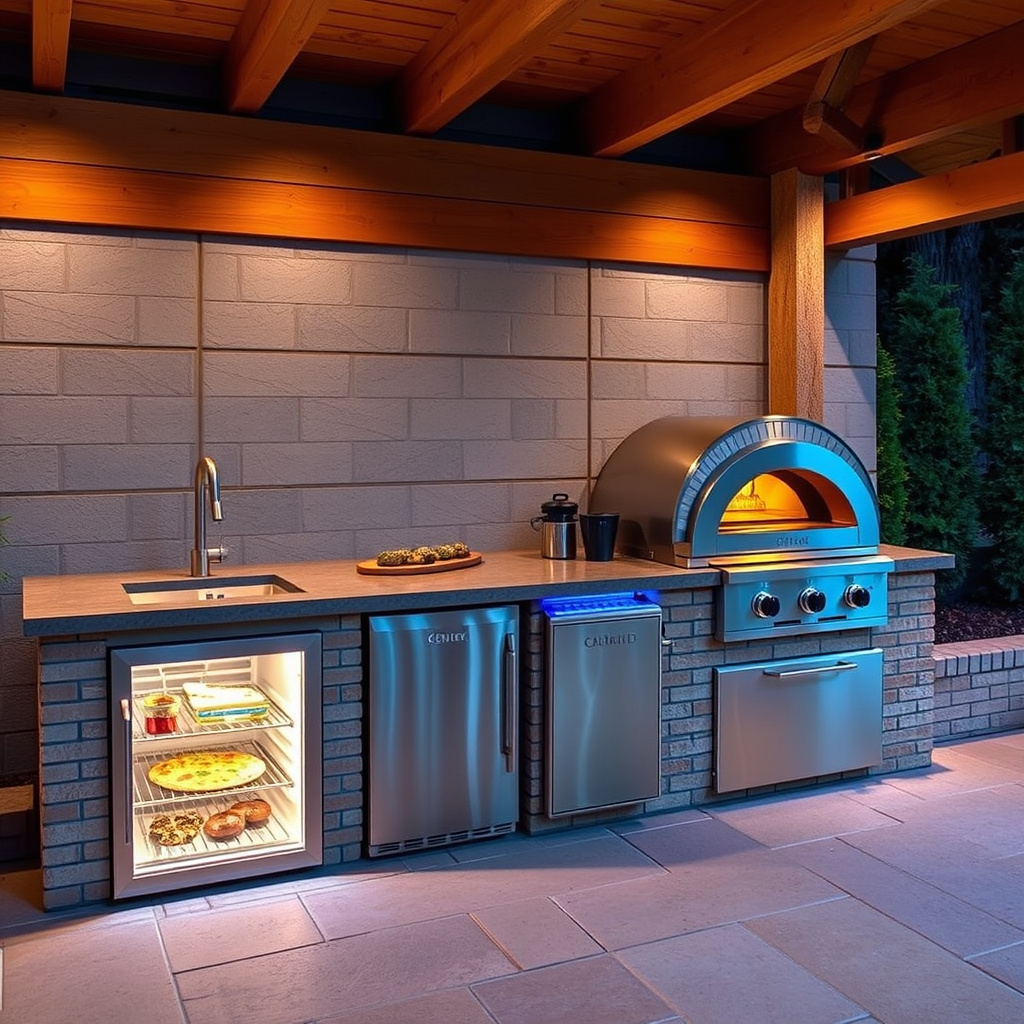
Consider integrating extra appliances like mini refrigerators, ice makers, or pizza ovens for a more versatile outdoor kitchen. Such features increase the cooking options and comfort level for both casual and serious chefs.
Incorporate lighting options such as task lights and ambient LEDs to allow safe evening use and create desired atmosphere.
- Mini refrigerators and ice makers
- Outdoor pizza and smoker ovens
- LED task and ambient lighting
- Built-in sound systems
For those interested in more detailed background or design ideas, the Wikipedia page on outdoor kitchen design basics offers useful information. outdoor kitchen design basics.
Enhancing Comfort and Entertainment
Include overhead covering like pergolas or retractable awnings to protect from sun and rain. Seating options such as bar stools or dining sets help guests relax and socialize while you cook.
Adding outdoor speakers or televisions can make your kitchen the hub of household entertainment.
- Pergolas and retractable awnings
- Comfortable seating areas
- Outdoor speakers and TVs
- Ceiling fans or heaters for climate control
Outdoor Kitchen Grill Type Comparison
Here’s a comparison of popular grill types to help you decide the best one for your outdoor kitchen setup.
| Grill Type | Fuel Source | Heat Control | Typical Price Range | Maintenance Needs |
|---|---|---|---|---|
| Gas Grill | Propane or Natural Gas | Precise and quick | $300 – $3000 | Low to moderate |
| Charcoal Grill | Charcoal | Requires manual adjustment | $100 – $1000 | Higher due to ash cleaning |
| Electric Grill | Electricity | Consistent, easy control | $150 – $700 | Low |
| Pellet Grill | Wood Pellets | Precise digital control | $500 – $2000 | Moderate |
| Infrared Grill | Gas or Electric | Intense direct heat | $400 – $2500 | Low |
Frequently Asked Questions
What is the easiest way to install a grill in an outdoor kitchen?
The easiest method is to purchase a built-in grill designed for outdoor kitchens and install it according to the manufacturer’s guidelines on a prepared base with necessary gas or electric hookups.
How do I protect my outdoor kitchen from weather damage?
Use weather-resistant materials for counters and cabinets, apply sealants to stone or concrete, and cover appliances with fitted grill covers when not in use.
Can I build an outdoor kitchen without plumbing?
Yes, you can build an outdoor kitchen without plumbing, but including a sink adds convenience. Portable water containers or nearby house access can also be alternatives.
What fuel type is best for an outdoor kitchen grill?
Gas grills are popular for their quick heating and precise control, while charcoal offers authentic flavor. The choice depends on your cooking style and convenience preferences.
How much space do I need for an outdoor kitchen with a grill?
A minimum of 100 square feet is often recommended to allow room for the grill, prep areas, storage, and some seating or circulation.
Key Takeaways
- Plan your layout with functional zones and consider utilities early.
- Choose weather-resistant materials like stainless steel and granite.
- Build a sturdy, level foundation for durability.
- Follow safety guidelines and maintain your kitchen regularly.
Conclusion
Building an outdoor kitchen with a grill involves thoughtful planning across several dimensions—site selection, materials, layout, and safety all play a part in developing an efficient and enjoyable space. By breaking the project down into manageable steps and focusing on durable, practical choices, you create a backyard cooking area that serves long term needs and invites gatherings all season.
Gas grills often work best for those seeking ease and consistency, while charcoal grills appeal to traditionalists focused on flavor. The choice between granite or concrete countertops depends on style preferences and budget. Incorporating storage and utility access complements your cooking setup, and additional features like mini fridges or lighting can elevate the experience.
Start by mapping out your outdoor space and researching local building codes related to gas and electrical installations. With a clear plan, you can either DIY smaller elements or hire professionals for intricate parts. This methodical approach helps you realize the outdoor kitchen with a grill that fits your lifestyle and enhances your backyard for years to come.