Assembling a Weber grill is straightforward when you follow the right steps carefully. This guide shows you how to assemble a Weber grill by organizing and attaching the main components, so you can have it ready for grilling in no time.
Knowing how to properly assemble your Weber grill matters because a solid foundation ensures safety, stability, and optimal performance. A well-assembled grill also extends its lifespan and makes your grilling experience more enjoyable.
This article covers everything from unpacking all parts, identifying key components, to detailed step-by-step assembly. Along the way, you’ll also find tips and common pitfalls to avoid, helping you get the best start with your new Weber grill.
Unpacking and Organizing Your Weber Grill Components
Identifying Main Parts and Hardware
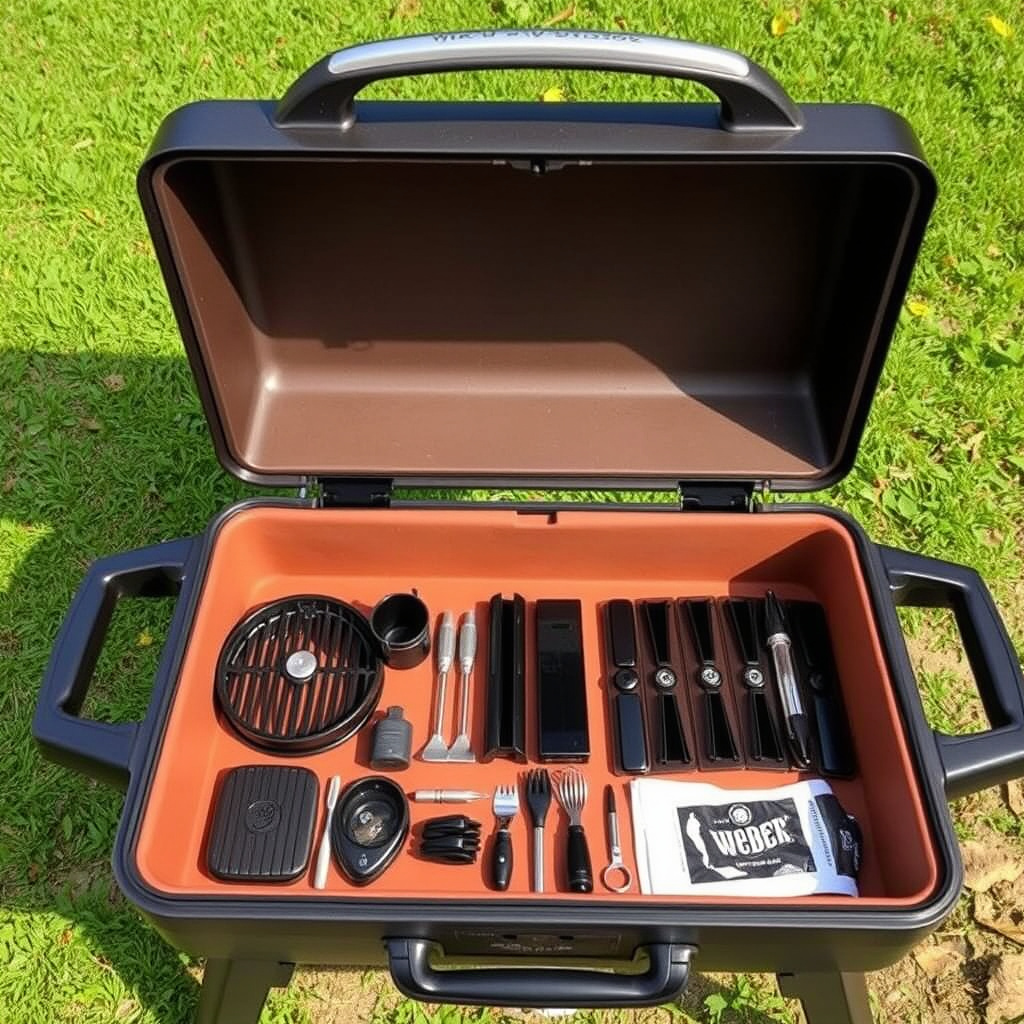
Start by carefully unpacking all pieces of your Weber grill. Lay them out so you can see each major component including the lid, cooking grate, burners, base, wheels, and hardware bags.
Check the instruction manual for a parts list to confirm nothing is missing. Group screws, bolts, and nuts into piles to simplify the assembly process. Proper organization helps ensure a smooth workflow and avoids delays.
- Weber grill lid
- Cooking grates
- Burners and flame tamers
- Base and cart parts
- Wheels and handles
- Hardware bags with screws and bolts
Preparing Your Workspace for Assembly
Choose a flat, stable surface with ample lighting and space to move around the grill components safely. Preferably work outdoors or in a garage with good ventilation to avoid inhaling fumes if any oils or coatings are present.
Gather basic tools like screwdrivers, a wrench, and pliers based on the hardware included. Having everything ready beforehand prevents interruption during assembly and helps maintain concentration.
- Flat and stable workspace
- Bright lighting
- Screwdrivers (Phillips and flathead)
- Wrench or socket set
- Pliers or adjustable wrench
Step-by-Step Assembly of the Grill Base and Cart
Assembling the Cart Frame and Attaching Wheels
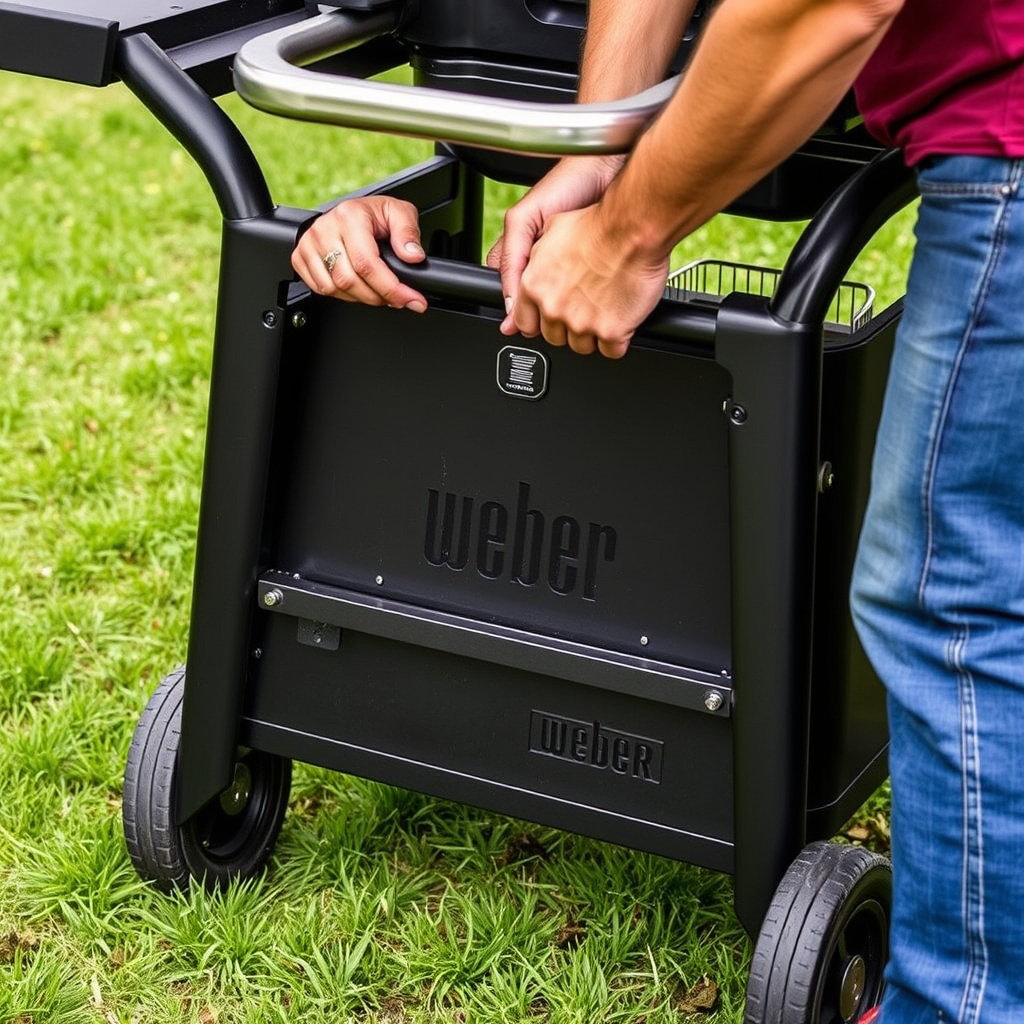
Begin assembling the lower cart frame by connecting the side panels according to the manual. Secure all bolts and nuts firmly but avoid over-tightening to prevent stripping.
Next, attach the large wheels first, usually by securing them with a lock washer and nut. Smaller caster wheels attach on the opposite side if provided, allowing mobility and stability.
- Connect side panels with bolts
- Attach large wheels on one side
- Secure small caster wheels if included
- Tighten nuts and bolts properly
Installing Bottom Shelf and Side Trays
Once the frame is stable on wheels, install the bottom shelf by aligning it with pre-drilled holes and securing with screws. This shelf adds storage and structural strength.
Attach any side trays or tool hooks by sliding them into designated slots or screwing them onto the frame. They provide convenient access to grilling tools and plates.
- Align bottom shelf and fasten screws
- Attach side trays or tool hooks
- Verify stability of cart assembly
Mounting the Grill Body and Burners
Securing the Grill Body to the Cart Frame
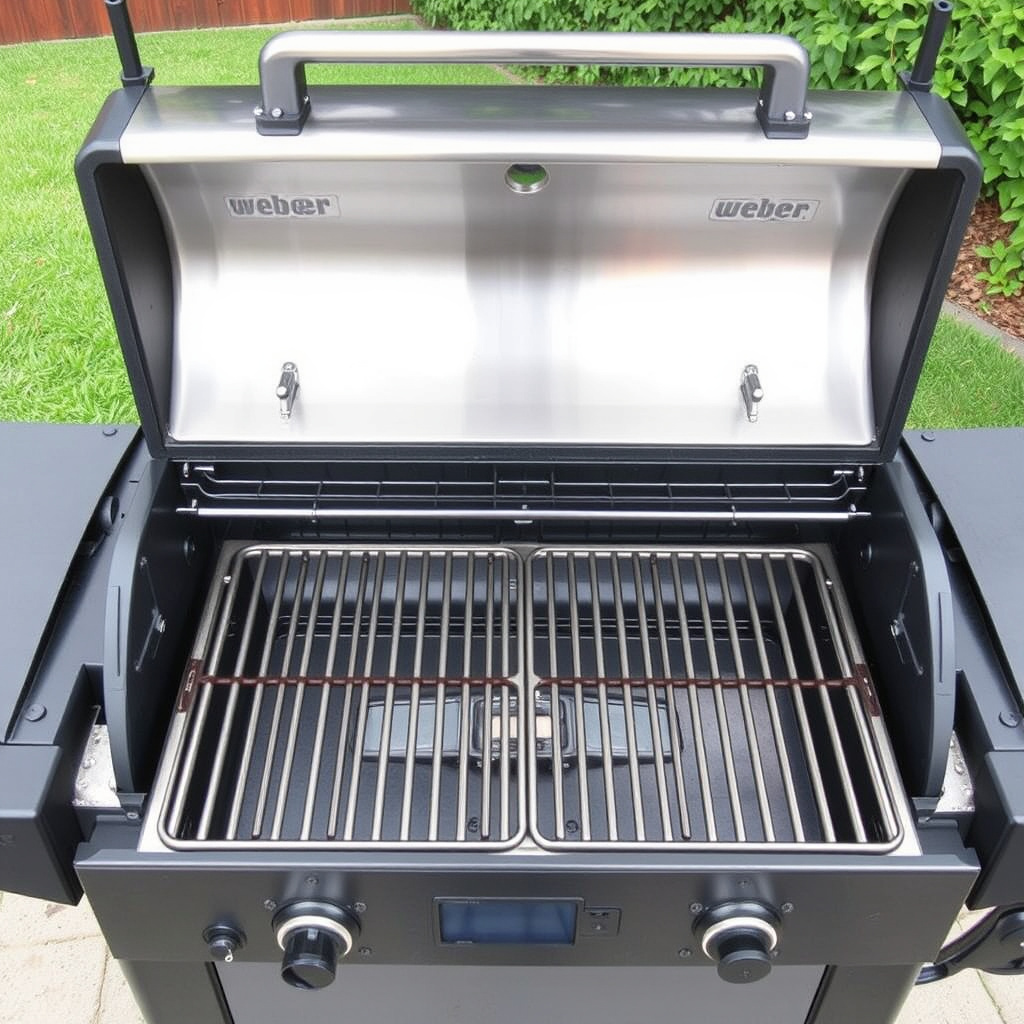
Lift the heavy grill body and place it on the assembled cart frame, aligning the holes precisely while securing it with bolts provided. Having a helper makes this step safer and easier due to the unit’s weight.
Ensure the grill body is level and firmly attached, minimizing movement that could affect cooking stability. Double-check all fasteners before proceeding.
- Lift and position grill body on cart
- Align mounting holes carefully
- Bolt grill body firmly to base
Installing Burners and Flame Tamers
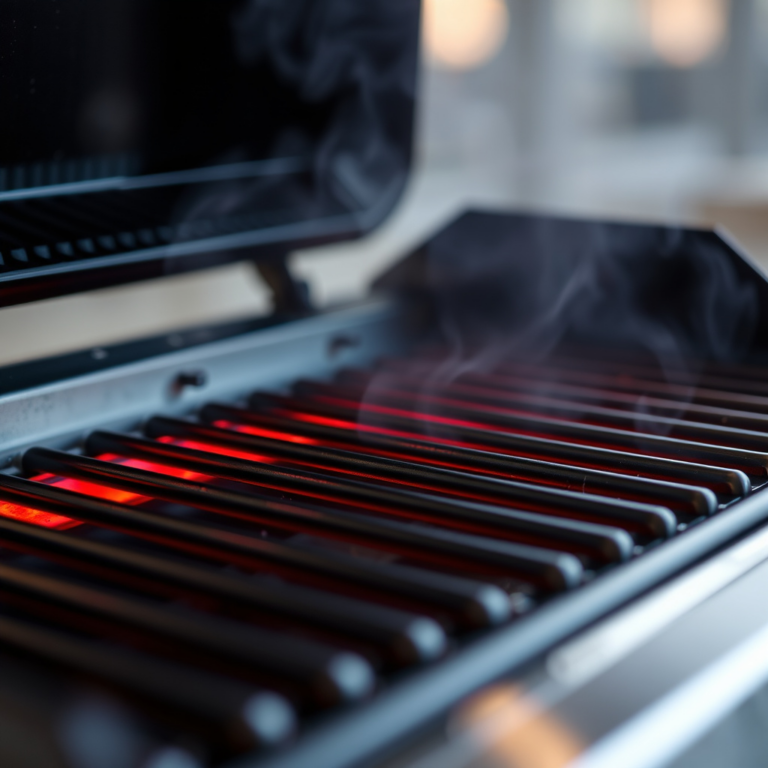
Slide each burner into its slot under the cooking grate, connecting any ignition wires carefully without bending them. Secure burners with screws or clips as instructed.
Place flame tamers or heat shields over burners to protect from drippings and distribute heat evenly. This helps avoid flare-ups and improves grilling performance.
- Slide burners into position
- Connect ignition wires safely
- Secure burners firmly
- Position flame tamers above burners
Attaching the Grill Lid and Cooking Grates
Mounting the Grill Lid Hinges and Handle
Attach the grill lid hinges to the rear of the grill body per instructions, ensuring they are secure and aligned to allow smooth opening and closing.
Install the handle on the lid by fastening screws from the inside. Handle placement is important for safe lid lifting without strain.
- Align and attach lid hinges
- Secure lid handle firmly
- Test lid movement for smoothness
Placing Cooking Grates and Final Touches
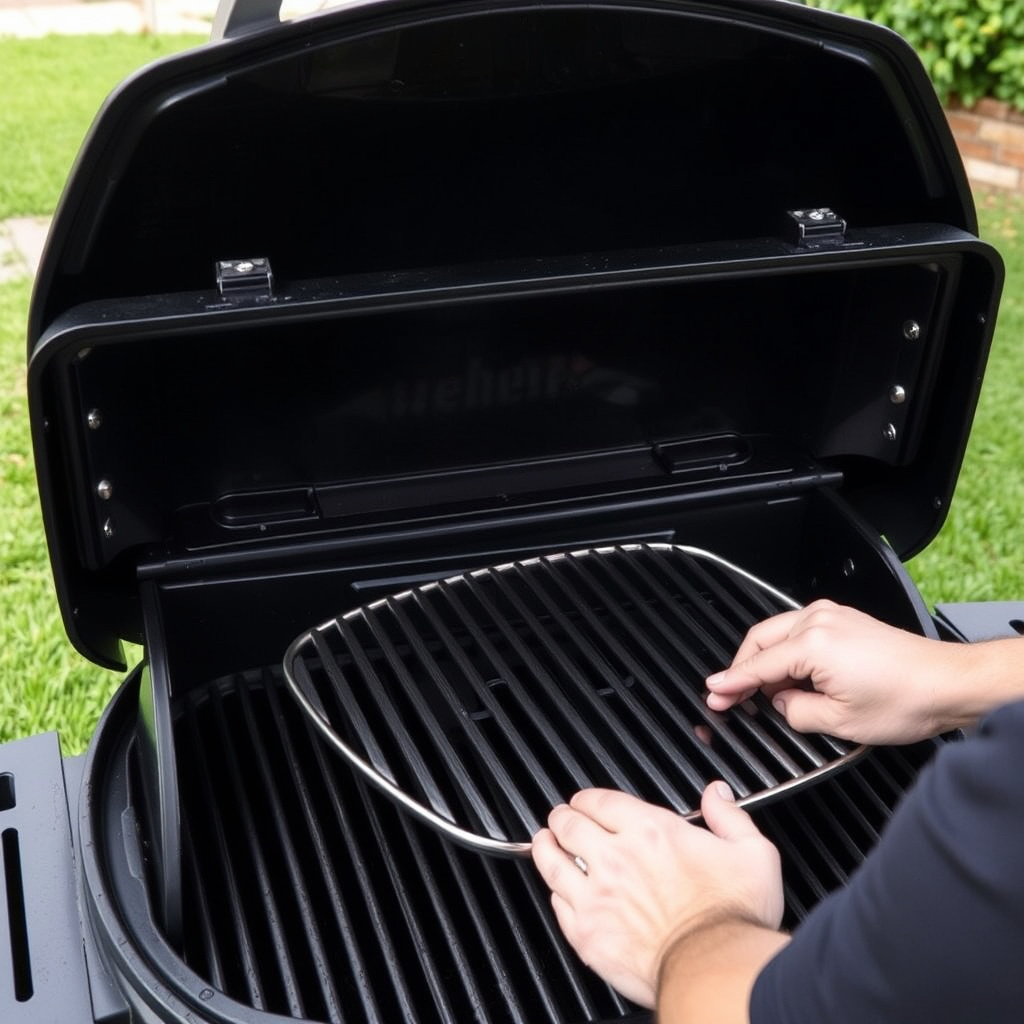
Lower the cooking grates onto the grill body inside, ensuring they sit flat and stable. Some models feature porcelain-coated cast iron grates for durability and heat retention.
Perform a final check over all screws and connections, then clean any fingerprints or oils off the grates before first use.
- Set cooking grates in place
- Check for stable grate seating
- Clean grates before use
Testing and Initial Use of Your Weber Grill
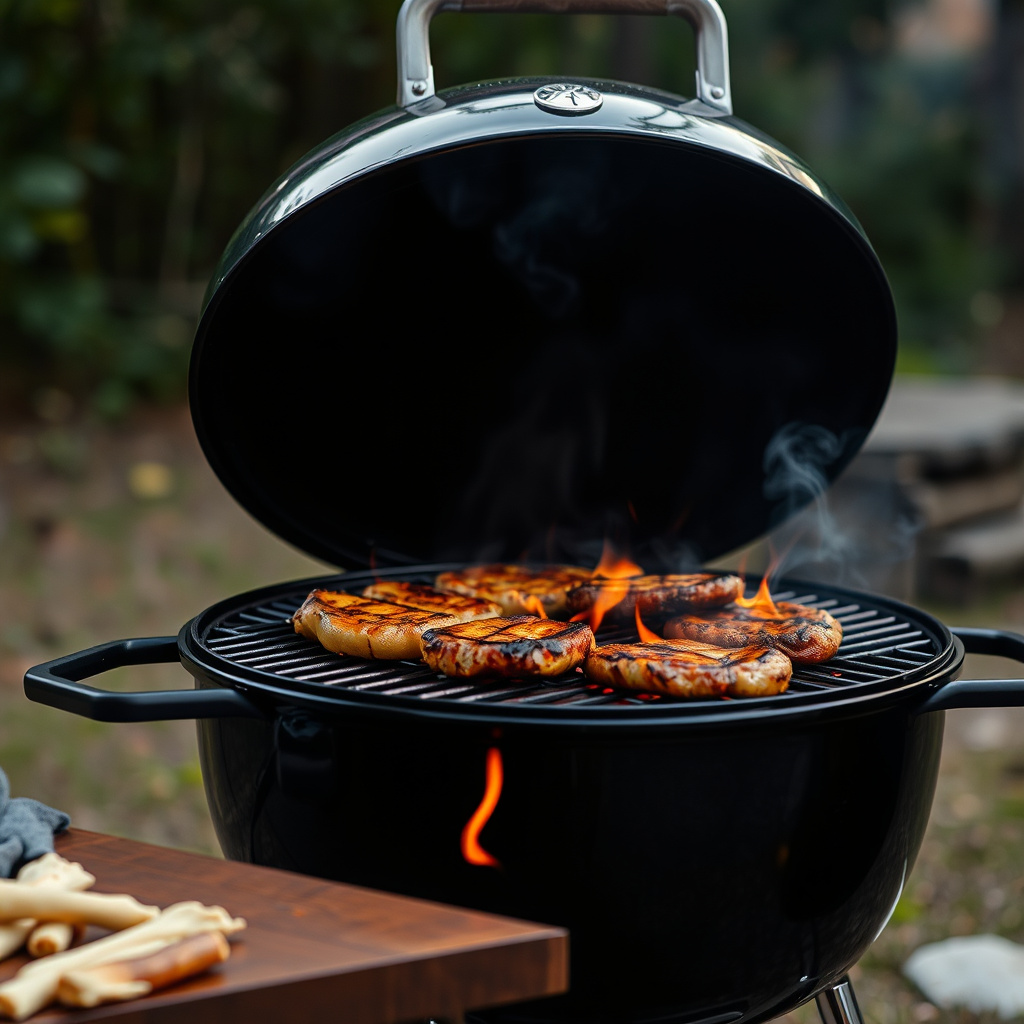
Performing Safety Checks Before the First Light
Before igniting, check gas connections for leaks using soapy water. Apply solution to joints and watch for bubbles indicating leaks. Tighten fittings if necessary.
Verify burner ignition works properly by testing the push-button or electronic starter following safety precautions. Always operate the grill outdoors.
- Test gas connections with soapy water
- Tighten any loose fittings
- Ensure ignition mechanism functions
For additional detailed guidance, consult the official Weber grill assembly instructions. Weber grill assembly instructions.
Burning Off Residues and Preheating
Run the grill on high with the lid closed for 15-20 minutes to burn off manufacturing residues or oils. This step prevents unwanted smells and prepares the grill surface for cooking.
After burn-off, wipe grates lightly with a clean cloth or grill brush before adding food. Now your Weber grill is ready for delicious meals.
- Preheat grill at high temperature
- Burn off factory residues
- Clean grates before cooking
Weber Grill Assembly Methods Comparison
This table compares common assembly approaches and tools while putting together a Weber grill.
| Assembly Method | Tools Required | Average Time | Ease of Use | Safety |
|---|---|---|---|---|
| Manual Assembly with Included Tools | Screwdriver, wrench | 1.5 to 2 hours | Moderate | High if instructions followed |
| Using Professional Assembly Service | None | 0.5 to 1 hour | Very easy | High – done by experts |
| DIY with Power Tools | Cordless drill, wrench | 1 hour | Moderate to easy | Medium – risk of overtightening |
| Pre-Assembled Purchase Option | None | 0 minutes | Easy | High |
Frequently Asked Questions
How long does it typically take to assemble a Weber grill?
On average, assembling a Weber grill takes about 1.5 to 2 hours for someone comfortable with basic tools and following instructions carefully.
Do I need special tools to assemble my Weber grill?
Most Weber grills include the necessary hardware and require standard tools such as a Phillips screwdriver and a wrench, which many homeowners already have.
Is it safe to assemble the grill alone?
While many steps can be done solo, heavy lifting like placing the grill body on the cart is safer with an assistant to prevent injury or damage.
Should I test for gas leaks after assembly?
Yes, it's essential to check all gas connections with a soapy water solution for leaks before first use to ensure safe operation.
Can I use power tools to speed up assembly?
Power tools like cordless drills can speed up assembly, but caution is needed to avoid overtightening bolts which may cause damage.
Key Takeaways
- Organize parts and tools before starting assembly.
- Assemble the grill base and burners carefully for stability.
- Attach the lid and grates securely to ensure safe operation.
- Perform safety checks and burn off residues before first use.
Conclusion
When approaching how to assemble a Weber grill, patience and attention to detail are paramount. Breaking down the assembly into organized steps — unpacking, building the base, mounting the grill body, and installing burners and grates — allows the process to feel manageable and methodical. By following the instructions closely, the grill should stand stable and function safely, providing a solid foundation for your outdoor cooking adventures.
Users looking for convenience might choose a professional assembly service to save time, while DIY enthusiasts can benefit from understanding each part’s role. For those focused on durability, carefully installing burners and flame tamers promotes even heat and flare-up control. Attaching the lid hinges and handles properly ensures smooth operation and comfort during grilling. Each stage contributes to the overall experience, and investing time here pays off in enjoyment later.
The final step before grilling is validating gas connections and burning off factory coatings to guarantee safety and clean flavors. Once your Weber grill is assembled and tested, the next move is launching your first cookout. Following this guide to assemble your Weber grill provides confidence in your equipment’s readiness, letting you savor every BBQ moment without worry.