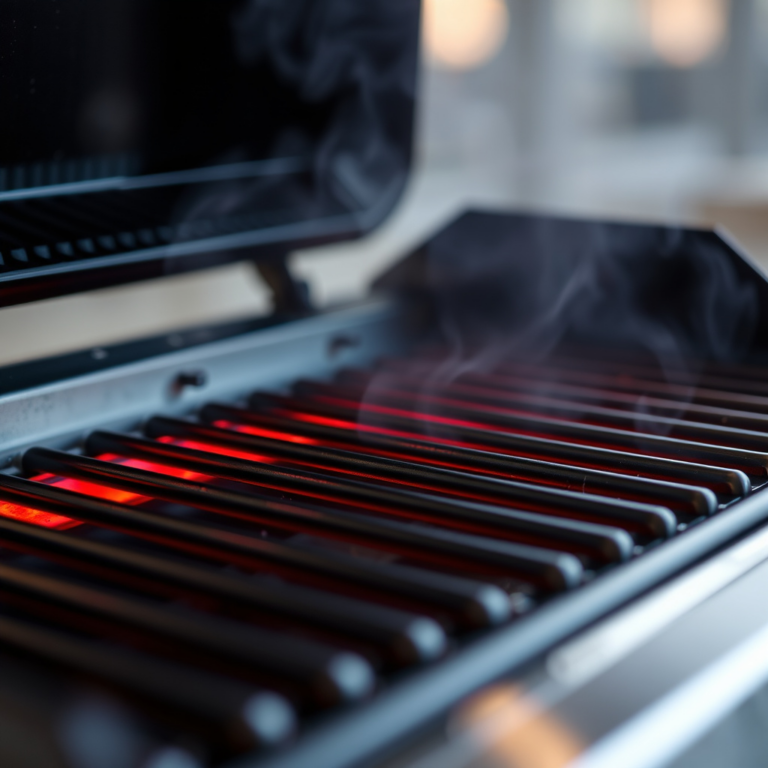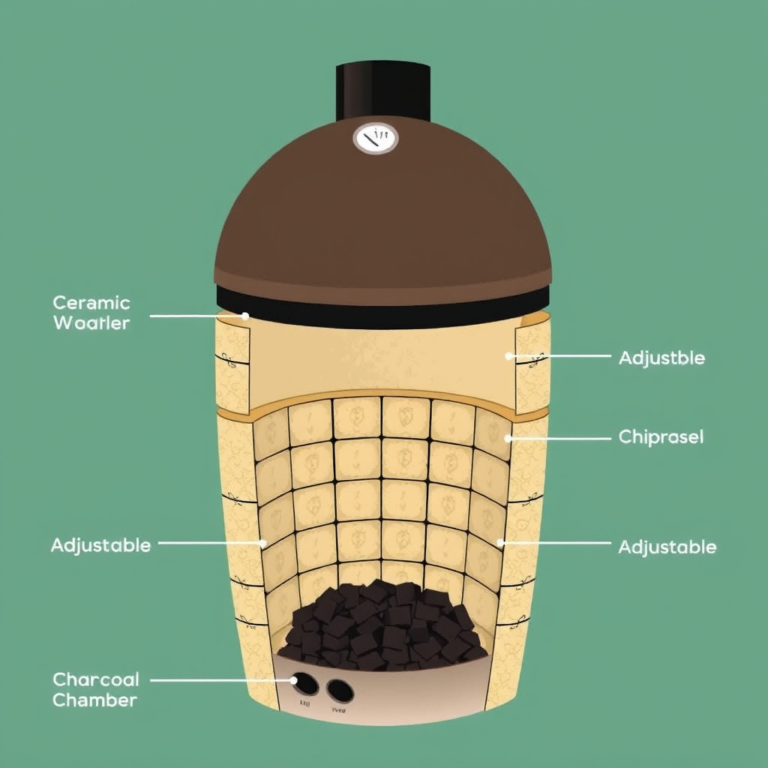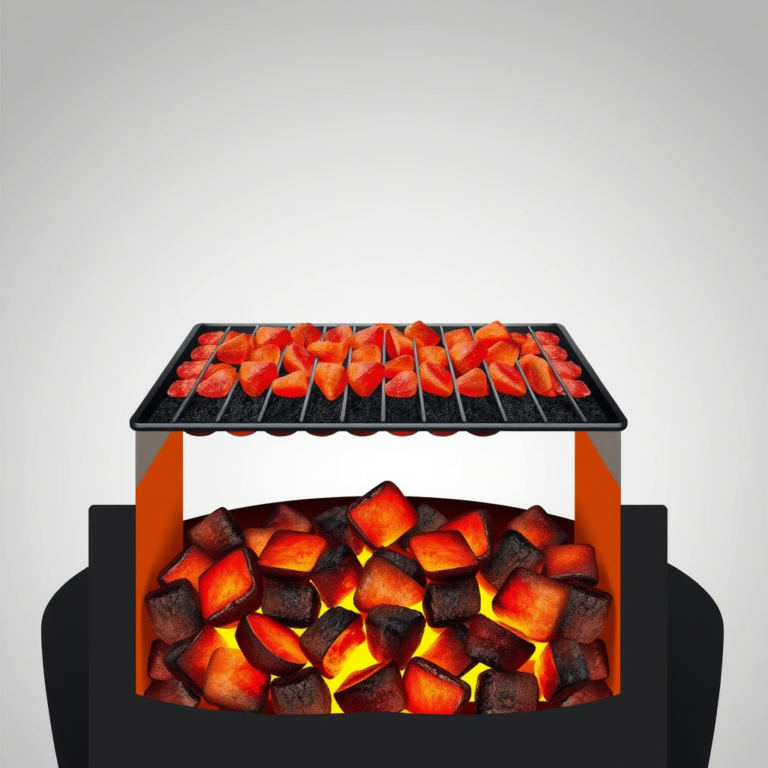
Assembling a gas grill involves following a clear sequence of steps to connect the main parts, attach the burner and gas lines, and ensure safety features are properly installed. This process typically requires basic tools and attention to the manufacturer’s instructions to avoid leaks or unsafe configurations. By assembling your gas grill correctly, you'll be ready to enjoy flawless barbecue sessions without unnecessary hassle or risk.
Gas grills are popular for their convenience and consistent heat, but assembling one can feel intimidating without guidance. Knowing exactly how to put together your grill promotes safety and longevity while making your setup experience straightforward. A well-assembled grill also guarantees optimal cooking performance and prevents common issues such as gas leaks or ignition failures.
This article will walk you through the comprehensive steps involved in gas grill assembly, covering everything from unpacking parts, connecting gas supply lines, testing the burner, to performing a final safety check. We will also explore key tools required, troubleshooting tips, and maintenance advice to keep your grill running smoothly.
Preparing Your Workspace and Tools for Gas Grill Assembly
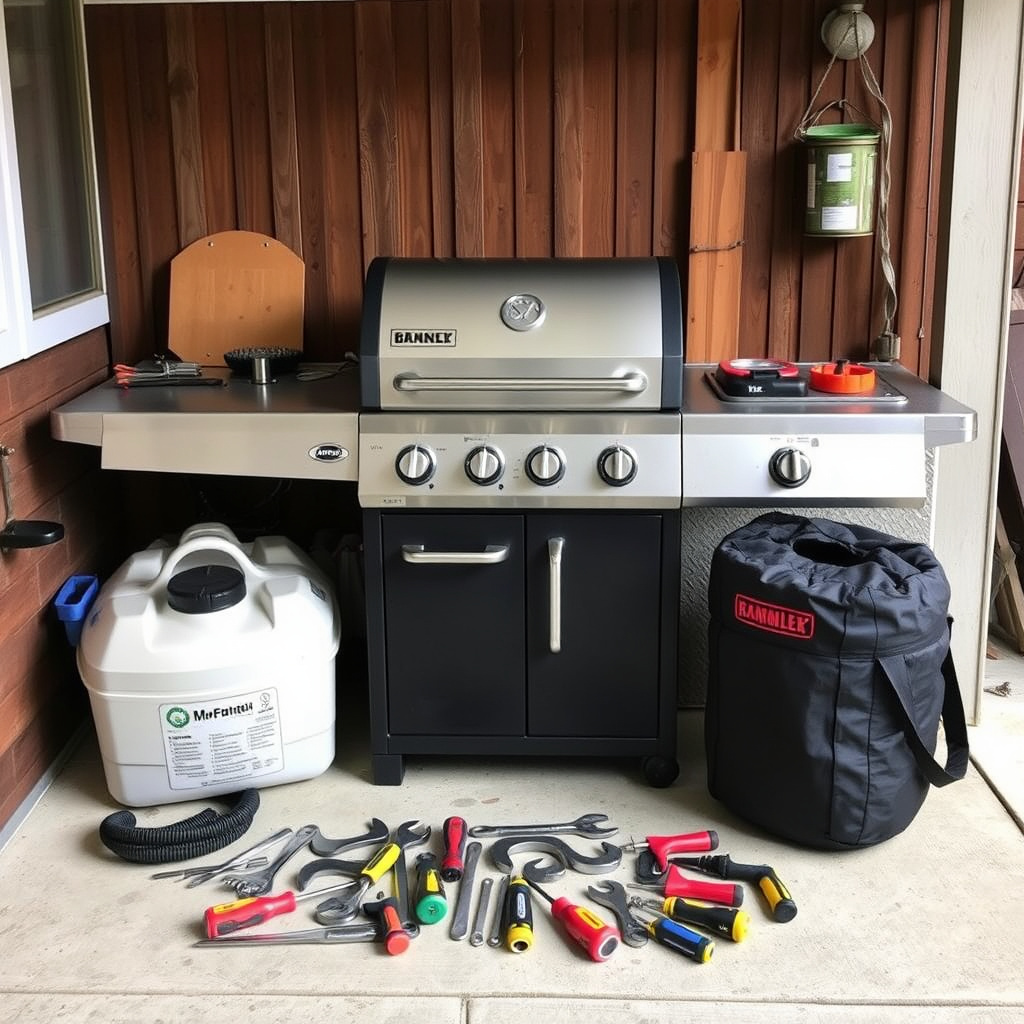
Organizing Parts and Tools Before Starting
Begin by unpacking all parts from the box and laying them out on a flat surface to check for completeness against the instruction manual. Tools you commonly need include a screwdriver set, adjustable wrench, and sometimes pliers. Clear the area of any debris or obstacles to maintain safety and ease during assembly.
Sorting parts by size and type helps speed up the process and prevents confusion during later steps. Take note of any fragile components such as burners and gas lines that require careful handling. Having the tools organized nearby will minimize interruptions.
- Adjustable wrench
- Phillips and flathead screwdrivers
- Pliers
- Protective gloves
Understanding Safety Precautions Before Assembly
Safety is paramount when working with gas grills. Ensure the propane tank or natural gas supply is disconnected before you begin. Work in a well-ventilated area to avoid gas buildup. Avoid using your grill indoors or near any flammable materials during and after assembly.
Review the manufacturer’s safety guidelines carefully. If the grill comes with a gas leak detector spray or soap solution, keep it handy for leak testing later. Wearing gloves and eye protection adds an extra layer of security.
Step-by-Step Assembly of the Main Gas Grill Components
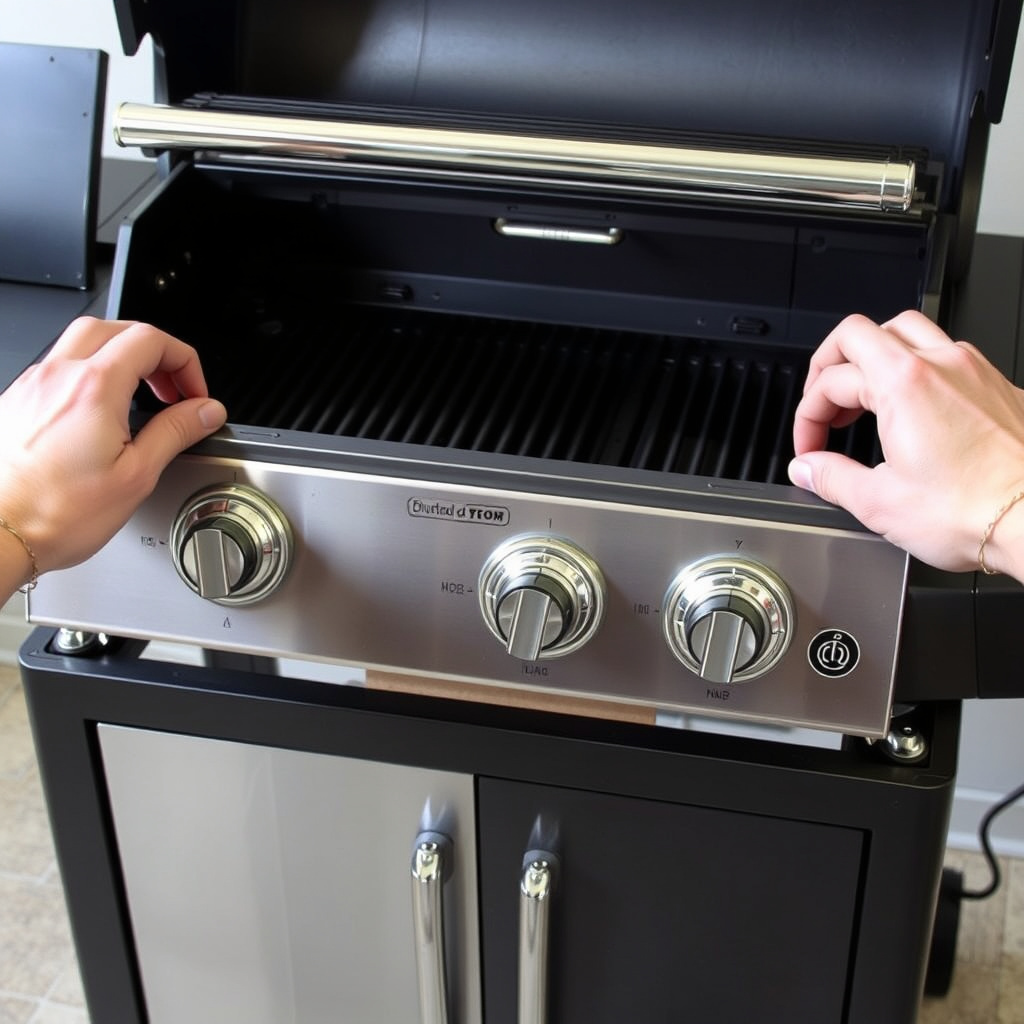
Attaching the Frame, Grill Body, and Side Tables
Start by assembling the main frame and attaching the legs or wheels if your model includes them. Using screws and bolts found in the kit, secure the grill body to the frame carefully to ensure stability and avoid wobbling during usage.
Then attach any side shelves or tables according to the instructions, usually involving brackets and screws. These parts provide convenient space for prep work and utensil storage. Tighten all fasteners firmly but avoid overtightening which can strip screws.
For more on this, see our related guide: How to Convert a Grill to Natural Gas: Step-by-Step Guide.
Installing Gas Burners and Connecting Gas Lines
Next, position the burners inside the grill’s main compartment. Secure them with screws but leave the gas tubes accessible for connection. Carefully attach the gas supply line from the regulator to the burner’s inlet, ensuring a snug fit with no bends or kinks.
Use thread sealant tape if recommended to make tight seal connections and reduce the risk of leaks. Double-check that all valves are in the off position before proceeding.
- Use thread sealant tape
- Avoid kinking gas hose
- Tighten connections securely
Setting Up Ignition and Control Systems
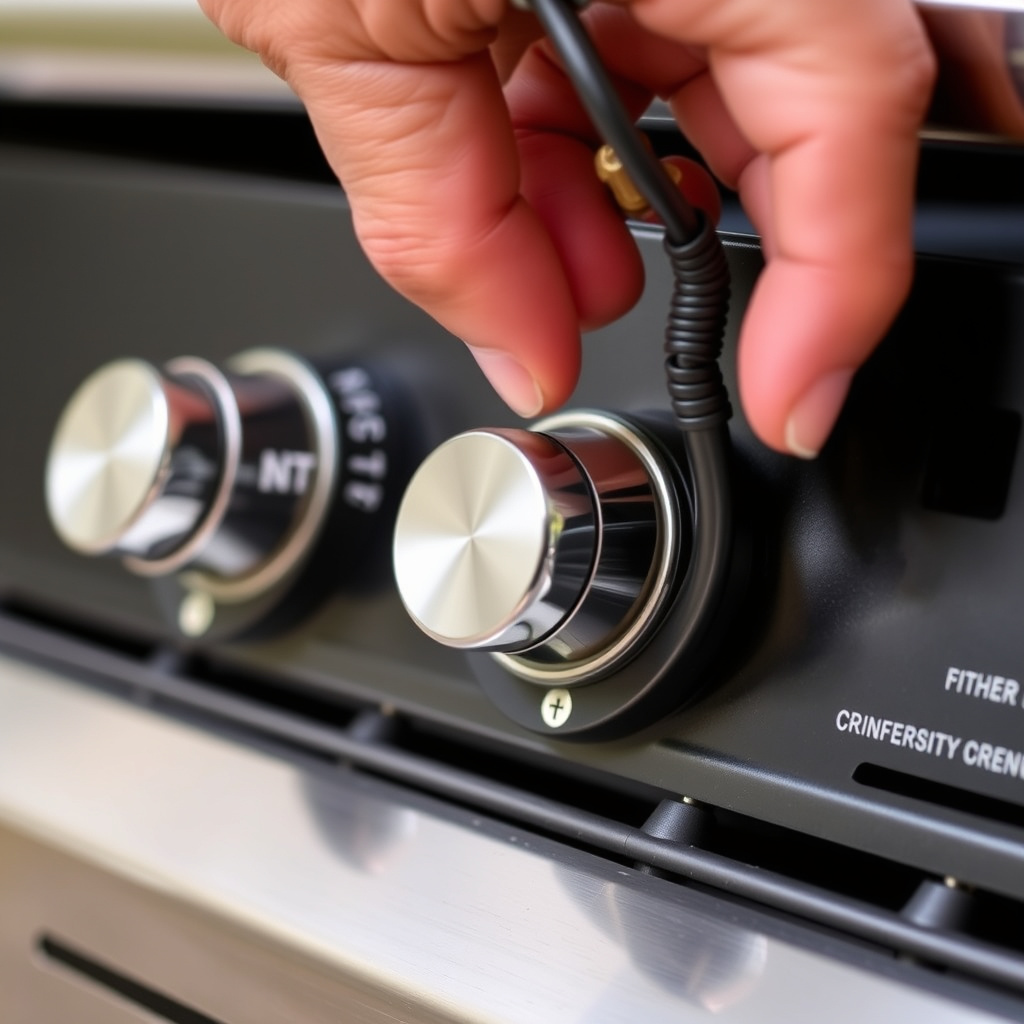
Installing Control Knobs and Ignition Module
Fit the control knobs onto their shafts by aligning them properly to ensure smooth rotation. Install the ignition module and connect the wires from the igniter button to the spark electrodes near each burner for ignition.
If your grill uses battery-operated ignition, install fresh batteries following polarity directions. Test the push-button ignition functionality carefully once installed.
Testing the Ignition System Safely
Before connecting the propane tank, perform a dry test of your ignition by pressing the igniter and observing the spark near burn tubes. This helps verify electrical connections and that the ignition module is working properly.
If the ignition does not spark, double-check wiring and battery installation. Never try to ignite with an open flame if the system fails; resolve issues first for safety.
Connecting the Gas Supply and Performing Leak Tests
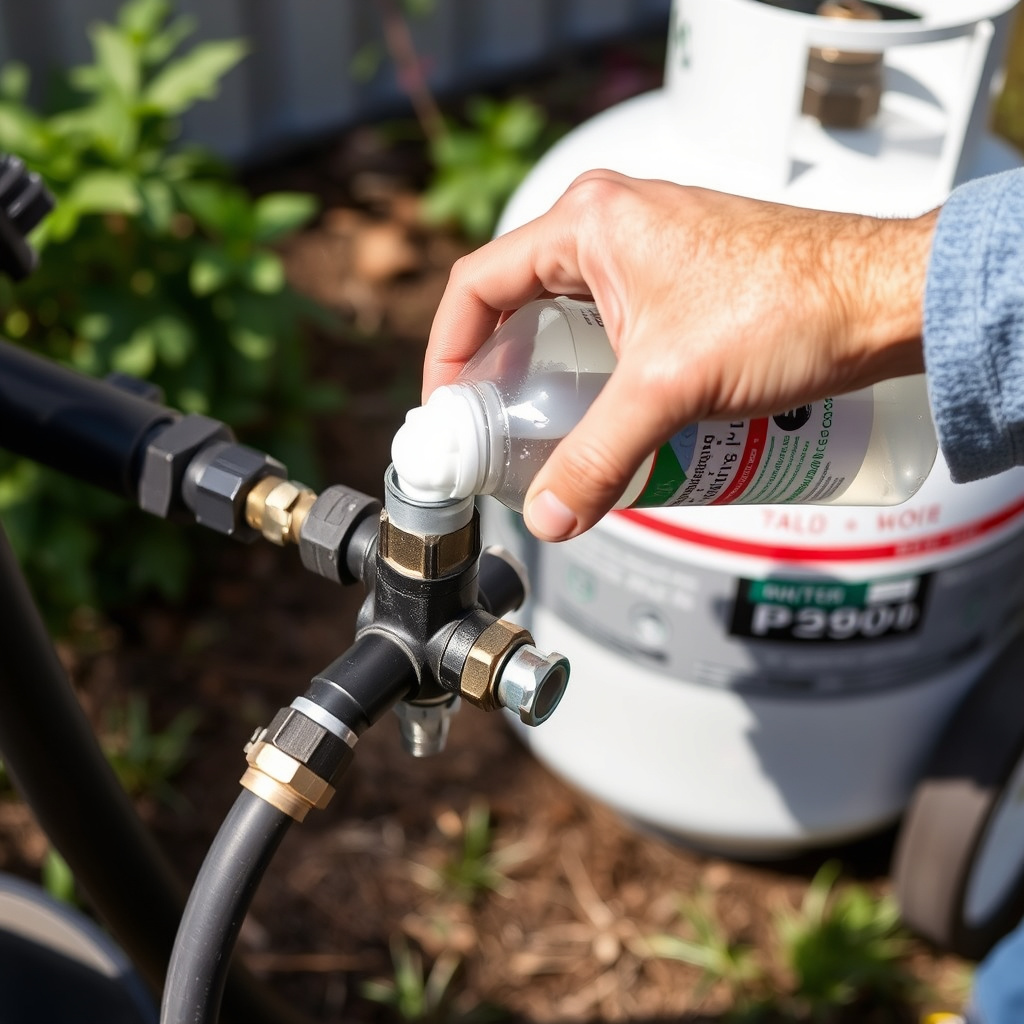
Attaching Propane or Natural Gas Supply
Connect the propane tank to the grill’s regulator by threading the connection carefully. Hand-tighten to avoid cross-threading. For natural gas installations, a certified technician should handle the connection to your home’s gas line for safety and legal compliance.
After connections, turn on the gas valve slowly to observe for any unusual smells or hissing sounds indicating leaks.
- Hand-tighten connections
- Do not over-tighten
- Use officially rated equipment
For more on this, see our related guide: How to Check a Propane Grill for Leaks Safely and Effectively.
Performing a Soap Solution Leak Test
Create a simple leak test solution by mixing water with a few drops of dish soap. Apply this mixture generously over gas fittings and connections. If bubbles form, it signals a leak requiring tightening or reinstallation.
Never light the grill if you detect leaks. Repeat the test after adjustments until no bubbles appear, confirming a safe seal.
- Mix 1 part soap with 3 parts water
- Check connections thoroughly
- Retest after fixing leaks
Final Assembly Checks and Grill Startup Procedures
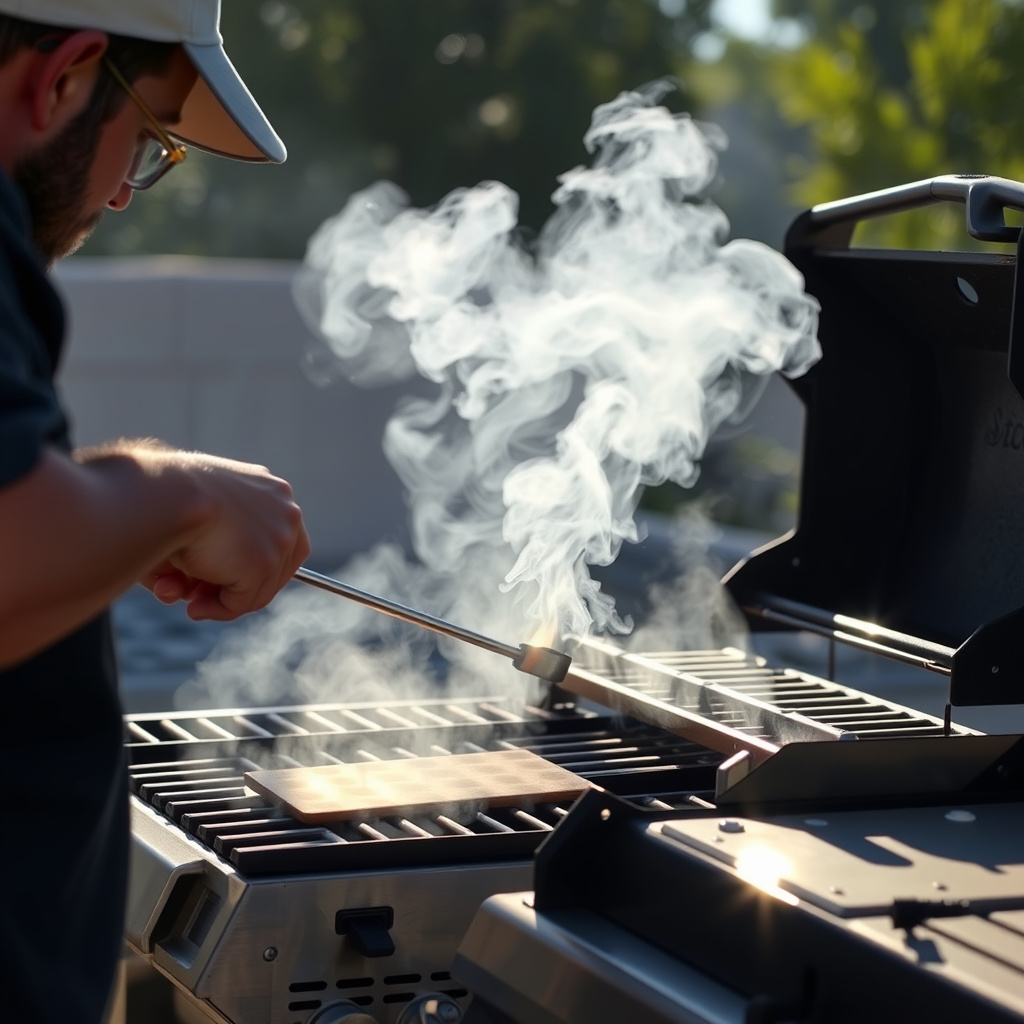
Verifying All Connections and Fasteners
Review the entire grill setup by checking all screws, bolts, and gas fittings one last time to confirm everything is tight and secure. Wobbly parts or loose connections can impact the longevity of the grill and safety during cooking.
Ensure the drip pan and grease tray are properly installed as they help prevent fires and keep maintenance easier.
For more detailed technical and safety information, visit this authoritative source on gas grills. gas grill assembly guidelines.
Starting the Grill for the First Time
Open the grill lid before attempting ignition. Open the gas valve gradually and ignite the burners using the installed ignition system. Allow the grill to preheat for 10-15 minutes to burn off protective oils from manufacturing.
Observe the flame’s color; a steady blue flame with yellow tips is normal. If flames are irregular or noisy, recheck burner installation and gas pressure.
Gas Grill Assembly Method Comparison
Here’s a comparison of assembly approaches based on grill type and complexity for various skill levels and needs.
| Grill Type | Assembly Time | Skill Level Required | Tools Needed | Safety Considerations |
|---|---|---|---|---|
| Basic Portable Gas Grill | 30-45 minutes | Beginner | Screwdriver, wrench | Standard leak check essential |
| Mid-Range Home Gas Grill | 1-2 hours | Intermediate | Screwdriver, wrench, pliers | Thorough leak and ignition testing |
| High-End Gas Grill with Accessories | 2-3 hours | Advanced | Full toolset including torque wrench | Multiple gas line checks, electrical ignition setup |
| Built-in Gas Grill for Outdoor Kitchen | 3+ hours | Professional or technician | Specialized plumbing tools | Certified gas line installation required |
Frequently Asked Questions
How long does it usually take to assemble a gas grill?
Assembly time varies by grill complexity but typically ranges from 30 minutes for portable models to several hours for larger units with additional features.
Can I assemble a gas grill myself without professional help?
Yes, many gas grills are designed for user assembly with included instructions, but built-in grills or complex gas connections may require professionals.
What tools do I need to assemble a gas grill?
Generally, you need screwdrivers, an adjustable wrench, and pliers. Some models may require additional specialized tools.
How can I check for gas leaks after assembly?
Mix water and dish soap, apply it to connections, and watch for bubbles indicating leaks. Never use an open flame for leak detection.
Should I test the ignition system before connecting the propane tank?
Testing the ignition without gas is safe and recommended to ensure the electrical parts function properly before adding fuel.
Key Takeaways
- Lay out all parts and read instructions before starting assembly.
- Follow safety procedures, especially regarding gas connections and leak checks.
- Assemble frame, burners, and controls carefully for a stable setup.
- Test ignition and gas leaks thoroughly before using the grill.
Conclusion
Understanding each step involved in how to assemble a gas grill allows for a safer and smoother setup experience. A methodical approach ensures the grill functions correctly and reduces the risk of leaks or mechanical failure. Taking time to organize parts, use the correct tools, and follow manufacturer instructions leads to a long-lasting grilling appliance that performs consistently.
For those assembling a basic portable gas grill, the process can be done in under an hour with minimal tools and straightforward steps. Mid-range and high-end models require more effort, including ignition system setup and detailed leak testing. Built-in grills should always be handled by professionals due to complex gas line connections. Regardless of the model, adhering to safety steps is essential to protect yourself and your home.
Once assembled and tested, your gas grill will be ready to provide flavorful cooking experiences all season long. If at any point you feel unsure about connections or safety, consulting a certified technician can provide peace of mind. Start by thoroughly reviewing your grill’s manual and gathering tools before beginning your assembly project to make the process smooth and successful.