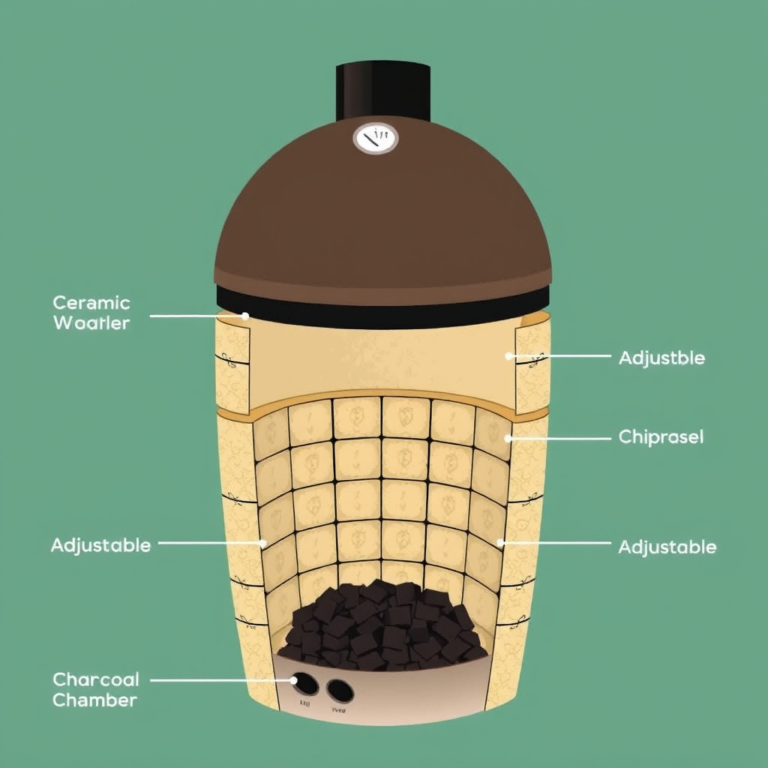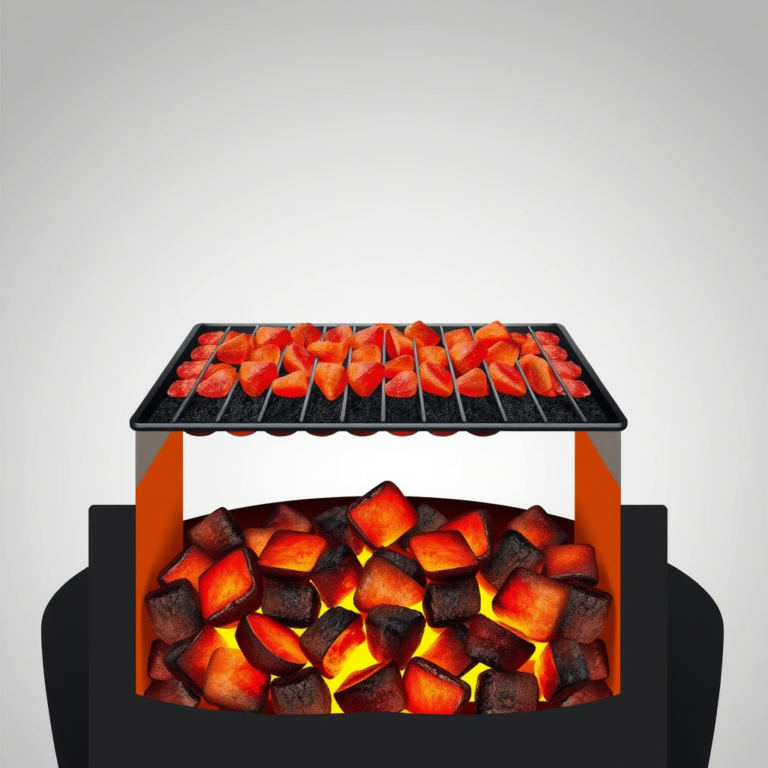
Replacing grill grates is straightforward when you know the right steps. First, identify the type and size of your grill grates, then remove the old ones carefully by loosening screws or lifting them out. Clean the grill base before installing the new grates to improve cooking quality.
Over time, grill grates deteriorate due to heat, grease buildup, and rust, affecting flavor and cooking efficiency. Swapping out worn grates refreshes your grill's performance and simplifies maintenance, important for anyone who grills regularly or wants their food cooked evenly.
This article covers the main methods to safely replace grill grates, how to select the best replacement grill grates for your needs, installation tips, maintenance advice, and a comparison of popular types to help you make an informed choice.
Types of Grill Grates and Their Benefits
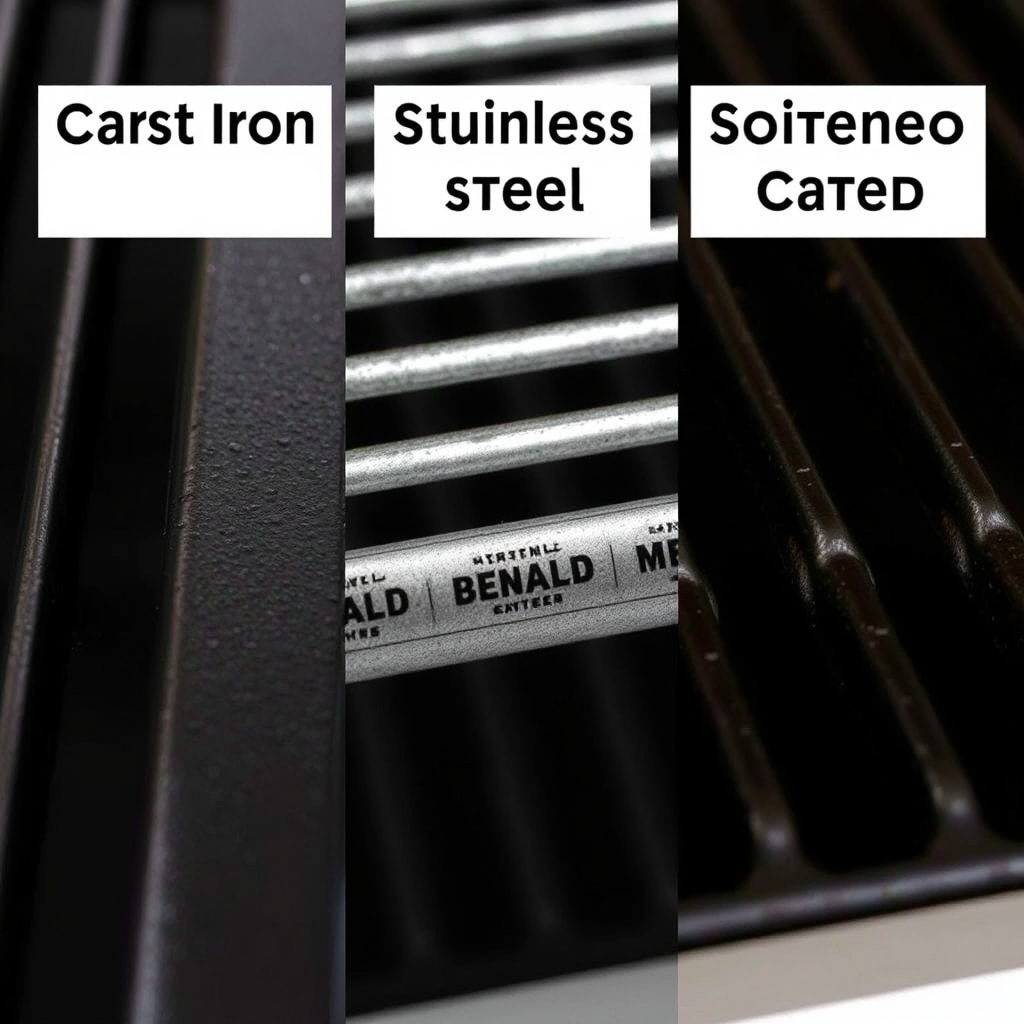
Cast Iron Grates
Cast iron grill grates are prized for their heat retention and distribution, creating perfect sear marks on food. They are robust and hold consistent temperatures but need regular seasoning to prevent rust and maintain a non-stick surface.
These grates excel in retaining heat, which helps in cooking thicker cuts evenly. However, they require more maintenance, such as cleaning without soap and applying oil after use.
- Excellent heat retention
- Great for searing
- Requires seasoning
- Prone to rust without care
Stainless Steel Grates
Stainless steel grates resist rust and corrosion, requiring less maintenance than cast iron. They heat up quickly and clean easily but may not retain heat as well, which can affect searing capability.
These grates are suitable for grillers who prefer a low-maintenance option. Their durability and ease of cleaning make them popular in commercial and home grills.
- Rust-resistant
- Easy to clean
- Less heat retention
- Long-lasting
When and Why to Replace Grill Grates
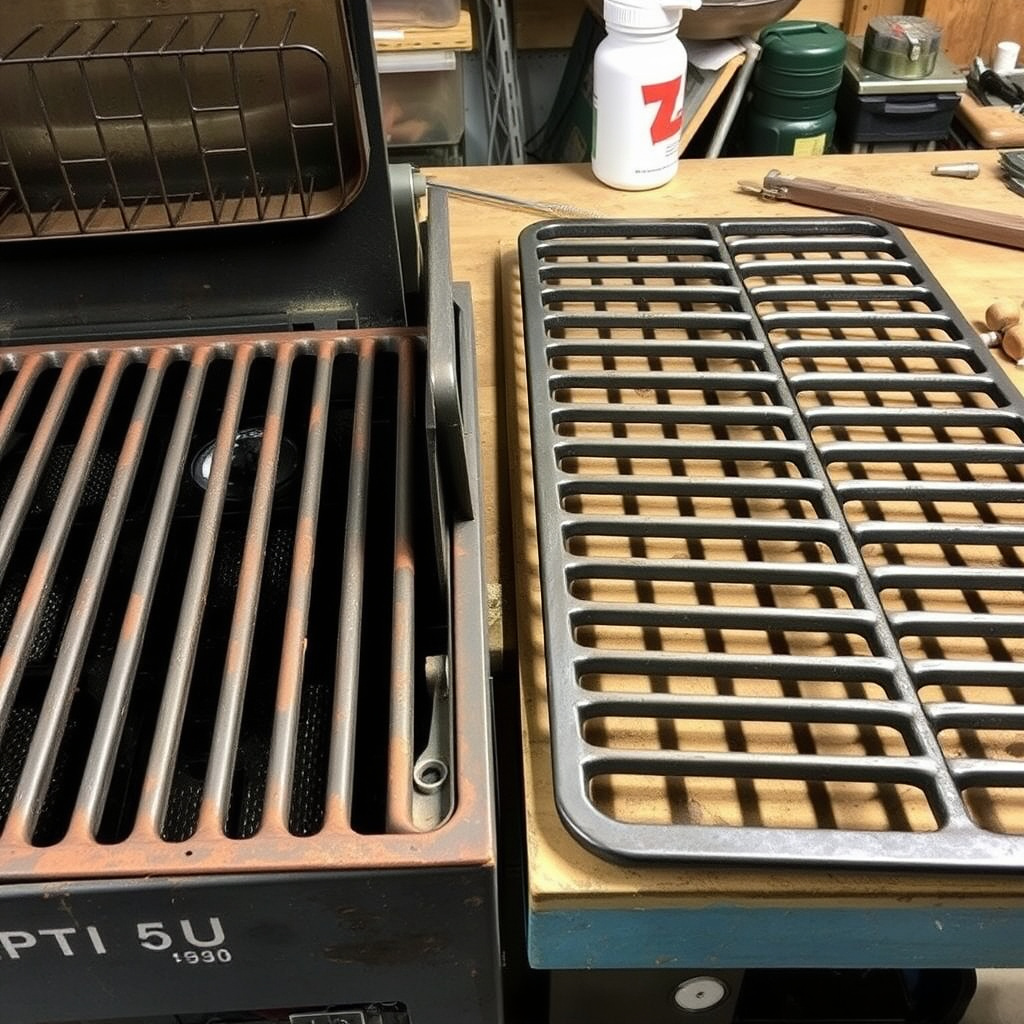
Signs Your Grill Grates Need Replacement
Look for deep rust, chipping porcelain, warped bars, or persistent food sticking despite cleaning. These signs indicate the grates no longer provide even heating or safe cooking surfaces.
Old grates can also harbor bacteria if cracks or pits develop. Replacing them restores hygiene and improves grilling results.
- Flaking or chipping
- Uneven heat spots
- Corrosion or rust
- Warping beyond repair
Benefits of Upgrading Grill Grates
New grill grates improve heat distribution and reduce flare-ups, making cooking more consistent. Upgraded materials also provide better durability and easier cleaning.
Replacing grates can also update an older grill’s functionality and appearance, turning it into a more enjoyable cooking tool.
- Improved cooking quality
- Less grease flare-up
- Easier cleaning
- Enhanced grill lifespan
Tools and Preparations for Replacing Grill Grates
Required Tools
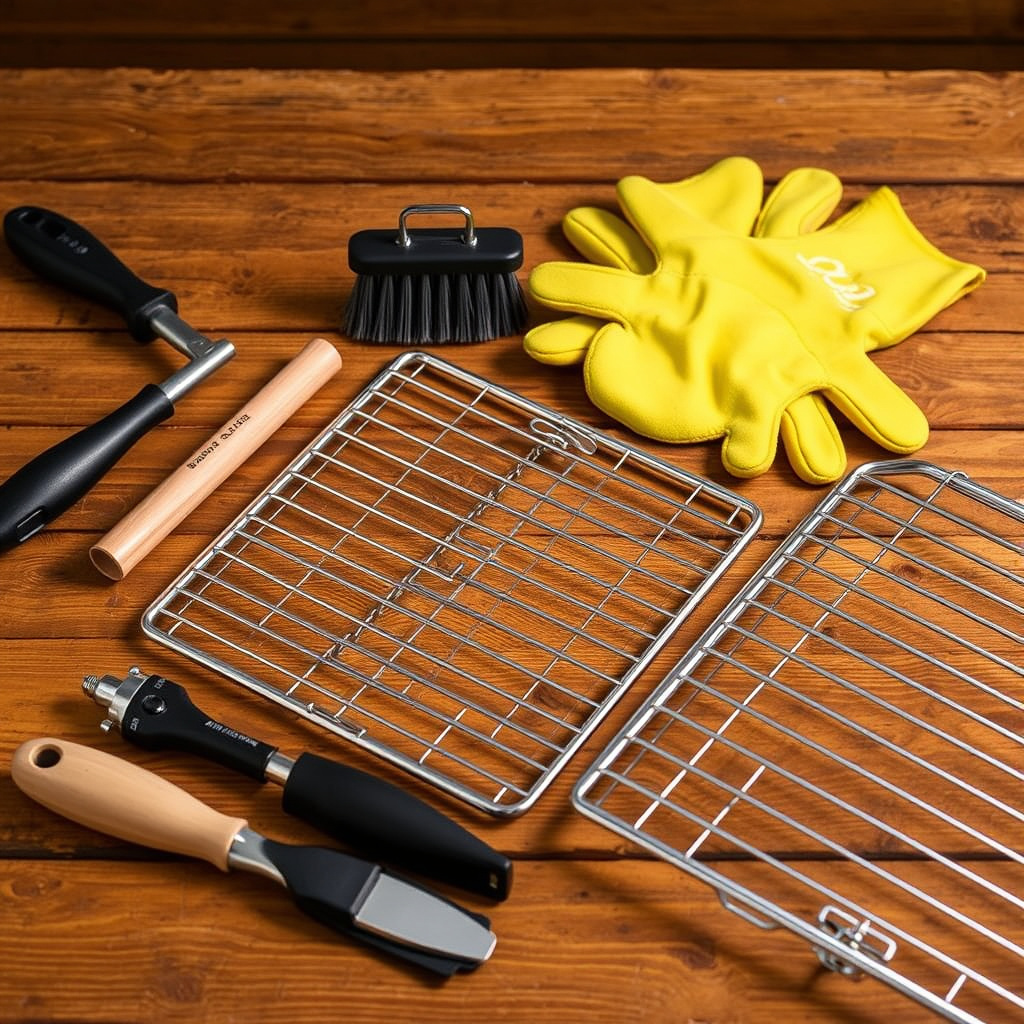
For most grille grate replacements, basic tools like a screwdriver or wrench are needed if the grates are fastened. Gloves and a wire brush help safely remove residue and protect your hands.
Having a soft cloth and grill cleaner ready for the grill surface ensures a clean base for the new grates.
- Screwdriver or wrench
- Protective gloves
- Wire brush
- Grill cleaner and cloth
For more on this, see our related guide: How to Replace Grill Burners: A Step-by-Step Guide for Perfect BBQs.
Preparing the Grill
Turn off and disconnect fuel supply (gas or charcoal). Let the grill cool completely before starting replacement to avoid burns or accidents.
Remove any leftover debris, clean out grease traps, and inspect vents and burners to ensure the whole grill is ready for new grates.
Step-by-Step Guide: How to Replace Grill Grates

Removing the Old Grill Grates
Lift out or unscrew the existing grates depending on your grill model. If screws or clips hold them, loosen those first, saving hardware if the new grates use the same fit.
If grates are stuck due to residue or rust, apply some cooking oil or heat briefly to loosen them safely, avoiding damage to the grill surface.
- Disconnect fuel source and cool grill
- Loosen screws or clips if present
- Lift grates gently to avoid bending
Installing New Grill Grates
Place new grates carefully, ensuring they fit snugly and evenly without rocking. Tighten screws or clips if applicable, taking care not to overtighten and damage hardware.
After placement, heat the grill gradually to cure cast iron or porcelain coatings and prepare the grates for cooking.
- Align grates with grill supports
- Secure hardware if present
- Season cast iron grates before use
Maintenance Tips for Your Replacement Grill Grates
Cleaning After Use
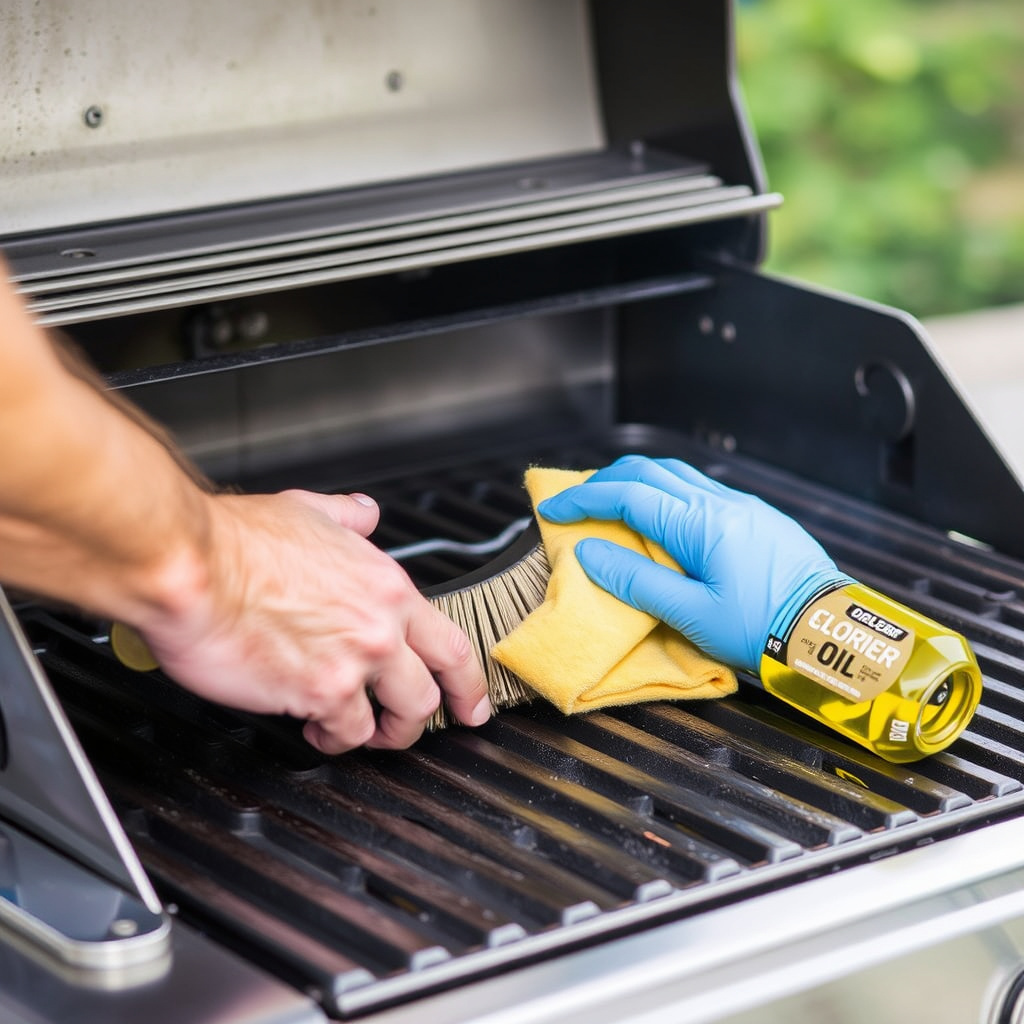
After cooking and cooling, brush the grates with a wire brush to remove residue. Avoid soap on cast iron; instead use hot water and reseason with oil to prevent rust.
For stainless steel and porcelain grates, mild soap and water can be used along with a non-abrasive sponge.
- Brush grates after every use
- Use appropriate cleaning method per material
- Dry thoroughly before storage
For more on this, see our related guide: How to Fix a Rusty Grill: Step-by-Step Restoration Guide.
Seasoning and Storage
Cast iron grates benefit from regular oil seasoning to maintain a natural non-stick surface and ward off rust. Apply cooking oil while grates are warm and wipe off excess.
Store grates in a dry place during off-season to keep them in good condition and prolong their lifespan.
- Oil cast iron grates monthly
- Avoid moisture buildup in storage
- Cover grill if stored outdoors
Selecting the Best Replacement Grill Grates
Matching Your Grill Model
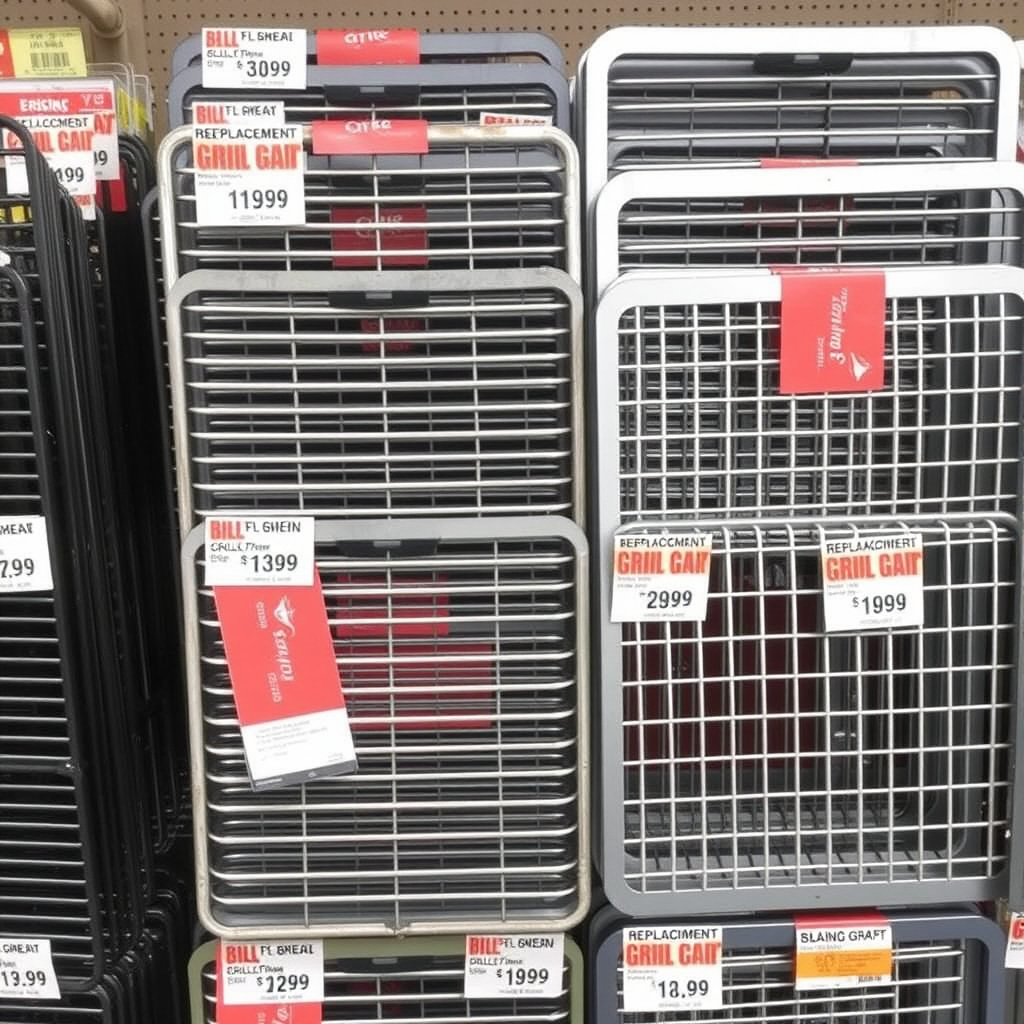
Check your grill’s brand and model number before purchasing replacements. Using the exact size and shape ensures a proper fit that supports even heating and stable cooking.
Some universal replacement grill grates exist but measure carefully to avoid uneven surfaces or gaps that cause flare-ups.
- Measure grates before buying
- Consult manufacture specifications
- Prefer exact fit replacements
For additional technical details and history about grill components including grates, see the grill grate information on Wikipedia. grill grate information on Wikipedia.
Choosing Materials and Quality
Decide between cast iron and stainless steel based on cooking style and maintenance preferences. Consider porcelain-coated cast iron for a blend of non-stick and durability.
Look for grates with thick bars for heat retention and heavy gauge steel for longevity.
- Cast iron for searing
- Stainless steel for rust resistance
- Porcelain for easy cleaning
- Heavy gauge steel improves durability
Comparison of Common Grill Grate Types
This table summarizes key differences among popular grill grate materials to help determine the best fit for your grilling needs.
| Grate Type | Heat Retention | Ease of Cleaning | Durability | Price Range |
|---|---|---|---|---|
| Cast Iron | High | Moderate (requires seasoning) | High (needs maintenance) | $$ |
| Stainless Steel | Moderate | Easy | Very High | $$$ |
| Porcelain-Coated Cast Iron | High | Easy | Moderate (coating can chip) | $$ |
| Chrome-Plated Steel | Low | Moderate | Low (prone to rust) | $ |
Frequently Asked Questions
How often should I replace my grill grates?
Grill grates typically last several years, but replacement is needed sooner if you notice rust, warping, or chipping that affects cooking performance.
Can I replace grill grates myself without professional help?
Yes, replacing grill grates is usually a simple DIY task requiring basic tools and careful handling to avoid damage or injury.
Are stainless steel grates better than cast iron?
It depends on your priorities: stainless steel is easier to maintain and rust-resistant, while cast iron offers superior heat retention and searing capabilities.
What maintenance do new grill grates require?
Regular cleaning after use and seasoning if cast iron are essential to keep grates in good condition and extend their lifespan.
Will replacement grates affect my grill’s cooking performance?
Quality replacement grill grates restore or enhance cooking consistency and heat distribution, improving your overall grilling results.
Key Takeaways
- Replacing grill grates restores cooking efficiency and food safety.
- Cast iron and stainless steel grates serve different cooking needs.
- Proper measurement ensures a perfect replacement fit.
- Regular cleaning and maintenance prolong grate lifespan.
Conclusion
Replacing grill grates is a practical way to improve your grilling experience by restoring heat distribution, preventing flare-ups, and ensuring hygienic cooking surfaces. Carefully assessing the condition of your old grates based on rust, warping, and surface damage guides the timing of replacement. Measuring and choosing the right material—whether cast iron for searing or stainless steel for low upkeep—shapes the performance and longevity of your grill’s cooking surface.
For frequent grillers focused on sear marks and heat retention, cast iron or porcelain-coated cast iron grates offer unmatched benefits but require seasoning and careful cleaning. Those seeking straightforward maintenance will appreciate stainless steel’s corrosion resistance and ease of cleaning, especially suitable for gas grills. Assess your cooking preferences and grill model to pick the best replacement grill grates category, making sure to follow proper installation steps described here to guarantee a secure fit and optimal heat distribution.
Once you’ve selected and installed new grill grates, maintaining them through consistent cleaning and periodic seasoning (for cast iron) extends their use and ensures delicious results every time you grill. If you are uncertain about size or compatibility, refer to your grill manufacturer’s specifications or expert resources for advice. This straightforward upgrade not only improves your current grill’s performance but also enhances your entire outdoor cooking routine.