Building a DIY smoker is entirely achievable with simple tools, affordable materials, and some basic woodworking skills. A smoker allows you to infuse your meats with rich, smoky flavors by cooking them low and slow using controlled heat and wood smoke. Whether you choose a vertical, offset, or bullet design, the core components include a firebox, cooking chamber, and a method to regulate air flow for consistent temperature.
Creating your own smoker matters because commercial smokers can be expensive, bulky, or limited in customization. Constructing your own means you can tailor its size and features to your specific needs and space while gaining a deeper understanding of how smoking works. This DIY approach can also be a rewarding project that enhances your outdoor cooking experience and expands your grilling repertoire.
In this article, you’ll find detailed instructions on different smoker designs, the materials needed, how to choose the best wood for smoking meat, and essential tips on temperature and smoke control. We’ll also compare popular DIY smoker styles and address common questions people have when starting their own smoker build.
Choosing the Right DIY Smoker Design
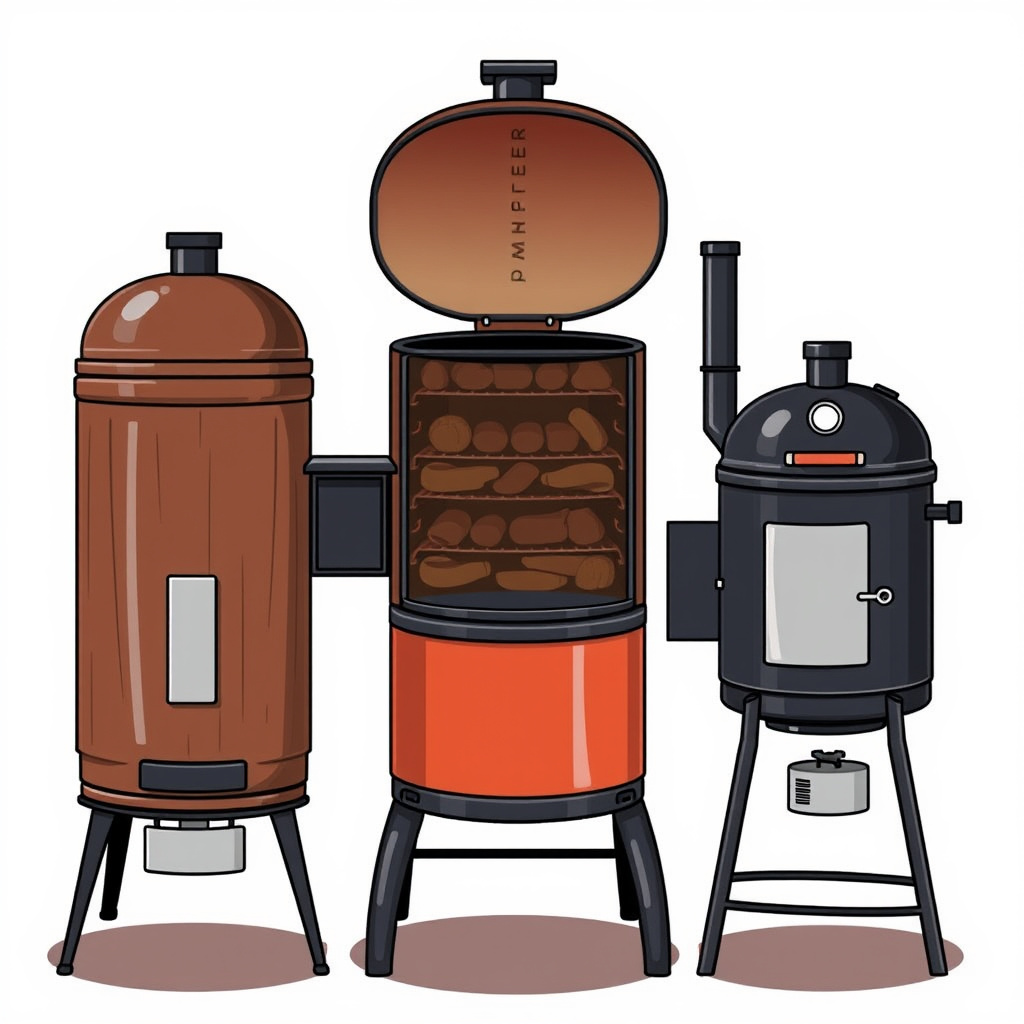
Vertical Water Pan Smokers
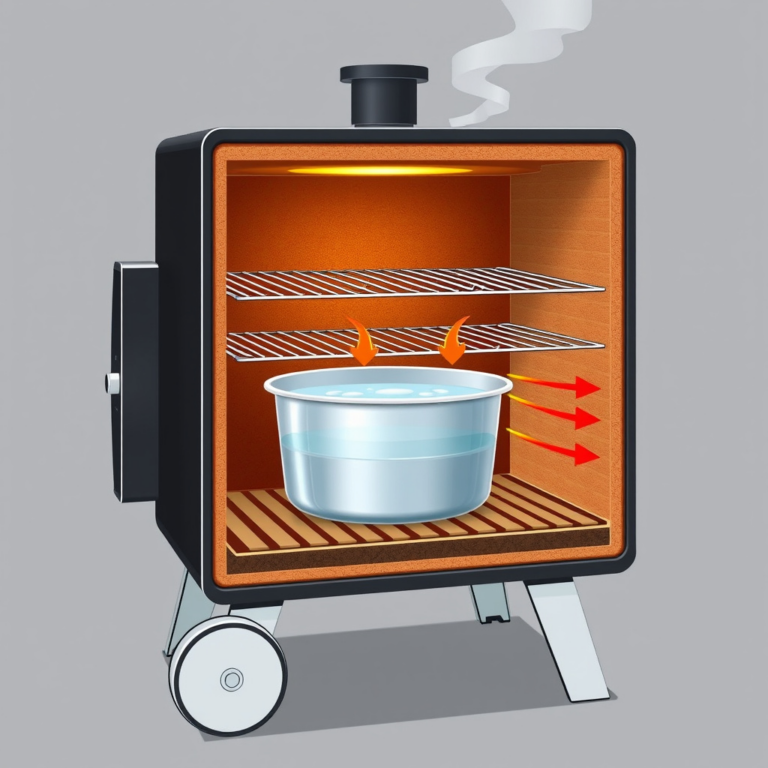
Vertical water pan smokers use a water pan placed between the fire and cooking grate to maintain moisture and moderate temperature. They are compact and often made from metal barrels or old refrigerators repurposed with modifications. This design is simple, affordable, and perfect for slow smoking small to medium quantities of meat.
The water pan acts as a heat sink and humidity source, which helps prevent drying out food over several hours. However, air flow in these smokers typically comes from below, so getting consistent smoke can require some practice adjusting vents and fuel load.
- Compact and space-efficient
- Provides moist cooking environment
- Easy to build from metal barrels
Offset Smokers
Offset smokers consist of two connected chambers: a horizontal firebox feeding smoke and heat into a separate cooking chamber. This allows indirect cooking and clear separation of fire and food, essential for controlling smoke flavor and temperature precisely.
Building an offset smoker is more involved since it requires welding or assembling metal sections and creating airtight doors and vents. However, this design provides excellent versatility for longer cooks and larger meats. Many DIY builders modify steel drums or old propane tanks for this use.
- Great for larger cuts and longer smoking sessions
- Allows precise temperature and smoke control
- Requires metalworking skills or welding
Essential Materials and Tools for Building a DIY Smoker
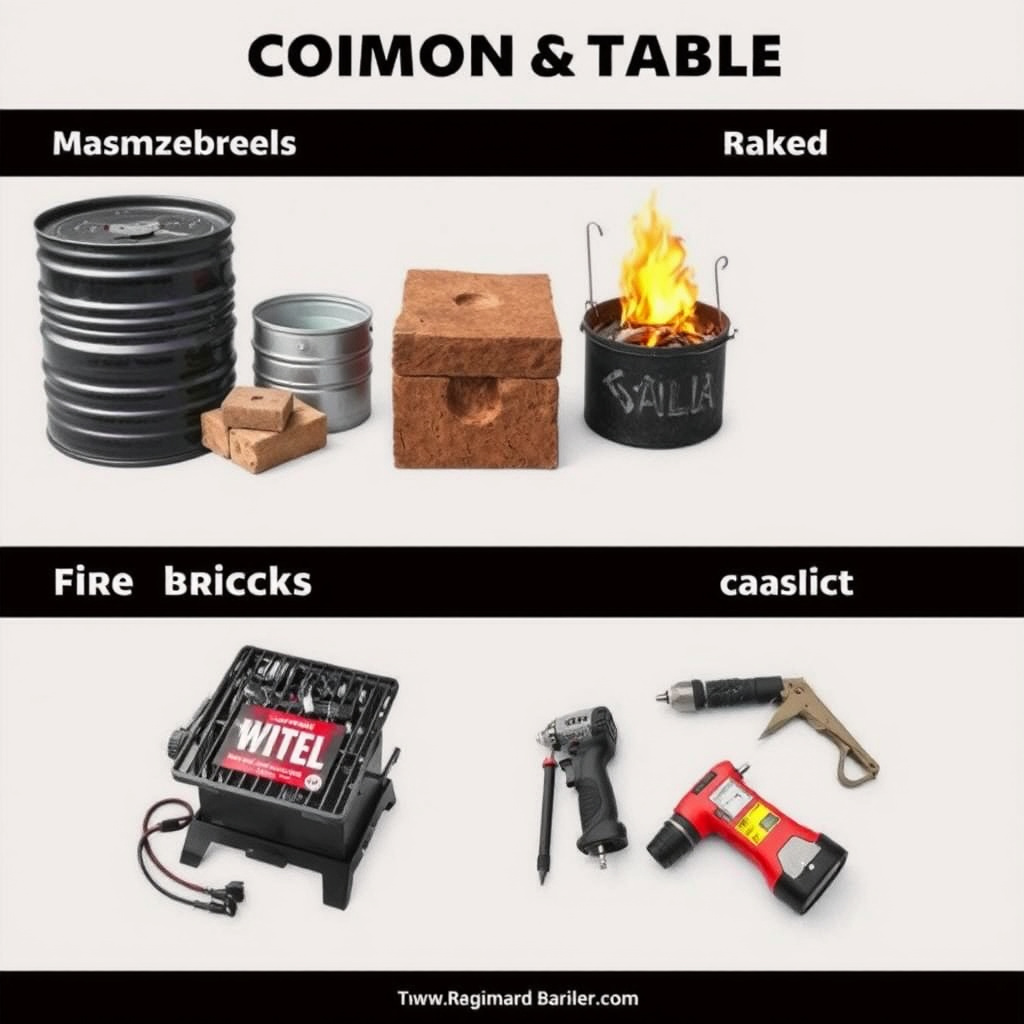
Materials You’ll Need
The choice of materials depends on the smoker design but usually includes food-safe metals such as steel drums, sheets, grates, and heat-resistant paint. Fire bricks or stones may be used to protect the metal from direct heat in the firebox. High-temperature silicone or gasketing ensures airtight seals for doors and vents.
Choosing durable materials is crucial for safety and heat retention. Salvaged steel drums are popular due to their availability and cost-effectiveness, but ensure they have not contained toxic substances. For woodworking smokers, use untreated hardwoods suitable for outdoor use.
- Steel barrels or sheets
- Cooking grates (stainless steel preferred)
- Fire bricks or stones
- High-temp paint and gaskets
Tools Required for Assembly
Depending on your design and materials, common tools include angle grinders for cutting metal, welding equipment for joining parts, drills for vent holes and bolts, and measuring/taping devices. For wood-based smokers, saws, screws, hammers, and clamps are essential.
Safety gear such as gloves, goggles, and masks is mandatory during construction. Planning your build steps and having clean workspace improves efficiency and reduces errors during drilling or welding.
- Angle grinder or metal cutter
- Welding machine
- Drill and bits
- Safety equipment (gloves, goggles)
Selecting the Best Wood for Smoking Meat
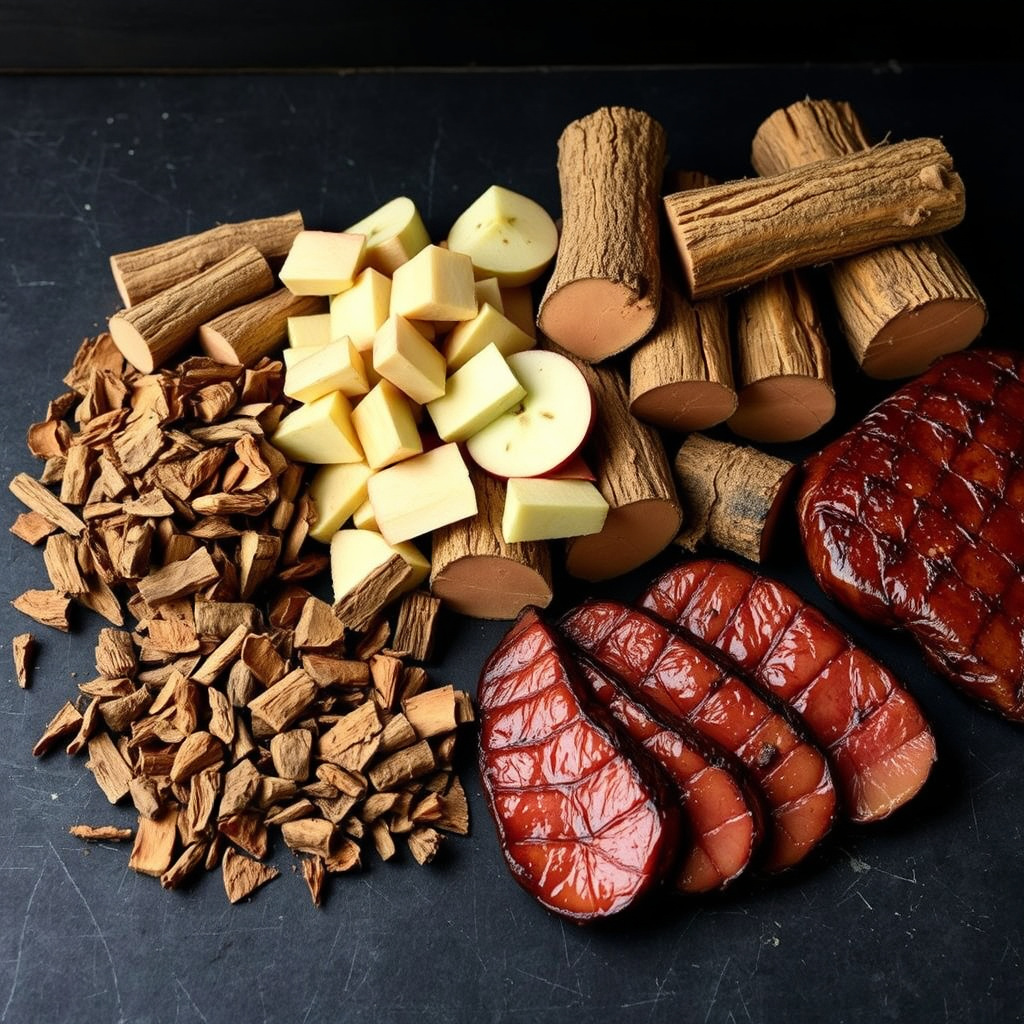
Common Types of Smoking Woods
Different woods impart distinct flavors to smoked food. Hickory is bold and sweet, popular in Southern barbecue. Fruitwoods like apple and cherry provide mild, fruity smoke perfect for poultry and pork. Mesquite burns hotter and has a strong, earthy profile suited for beef.
Always use untreated hardwoods free from chemicals or resins. Avoid softwoods like pine that release harmful sap and flavors. Experimenting with wood blends can yield unique flavor profiles customized to your taste.
- Hickory: strong, sweet, versatile
- Apple/Cherry: mild, sweet, fruity
- Mesquite: intense, smoky
- Avoid softwoods and treated lumber
For more on this, see our related guide: How to Build an Outdoor Kitchen with a Grill: A Step-by-Step Guide.
Wood Preparation and Usage Tips
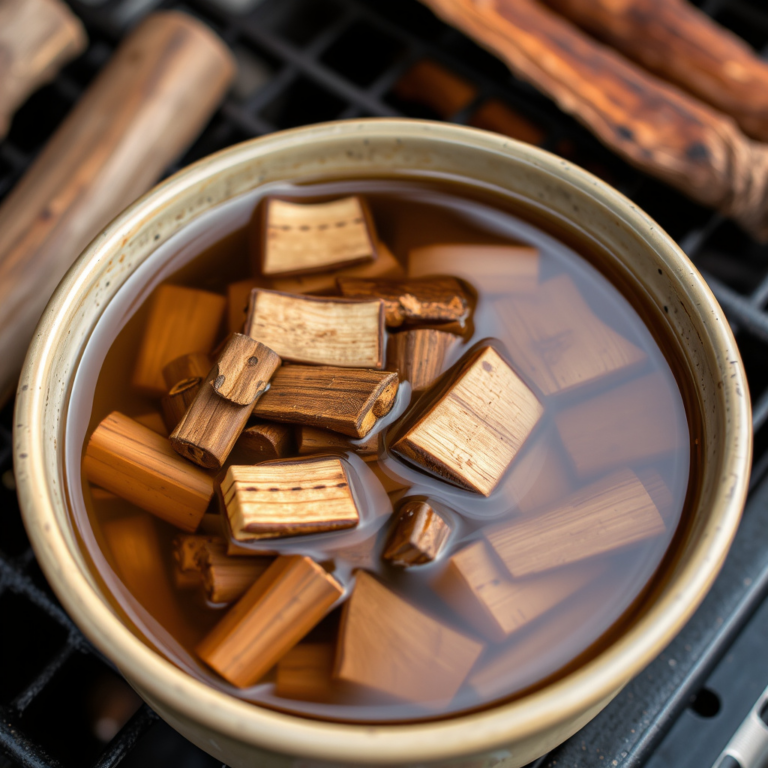
Chips and chunks are commonly used in smaller smokers for ease of control, whereas whole logs suit larger offset designs for steady burn. Soaking wood chips in water before adding them extends their smoke time and reduces flare-ups.
Proper airflow management is crucial since oxygen controls combustion and smoke quality. Experiment with amounts and placements of wood inside your DIY smoker to strike the right balance between smokiness and cooking temperature.
- Use dry hardwood chunks or soaked chips
- Adjust airflow for consistent smoke
- Place wood away from direct flame if needed
Managing Temperature and Smoke in Your DIY Smoker
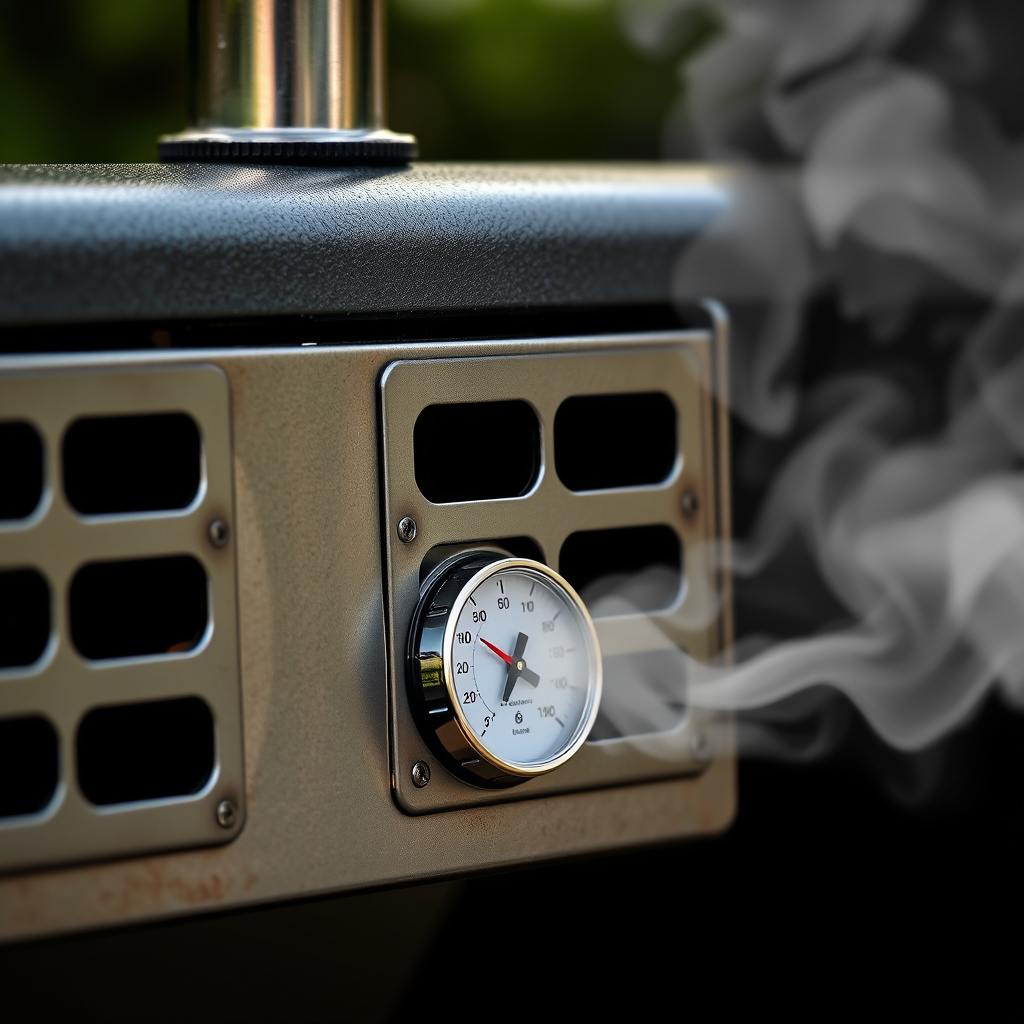
Temperature Control Techniques
Maintaining a steady low temperature between 225°F and 275°F is key for proper smoking. Control heat by adjusting air intake and exhaust vents. Opening vents increases oxygen supply, raising temperature; closing vents reduces oxygen and cools the fire.
Use reliable thermometers positioned near the food and inside the firebox to monitor internal conditions. Small adjustments during the cook help compensate for changes in fuel burn or weather conditions.
- Adjust intake and exhaust vents
- Monitor with dual thermometers
- Add charcoal or wood as fuel
- Protect smoker from wind
Creating Quality Smoke for Flavor
Avoid heavy smoke that tastes bitter by controlling the type of wood and ensuring it smolders rather than burns fiercely. Thin, bluish smoke signals ideal combustion. Thick white or black smoke indicates incomplete burning or excessive fuel.
Fuel moisture, airflow, and wood size all affect smoke quality. Experimenting with your smoker’s setup and fuel combinations helps create that sought-after smoky aroma that enhances meat deeply.
- Use dry or lightly soaked wood
- Look for thin, blue smoke
- Avoid flare-ups and heavy smoke
- Adjust fuel and airflow accordingly
Maintenance and Safety Tips for DIY Smokers
Regular Cleaning and Upkeep
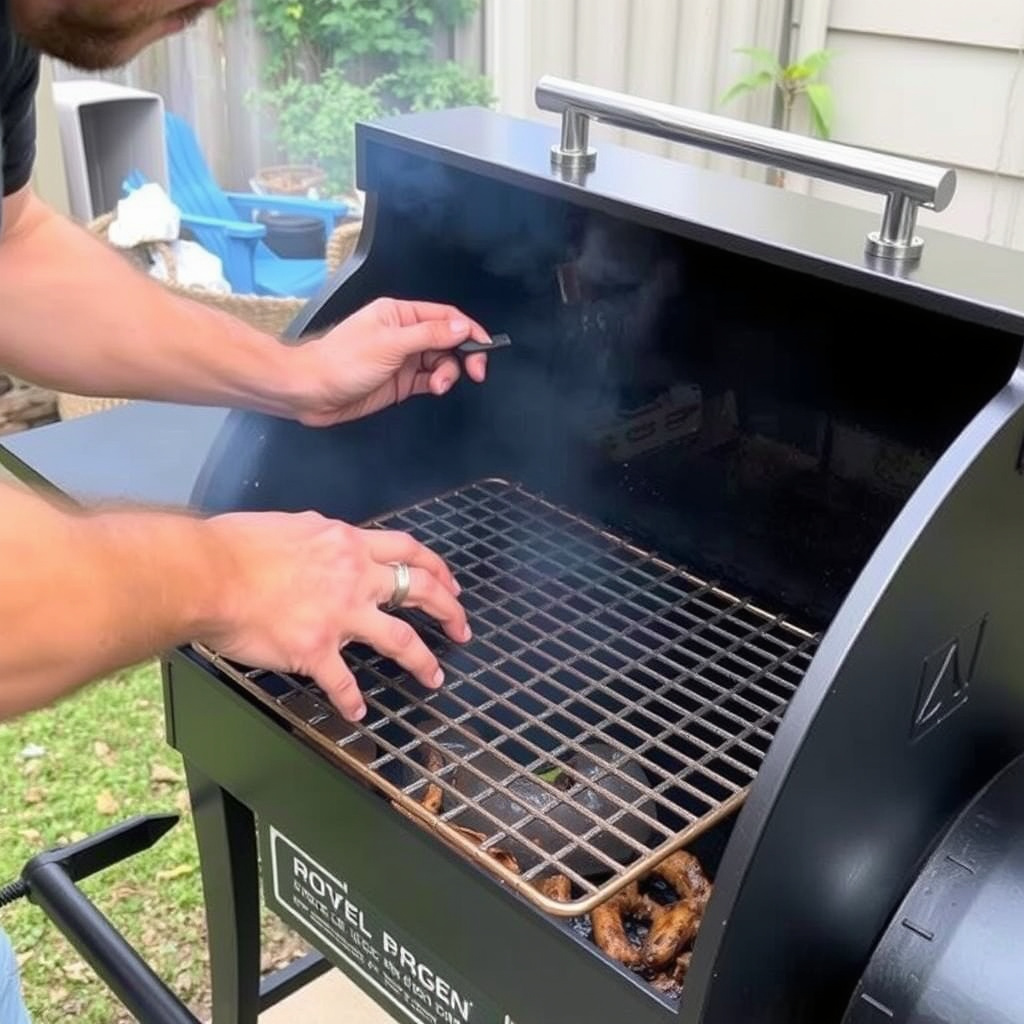
After each use, remove ashes and clean cooking grates to prevent buildup that affects flavor and airflow. Check seals and hinges for wear and reapply high-temp paint as needed to prevent rust. Keeping the smoker dry when not in use extends its lifespan.
Regular inspection helps spot potential hazards early and keeps your smoker operating efficiently. An annual deep clean including scraping off soot and resealing joints maintains optimal performance.
- Clean grates and ash after each use
- Inspect and repair seals
- Apply protective paint yearly
- Store smoker in covered area
For more on this, see our related guide: How to Use a Smoker Box on a Gas Grill for Perfectly Smoked Flavors.
Safety Considerations During Use
Always operate smokers on non-flammable surfaces away from structures, overhanging branches, or dry grass. Monitor the fire closely and never leave a smoker unattended while lit. Use heat-resistant gloves when handling hot components and tools.
Ensure proper ventilation when smoking outdoors to avoid smoke inhalation risks. Having a fire extinguisher nearby is prudent in case of unexpected flare-ups or wind shifts.
- Place smoker on fireproof base
- Keep children and pets away
- Use gloves and tools safely
- Keep fire extinguisher nearby
Popular DIY Smoker Modifications and Upgrades
Adding Temperature Control Devices
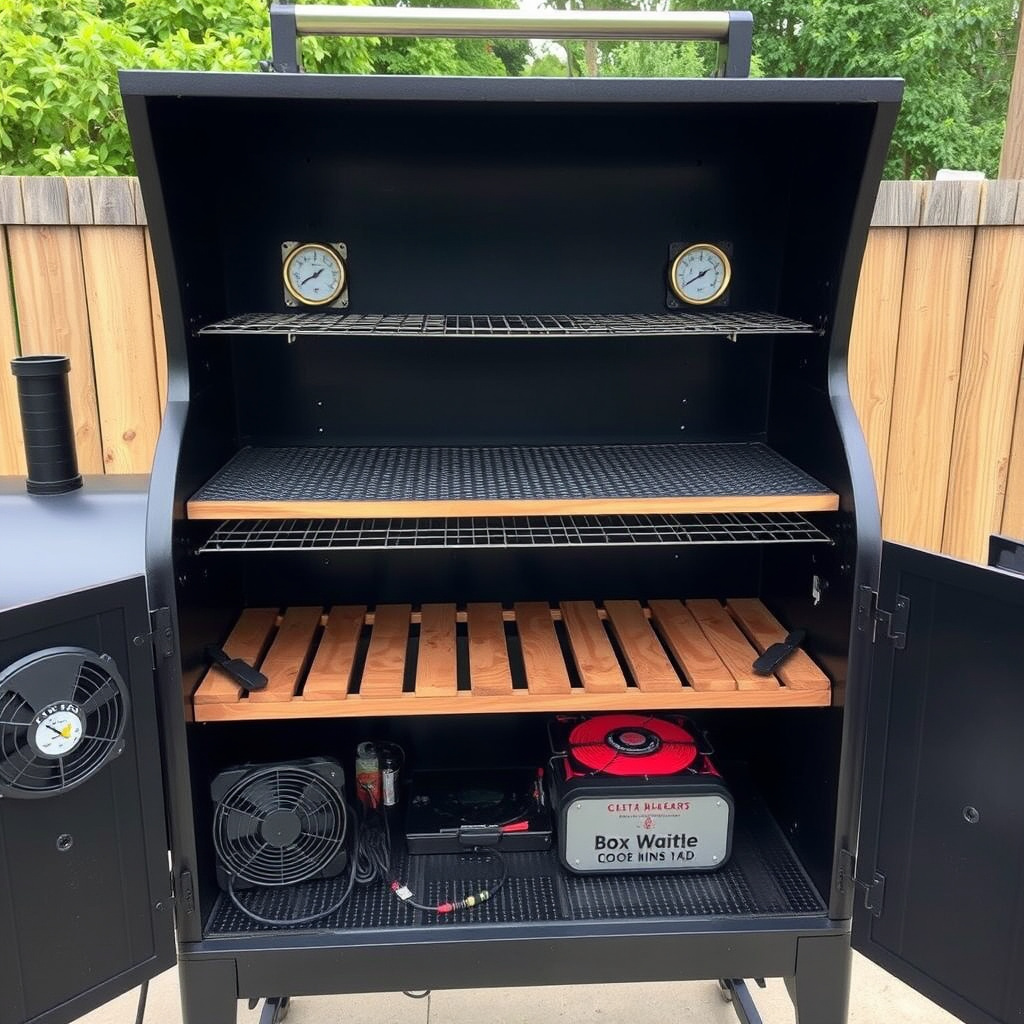
Incorporating digital thermometers, Bluetooth probes, or PID controllers automates temperature monitoring and adjustments. These devices allow precision in maintaining consistent smoking conditions without constant manual vent tweaks.
Electric fans can assist airflow control inside fireboxes to keep fires steady, especially in variable weather. These upgrades suit enthusiasts wanting more control over long smoking sessions or when cooking critical meats like brisket.
- Bluetooth meat thermometers
- PID temperature controllers
- Electric air intake fans
For an in-depth understanding of how smoking cooks food and the science behind it, visit the smoking (cooking) Wikipedia page. smoking (cooking) Wikipedia page.
Structural Additions for Convenience
Adding side shelves, built-in storage, or wheels enhances smoker usability and mobility. Insulating the smoker walls with heat-resistant materials reduces fuel consumption and improves cooking stability.
Customizing door hinges and latches for easier access can save time during cooks. Some DIY builders add smoke diffusers or baffles to spread heat evenly, refining the smoking environment further.
- Side shelves and storage racks
- Heat insulation liners
- Improved door handles and latches
- Smoke diffusers and baffles
DIY Smoker Design Comparison
Here’s a comparison of common DIY smoker types to help you decide which best suits your needs based on size, difficulty, and cooking style.
| Design Type | Size Suitability | Construction Difficulty | Best Use Cases | Cost Range |
|---|---|---|---|---|
| Vertical Water Pan Smoker | Small to medium | Easy | Home cooks, beginners, moist smoking | $50–$150 |
| Offset Smoker | Medium to large | Moderate to hard | Long cooks, barbecue aficionados | $200–$600 |
| Bullet Smoker | Small to medium | Moderate | Compact spaces, fast heating | $100–$300 |
| Kamado Style DIY | Small to medium | Hard | High heat grilling and smoking | $300–$800 |
| Electric Smoker Conversion | Small to medium | Moderate | Convenience, precise temp control | $150–$400 |
Frequently Asked Questions
What is the simplest DIY smoker design for beginners?
A vertical water pan smoker is usually the easiest for beginners since it requires basic materials and simple airflow control while producing consistent moist heat for smoking.
Can I use any type of wood for smoking meat?
Only use untreated hardwoods like hickory, apple, or cherry. Avoid softwoods or chemically treated lumber as they release harmful chemicals and unpleasant flavors.
How do I maintain a consistent temperature in a DIY smoker?
Control air intake and exhaust vents carefully, monitor temperature gauges closely, and add fuel gradually to maintain a steady smoking temperature between 225°F and 275°F.
Is welding necessary to build a DIY smoker?
Welding is often required for metal offset smokers but simpler designs like vertical water pan smokers can be built without welding, using bolts and sealants instead.
How often should I clean my homemade smoker?
Clean cooking grates and empty ash after every use, and perform a thorough clean of internal surfaces and seals at least once a year to keep your smoker functional and safe.
Key Takeaways
- DIY smokers come in various designs suited for different skill levels and cooking needs.
- Choosing the right wood greatly influences the flavor of smoked meat.
- Temperature and smoke quality require careful control through air vents and fuel management.
- Regular maintenance prolongs smoker life and ensures safe operation.
Conclusion
Building a DIY smoker demands thoughtful consideration of the design best suited to your needs, skills, and space. Whether choosing a simple vertical water pan smoker or tackling the more complex offset design, focus on stable construction, safe materials, and reliable airflow and temperature management. Understanding how each component contributes to the smoker’s function aids in crafting a unit that produces consistent and flavorful results throughout many barbecue sessions.
If you want a smoker that fits in a compact backyard and requires minimal assembly, a vertical water pan smoker with a steel drum is an excellent choice. For those aiming for authentic barbecue experiences with large cuts like brisket and pork shoulder, investing time in building a solid offset smoker yields satisfying temperature control and rich smoke penetration. Advanced hobbyists may prefer Kamado-style or electric smoker conversions, which offer versatility and precision for both smoking and grilling.
Once you’ve decided on a design, gather quality materials and tools, and prepare for incremental testing and adjustment as you start smoking. Experiment with different hardwoods, vent positions, and fuel combinations to find your preferred smoke flavor and temperature balance. Your DIY smoker becomes not only a cooking apparatus but a personal workshop for perfecting the art of barbecue.