A reverse sear is a cooking method where meat, typically a thick steak, is first cooked slowly at a low temperature and then finished with a quick, high-heat sear to develop a flavorful crust. This technique allows for even doneness throughout the steak while achieving a crispy exterior.
This method has gained popularity because it addresses common issues with traditional searing, which can lead to uneven cooking or overcooked edges. By gently bringing the meat up to temperature first, the reverse sear reduces the risk of overcooking, producing a tender, juicy steak with a beautifully browned crust.
In this article, you'll learn how the reverse sear technique works, the equipment you need, step-by-step instructions, tips for success, and alternatives for different types of meat. We'll also compare it to other steak cooking methods to help you decide when a reverse sear is your best choice.
Understanding the Basics of the Reverse Sear
What Happens During the Reverse Sear?
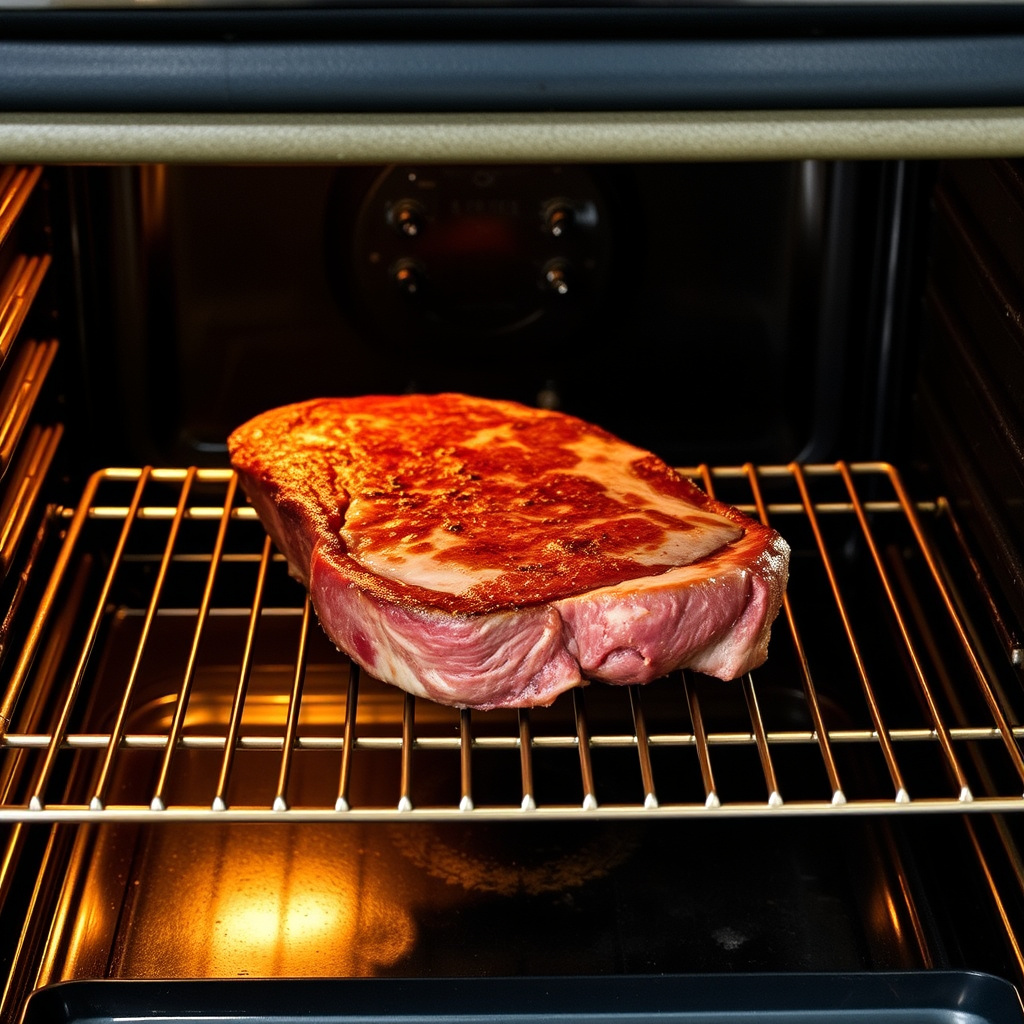
The process starts by cooking the steak gently at low heat, often in an oven or on a grill set to a low temperature. This slowly raises the internal temperature of the meat to just below the target doneness, which helps avoid overcooking.
After the meat has reached the desired internal temperature, it is quickly seared in a hot pan or on a grill to form a flavorful crust. This two-step approach creates a steak with a tender interior and a caramelized exterior.
Why Choose the Reverse Sear Over Traditional Methods?
Traditional searing methods typically involve cooking the steak on high heat first to form a crust, then finishing in the oven or at a lower temperature. This can cause the outside to become overdone before the center reaches the perfect temperature.
The reverse sear's low-and-slow start allows more precise control over doneness and enhanced juiciness. It’s an especially good method for thicker cuts where even cooking is harder to achieve.
Equipment Needed for a Reverse Sear
Essential Tools to Get Started
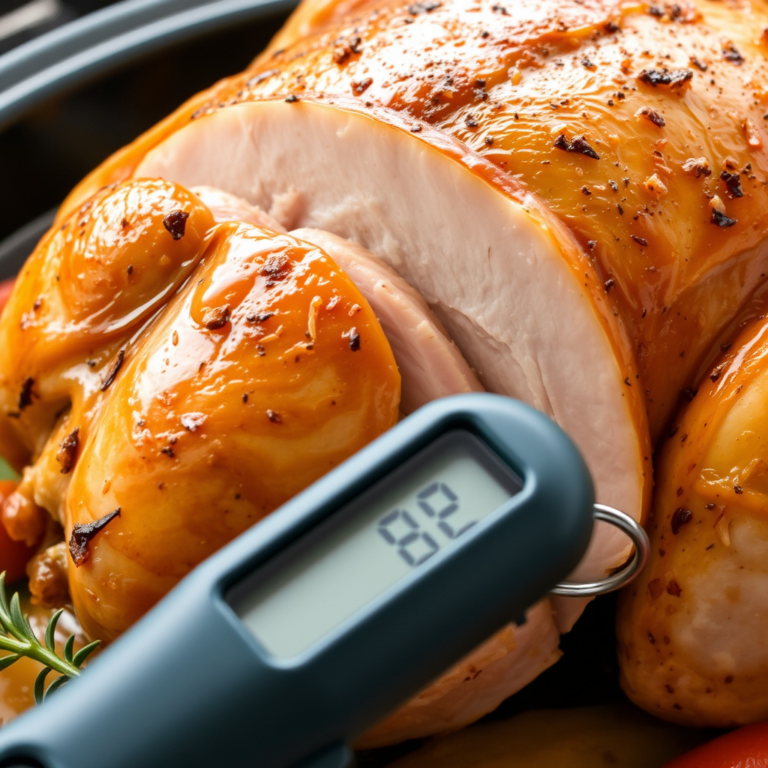
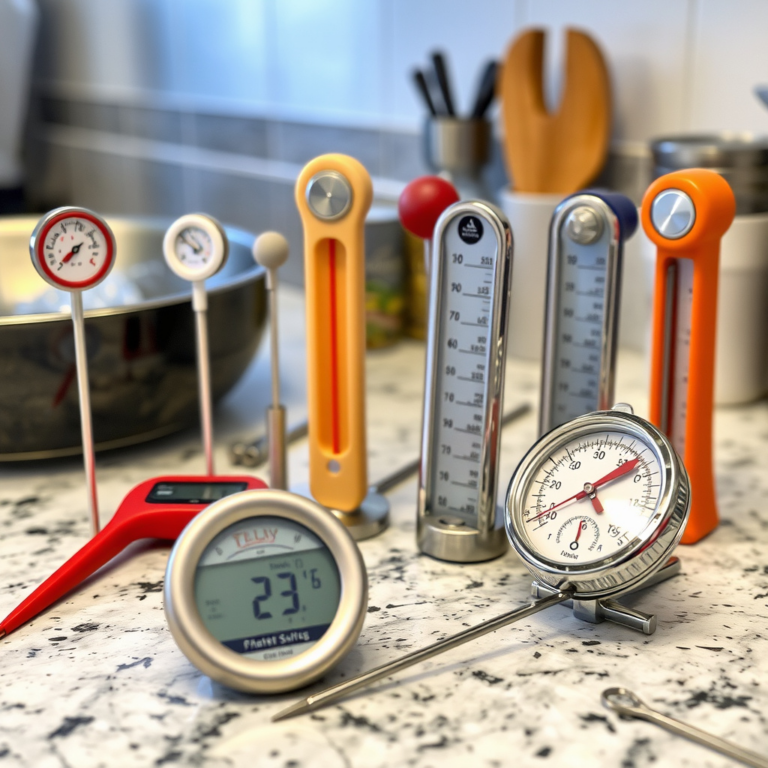
A reliable meat thermometer is critical to monitoring the steak's internal temperature accurately during the slow cooking phase. Cast iron pans or heavy-bottomed skillets are preferred for their ability to maintain high heat during searing.
You’ll also need an oven or a grill where you can maintain a low and steady temperature for the initial cooking phase. A wire rack helps by allowing air circulation around the steak during the slow cook.
- Digital instant-read meat thermometer
- Cast iron skillet or heavy-bottom pan
- Wire rack and baking sheet
- Oven or grill with temperature control
Optional Equipment for Convenience
Some cooks use sous vide machines to achieve precise temperature control during the initial slow cook before finishing with a sear. This can increase accuracy but is not mandatory.
A high-smoke-point oil such as avocado or grapeseed oil aids in creating a consistent crust without burning at high searing temperatures.
- Sous vide cooker (optional)
- High-smoke-point cooking oil
Step-by-Step Guide to Reverse Searing a Steak
Slow Cooking Phase
Preheat your oven or grill to around 225°F (107°C). Pat the steak dry and season it generously with salt and pepper or your preferred spice blend.
Place the steak on a wire rack set over a baking sheet to allow air circulation. Cook until the internal temperature is about 10-15°F below your target doneness (for medium-rare, around 115-120°F). This can take 30-60 minutes depending on thickness.
- Preheat oven to 225°F (107°C)
- Season steak and place on wire rack
- Cook until internal temp reaches 115-120°F
For more on this, see our related guide: How to Grill Tri Tip: A Complete Guide for Perfect Results.
Searing Phase
Heat a cast iron skillet over high heat until it is smoking hot. Add a small amount of high-smoke-point oil to coat the pan.
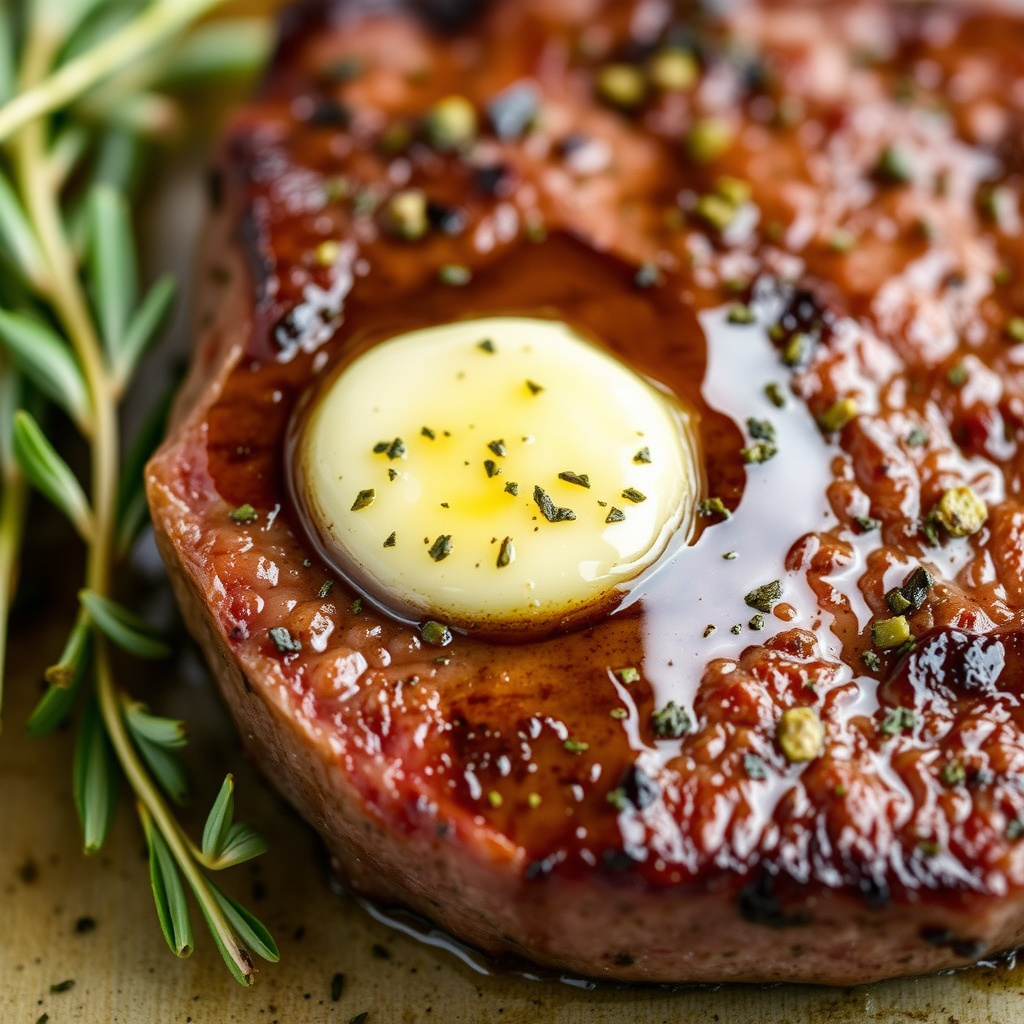
Sear the steak for 1-2 minutes per side, or until a deep brown crust forms. Optionally, add butter and aromatics like garlic and thyme for basting during the last minute.
Let the steak rest briefly before serving to allow juices to redistribute.
- Heat skillet to high heat
- Add oil and sear steak 1-2 minutes per side
- Rest steak before slicing
Tips to Perfect Your Reverse Sear Technique
Seasoning and Resting Tips
Use coarse salt and freshly ground pepper for seasoning to enhance crust flavor. Letting the steak rest at room temperature for 20-30 minutes before cooking improves even temperature rise.
Rest the steak after searing for at least 5 minutes; this helps retain juices, making the steak more succulent.
Managing Temperature and Timing
Keep a close eye on internal temperature using a digital thermometer to avoid overcooking during the slow cook. Adjust oven time based on steak thickness and desired doneness.
Don’t rush the sear stage. The pan should be very hot to quickly form a crust without prolonged cooking, which could push the steak beyond your preferred doneness.
Variations and Other Uses of the Reverse Sear
Using Reverse Sear for Other Meats
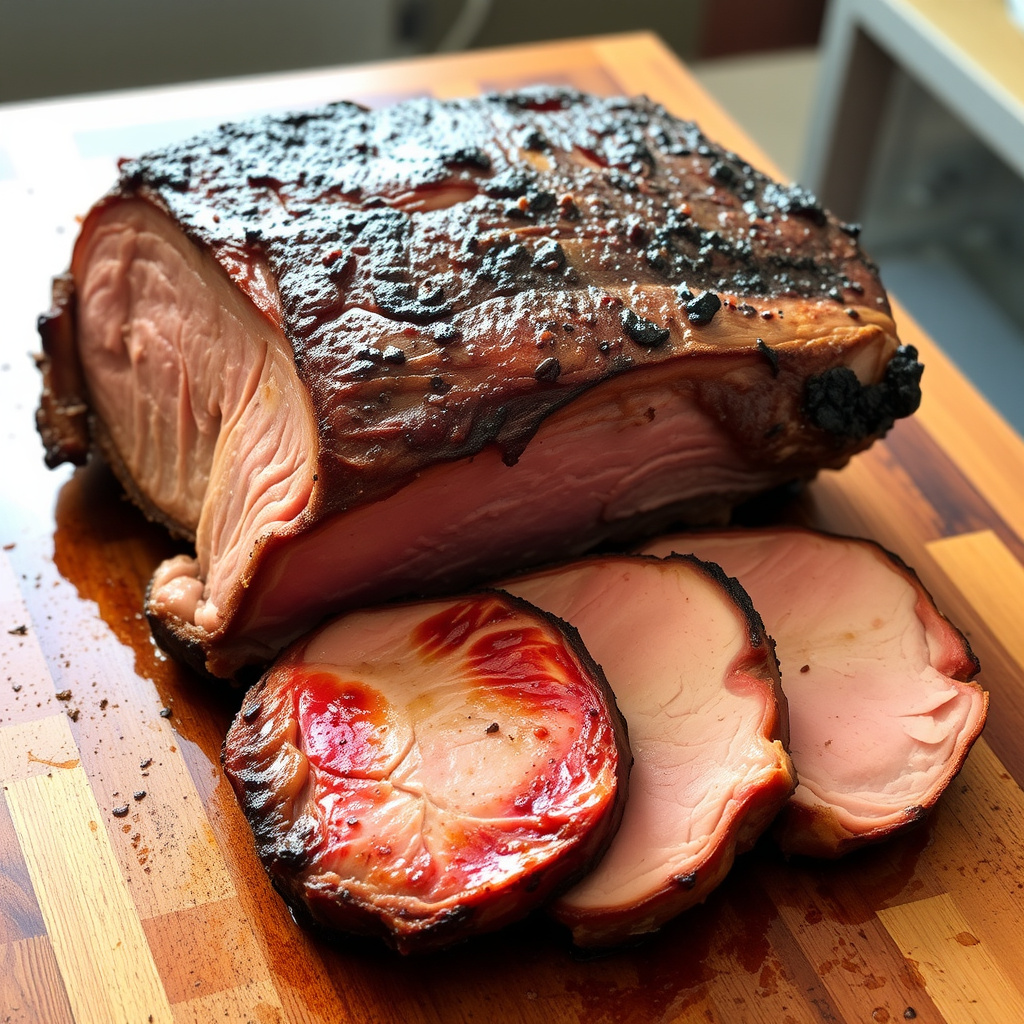
Besides steak, the reverse sear works well for large roasts, pork chops, and even certain game meats. The method's precision allows these cuts to cook evenly while developing an excellent crust.
Cooking times and temperatures will vary with different cuts, but the principle of low temp slow cook followed by high heat sear remains the same.
For more on this, see our related guide: How to Grill Steak Perfectly Every Time: A Step-by-Step Guide.
Alternative Slow Cooking Techniques
Some cooks prefer sous vide for the low-temperature cooking phase, precisely controlling steak temperature. Others may use a smoker or indirect grill heat for added flavor during the slow cook.
Regardless of the slow cooking approach, the finishing sear is essential to get the texture and flavor that define a reverse seared steak.
Reverse Sear vs. Traditional Searing Methods
Benefits of Reverse Searing
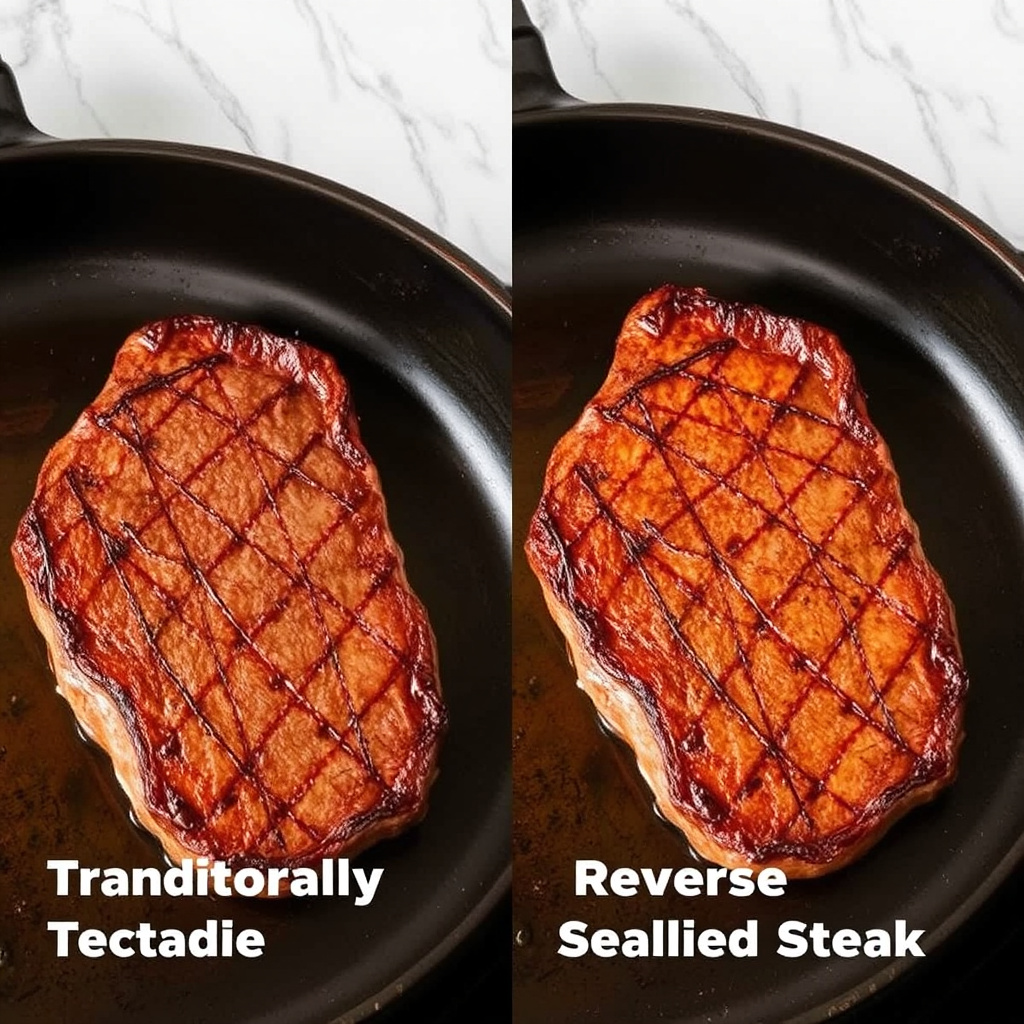
The reverse sear delivers more even doneness and juiciness, especially for thick cuts. It also reduces the risk of gray bands of overcooked meat that commonly appear in traditional methods.
This technique allows greater control over the cooking process, producing consistent results without guesswork.
For a detailed technical explanation, you can consult the reverse sear explanation on Wikipedia. reverse sear explanation on Wikipedia.
When Traditional Searing Makes Sense
Traditional searing works well for thinner cuts that cook quickly or when time is limited. It also creates a flavorful crust right away for steaks that will be finished quickly on the heat source.
However, it can be harder to get perfect doneness on thick steaks using traditional searing alone.
Reverse Sear vs. Other Steak Cooking Techniques
This table compares key characteristics of reverse sear with common alternative methods to highlight their strengths and ideal uses.
| Method | Doneness Control | Crust Quality | Time Required | Best For |
|---|---|---|---|---|
| Reverse Sear | Excellent – gradual temp rise | Excellent – intense final sear | Moderate – 45-90 mins | Thick steaks, large cuts |
| Traditional Sear First | Good – risk of uneven cooking | Good – quick crust formation | Short – 20-30 mins | Thin steaks, quick meals |
| Sous Vide + Sear | Precise – temp controlled bath | Excellent – post-bath sear | Long – several hours | Ultimate precision, all thicknesses |
| Grill Direct Heat | Variable – faster cook risk | Good – charred flavors | Short – 10-20 mins | Thin steaks, outdoor cooking |
| Pan Sear Only | Challenging – fast cooking | Good – immediate crust | Short – 10-15 mins | Thin cuts, quick meals |
Frequently Asked Questions
Does the reverse sear work for all types of steak?
The reverse sear works best for thick cuts of steak, typically at least 1.5 inches thick. Thinner steaks may cook too quickly during the slow phase, reducing the benefits of even cooking.
Can I use the reverse sear method with a grill instead of an oven?
Yes, you can use indirect low heat on a grill during the slow cook phase and direct high heat for the sear. This method replicates the oven-to-pan approach but outdoors.
How do I know when to stop the slow cooking phase?
Stop slow cooking when the internal temperature is about 10-15°F below your desired final temperature. This allows room for the temperature to rise during the high-heat sear.
Is reverse searing better than sous vide?
Reverse sear is simpler and requires less specialized equipment than sous vide, though sous vide can offer even more precise temperature control. Both yield great results depending on your preferences.
What oils are best for searing in the reverse sear method?
Use oils with high smoke points like avocado oil, grapeseed oil, or clarified butter. These oils allow you to sear at very high temperatures without burning.
Key Takeaways
- Reverse sear cooks steak slowly then sears for even doneness and a great crust.
- It's ideal for thick steaks and larger cuts that need gentle, even heating.
- A meat thermometer and cast iron pan are essential tools for success.
- This method reduces overcooked edges common in traditional searing.
Conclusion
Choosing how to cook a steak depends largely on the cut's thickness and your desired level of doneness. The reverse sear gives you precise control over internal temperature by slowly bringing the meat up to heat before finishing with an intense sear to form a flavorful crust. This method excels at producing consistent, juicy steaks with an appealing texture throughout, especially for thicker cuts where traditional methods often struggle to avoid overcooking outside edges or undercooking the center.
For cooks looking for hands-on precision without specialized equipment like sous vide machines, the reverse sear offers an accessible path to restaurant-style results. Thick cuts such as ribeye, strip loin, or filet mignon benefit greatly from the gentle warming and crisp finish of reverse searing. Conversely, thinner cuts or meals pressed for time may better suit traditional searing or grill-direct methods. Understanding these differences helps you pick the best approach for your steak and schedule.
If you want to elevate your cooking technique, start by mastering a reverse sear for your next thick steak. Equip yourself with a trusted meat thermometer and a heavy skillet, and practice signaling internal temperatures rather than guessing. Over time, this technique can reliably deliver beautifully cooked, flavorful steaks that impress every time you prepare them.