Achieving a good sear on steak means creating a deeply caramelized, crispy crust that locks in flavor and juices. This starts with high heat, dry surfaces, and the right pan. Using a cast iron skillet or heavy stainless steel pan and heating it until it’s almost smoking sets the stage for the perfect sear.
Getting that ideal crust matters because it adds texture, flavor through the Maillard reaction, and presents a steak that looks and tastes professional. A properly seared steak contrasts beautifully with its tender interior, making every bite satisfying. Without the right sear, steak can turn out bland or tough.
This guide covers everything from steak preparation, heat management, choosing the right fats and oils for searing, to tips on timing and resting. By mastering these steps, you’ll know precisely how to get a good sear on your steak for restaurant-quality results at home.
Understanding the Science of a Good Steak Sear
What Happens During the Maillard Reaction
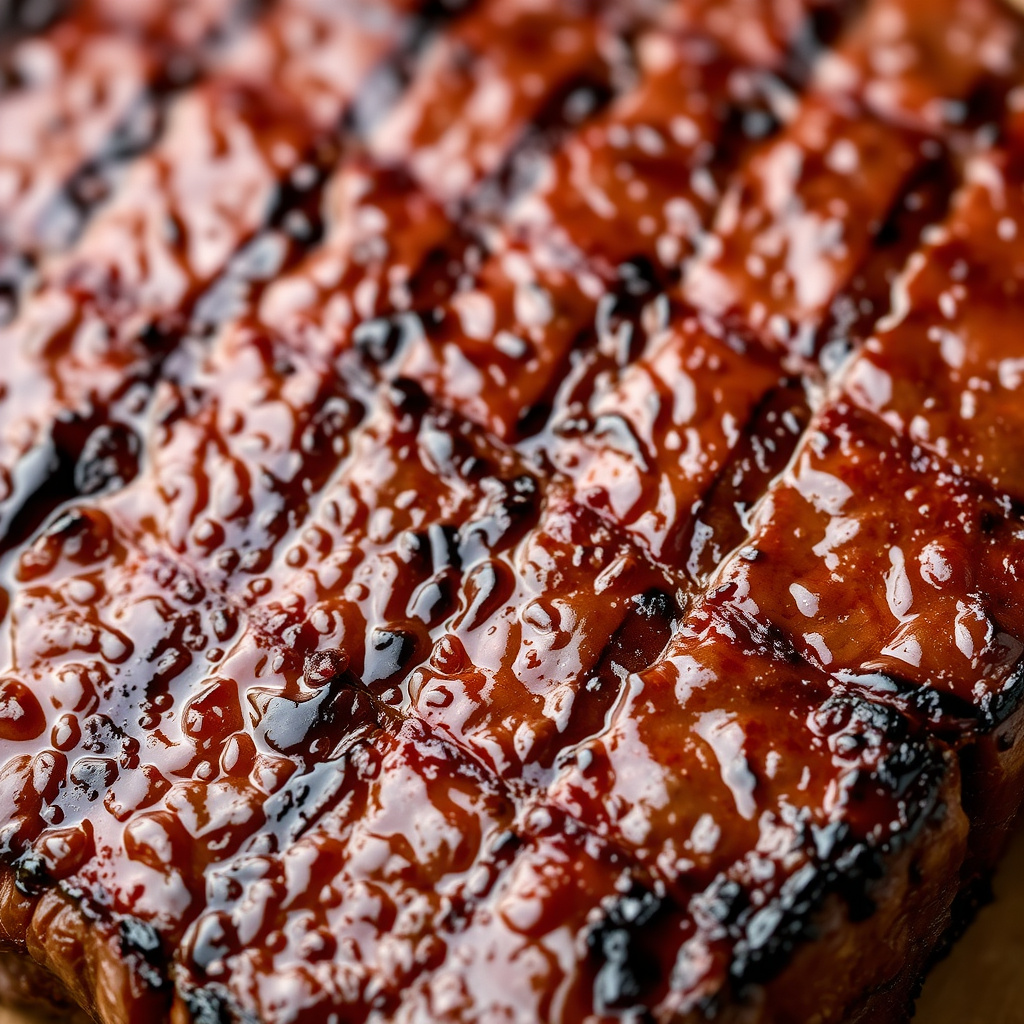
The Maillard reaction is a chemical process between amino acids and sugars that occurs when steak reaches temperatures above 300°F (150°C). This reaction produces complex flavors and the golden-brown crust that steak lovers crave.
During searing, the surface moisture evaporates quickly, allowing proteins and sugars to rearrange and bond, creating that rich flavor. Understanding this reaction helps time the sear and control heat to maximize flavor without burning.
Why Surface Dryness is Key
Moisture on steak’s surface slows down the Maillard reaction because heat first evaporates water instead of browning proteins. Patting the steak dry before cooking removes excess moisture to speed crust formation.
For the best sear, some chefs even salt the steak early and let it air dry in the fridge for an hour or more. This draws out moisture and seasons simultaneously, preparing the steak’s surface for faster, deeper browning.
- Pat steak dry with paper towels
- Lightly salt 30-60 minutes before cooking for moisture reduction
- Avoid wet marinades right before searing
Choosing the Right Pan and Heat Source for the Best Steak Sear
Why Cast Iron and Stainless Steel Shine for Searing
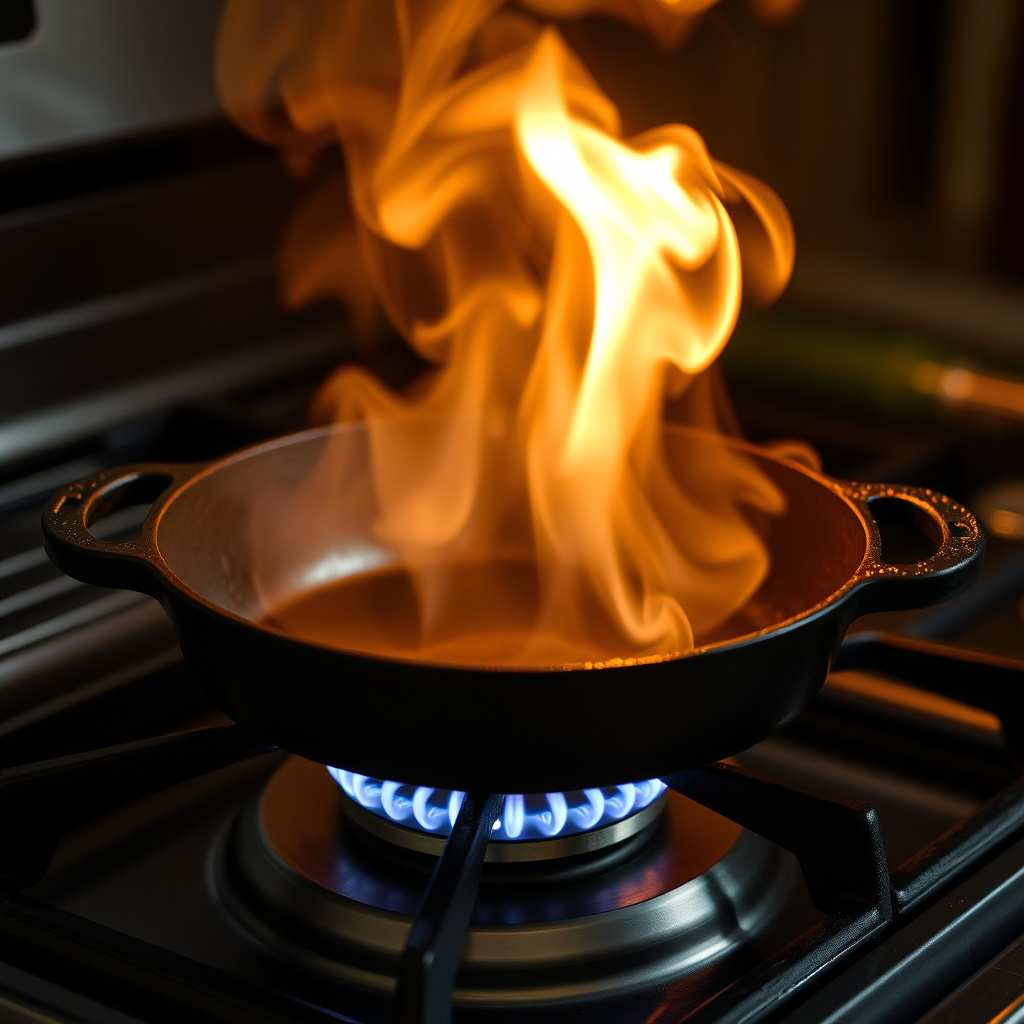
Cast iron skillets retain and distribute heat incredibly well, providing steady temperatures ideal for a consistent sear. They also tolerate high heat without warping, making them a favorite among chefs for searing steaks.
Heavy stainless steel pans offer even heating and quick responsiveness on the stovetop, which allows better temperature control. Non-stick pans generally don’t reach the preferred high heat and are less suitable for a strong crust.
- Cast iron: excellent heat retention
- Stainless steel: even, quick heating
- Avoid non-stick for searing
Managing Heat for a Perfect Sear
Preheat your pan until it’s very hot but not smoking excessively, around 400-500°F. Too low heat causes the steak to stew; too high can burn the crust.
Use high heat but watch carefully. Test by flicking a few drops of water; if they dance and evaporate immediately, you’re ready to sear. Adjust the burner slightly if necessary once searing starts.
- Preheat pan for 5-10 minutes
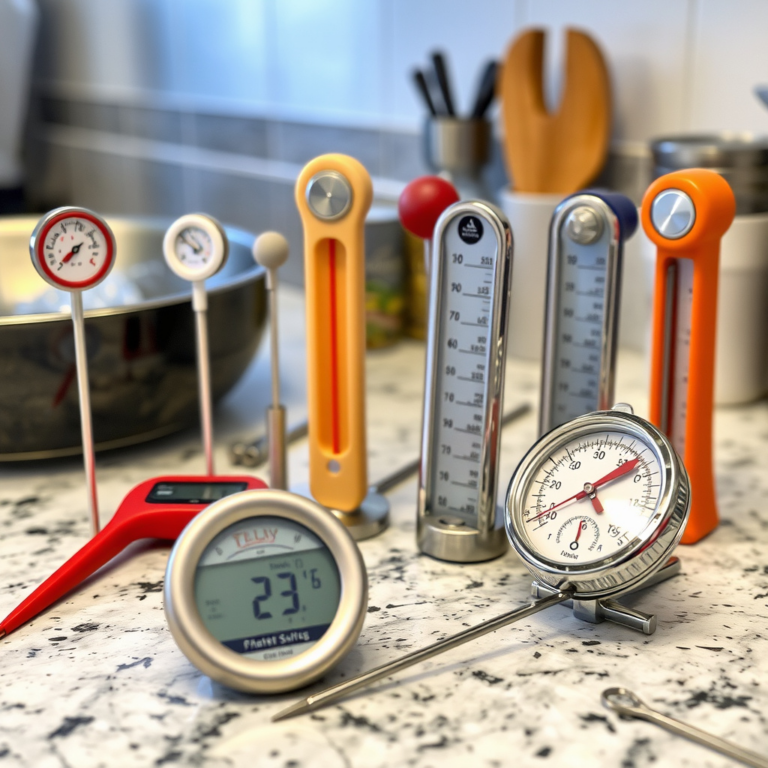
- Use an infrared thermometer if available
- Avoid overcrowding the pan
Preparing Your Steak for a Successful Sear
Selecting the Right Cut and Thickness
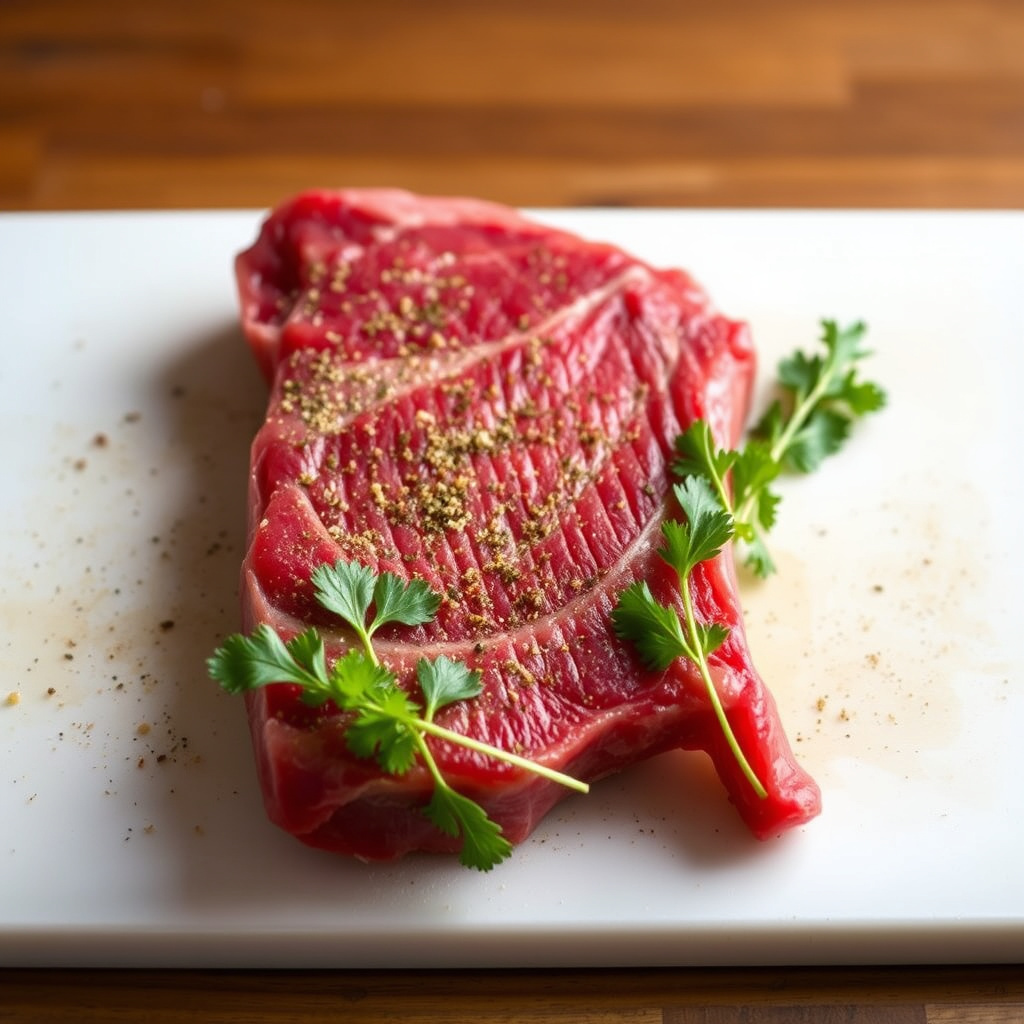
Thicker steaks (1.5 inches or more) sear well because they retain heat longer and allow separation between crust formation and internal cooking. Ribeye, strip steak, and filet mignon are popular choices for searing.
Very thin steaks don’t develop a substantial crust before overcooking, so focus on thicker cuts for best results. Bringing steak to room temperature before searing helps even cooking.
- Choose cuts at least 1-inch thick
- Bring steak to room temp 30-60 mins before cooking
- Trim excess fat carefully
For more on this, see our related guide: How to Tenderize Steak: Techniques for Perfectly Soft and Juicy Meat.
Choosing the Right Fats and Seasoning
Use high smoke point fats like vegetable oil, grapeseed oil, or clarified butter for searing. Avoid olive oil as it burns too quickly. Adding a bit of butter and aromatics like garlic or rosemary near the end adds flavor.
Simple seasoning with salt and pepper before searing helps build flavor. Applying seasoning just before or during cooking ensures it doesn’t draw out excess moisture.
- Use neutral oils with high smoke points
- Season with salt and pepper only before searing
- Add butter and herbs near the end
Techniques to Get a Good Sear on Steak
Timing and Flipping the Steak
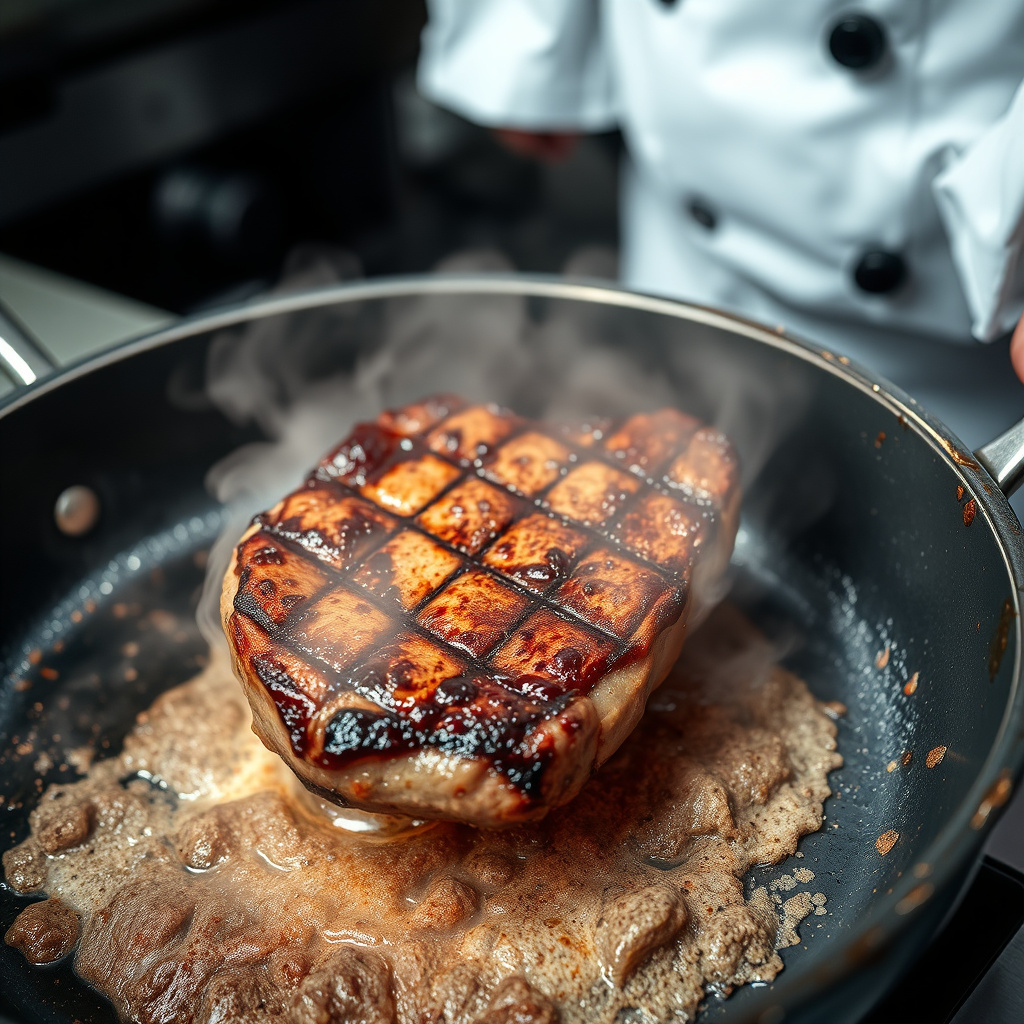
Place steak in hot pan and don’t move it to create an even crust. Most experts recommend searing 2-4 minutes per side depending on thickness and heat level.
Flip once using tongs or a spatula when a dark golden crust forms. Re-searing after flipping locks in flavor and creates a balanced crust on both sides.
- Sear 2-4 minutes each side
- Flip only once
- Avoid pressing down on steak
Using Butter and Aromatics During Searing
After flipping, add butter, smashed garlic cloves, and fresh herbs like thyme or rosemary to the pan. Tilt the pan and spoon the melted butter over the steak repeatedly for basting.
This technique adds flavor and helps with browning without burning. It also creates a delicious crust enhanced by aromatic oils.
- Add butter and herbs after first flip
- Baste steak frequently
- Monitor heat to avoid butter burning
Resting and Final Touches to Preserve a Good Steak Sear
Why Resting Matters
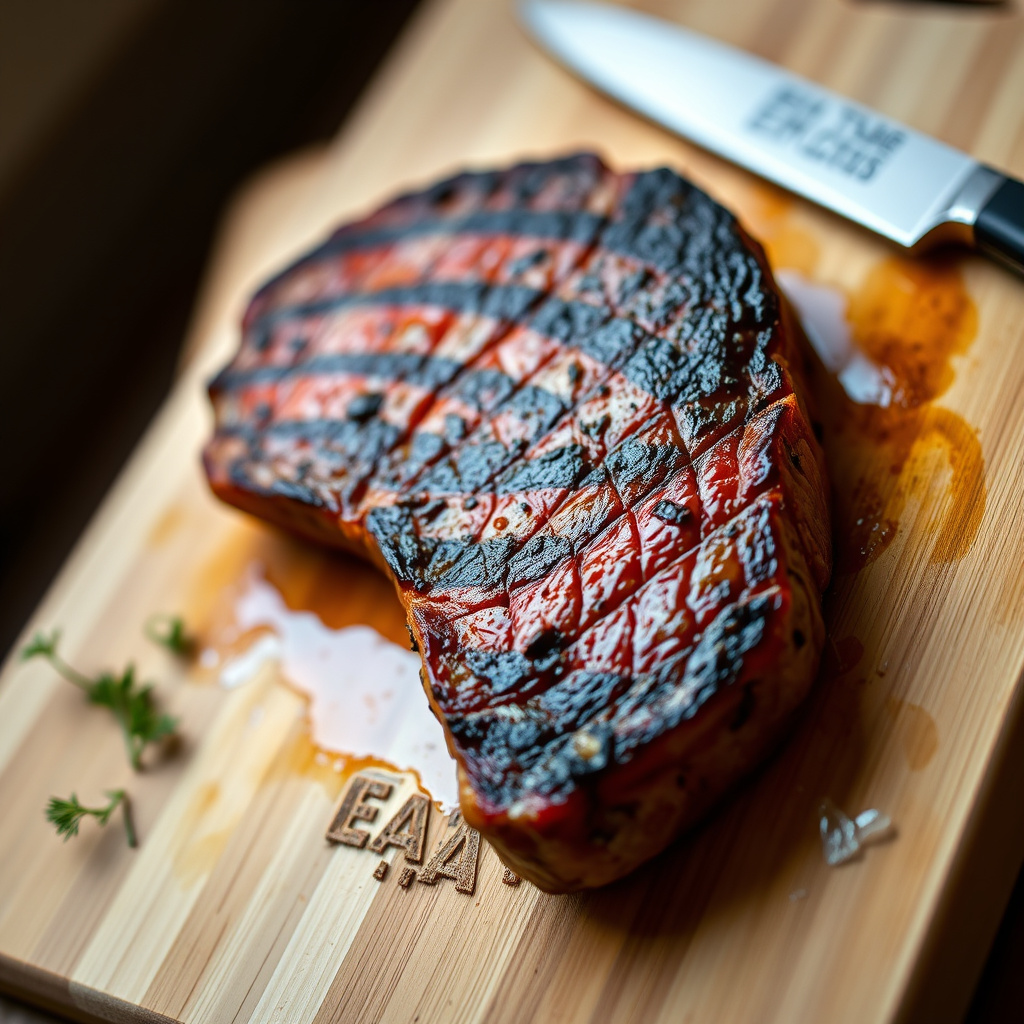
Once seared, resting steak for 5-10 minutes lets juices redistribute inside the meat. Cutting into steak too soon causes juices to run out, leaving it dry despite a good crust.
Resting also finalizes cooking through carryover heat. Cover loosely with foil to keep warm without steaming the crust.
- Rest 5-10 minutes after searing
- Cover loosely with foil
- Use this time to prepare side dishes
For more on this, see our related guide: How Long to Let Steak Rest for Perfect Juiciness and Flavor.
Finishing Seasoning and Serving Suggestions
Sprinkle a pinch of flaky finishing salt for texture contrast and a final flavor boost. A light drizzle of olive oil or a squeeze of fresh lemon juice can brighten the steak.
Serving alongside simple sides that complement the rich sear, like roasted vegetables, mashed potatoes, or a crisp salad, lets the steak remain the star.
- Use flaky finishing salt
- Add a bright finishing touch with lemon or oil
- Pair with simple, complementary sides
Common Mistakes to Avoid When Searing Steak
Searing with a Wet Steak
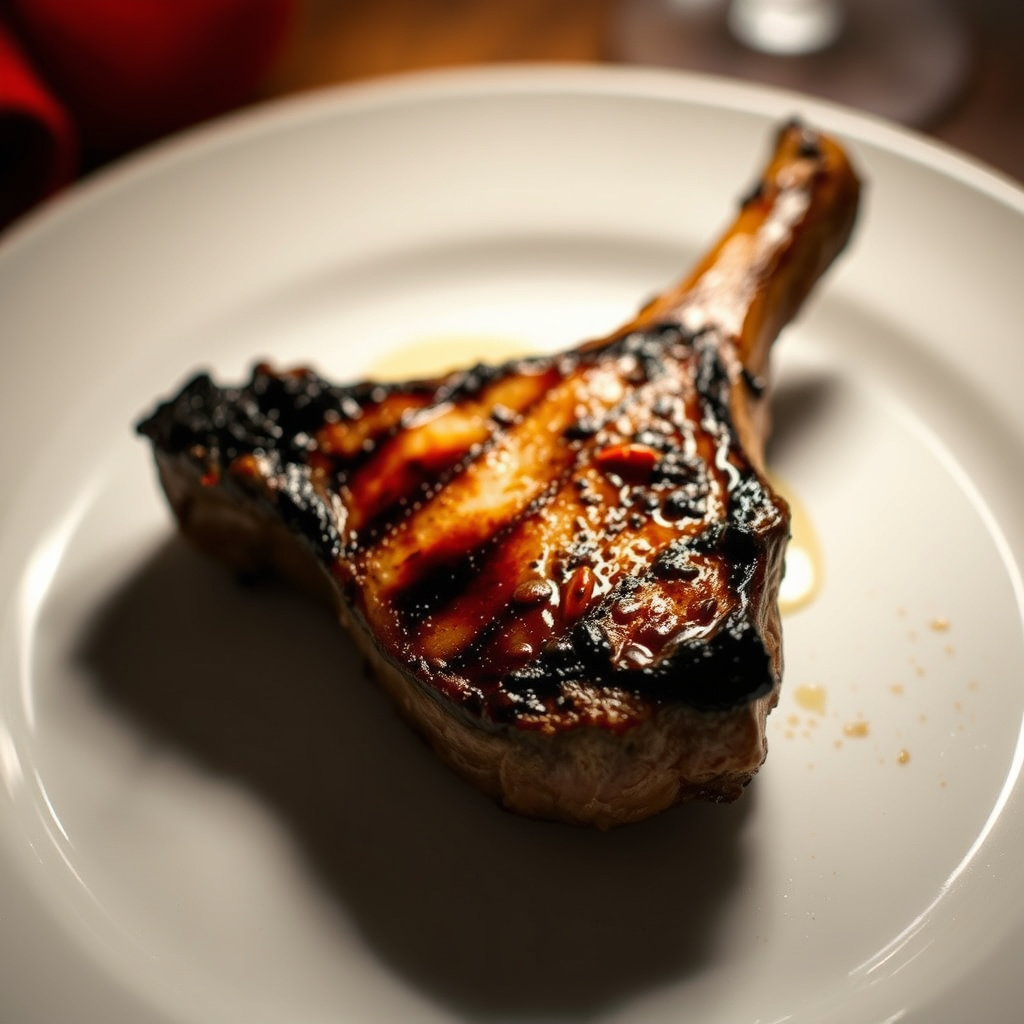
Skipping drying the steak’s surface leads to steaming rather than searing. Excess moisture blocks proper browning and can cause uneven crust formation.
Always dry the steak thoroughly before seasoning and searing to establish the base for the best steak searing techniques.
For a deeper understanding of the chemical process that creates steak’s crust, explore the Maillard reaction on Wikipedia. Maillard reaction.
Overcrowding the Pan
Putting too many steaks in the pan lowers the temperature drastically, causing soggy crusts instead of searing. It’s better to cook in batches if necessary to keep heat high.
Overcrowding also promotes steaming from the released moisture, reducing crispness and flavor.
Steak Searing Methods Category Comparison
Here’s a comparison of common steak searing methods, focusing on pan types, heat levels, and their effects on crust and flavor.
| Searing Method | Best Pan Type | Heat Range | Flavor Profile | Ease of Use |
|---|---|---|---|---|
| Cast Iron Skillet | Cast iron | High (400-500°F) | Deep, smoky crust | Moderate – heavy pan handling |
| Stainless Steel Pan | Heavy stainless steel | High (400-450°F) | Clean crust, slight metallic notes | Moderate – quick heat changes |
| Grill Searing | Charcoal or gas grill | Very High (500°F+) | Smoky, charred exterior | Challenging – uneven heat spots |
| Sous Vide + Sear | Cast iron or stainless steel | Medium-high (400°F) | Tender center with crisp crust | Advanced – multi-step process |
| Oven Broiler | Broiler pan or cast iron skillet | Very High direct heat | Even crust but less control | Easy – less hands-on |
Frequently Asked Questions
How hot should the pan be to get a good sear on steak?
The pan should be extremely hot, around 400-500°F, so the steak surface caramelizes quickly without cooking the inside too much.
Is it better to use oil or butter for searing steak?
Use oils with high smoke points like vegetable or grapeseed oil for initial searing, then add butter and aromatics later for flavor without burning.
Why should I pat my steak dry before searing?
Removing surface moisture helps the steak sear properly because wet surfaces steam instead of browning, leading to a less crispy crust.
How long should I let my steak rest after searing?
Rest steak for 5-10 minutes loosely covered with foil so juices redistribute and the steak remains juicy when cut.
Can I sear steak in a non-stick pan?
Non-stick pans usually can’t handle the high heat needed for a good sear and won’t create the same crust as cast iron or stainless steel.
Key Takeaways
- Drying steak surface is essential for a proper crust
- Use cast iron or stainless steel pans heated to high temperatures
- Sear each side 2-4 minutes without moving the steak
- Rest steak after cooking to keep it juicy
Conclusion
Getting a good sear on steak relies on balancing heat, moisture, and timing. Carefully preparing the steak by drying and seasoning it, then using a heavy pan like cast iron preheated to the right temperature, sets the foundation for excellent crust development through the Maillard reaction. Avoid distractions such as overcrowding or flipping too often, which reduce crust quality and overall flavor. By understanding how heat interacts with the meat's surface and following precise timing, any home cook can achieve that sought-after flavorful, crispy exterior with a tender, juicy inside.
For most cooks, opting for thicker cuts like ribeye or strip steak makes searing simpler because they tolerate higher heat longer without overcooking. Using cast iron skillets heated until they're nearly smoking helps build a deep crust through the best steak searing techniques. Adding butter and aromatics mid-sear enhances the crust’s complexity without overwhelming the steak’s natural flavors. Alternatively, for those seeking finesse, sous vide followed by a quick sear offers unparalleled juiciness paired with a crisp crust, though it requires more equipment and time.
Ultimately, the approach depends on the equipment and time you have available. For straightforward results, preheat your pan thoroughly, dry your steak well, and sear confidently with minimal flipping. Rest your steak before serving to preserve juiciness and texture. Experimenting with these methods leads to steakhouse-quality results effortlessly at home. The next step is to gather your preferred cut, equip your kitchen with a solid pan, and start practicing the techniques shared here to savor perfectly seared steaks every time.