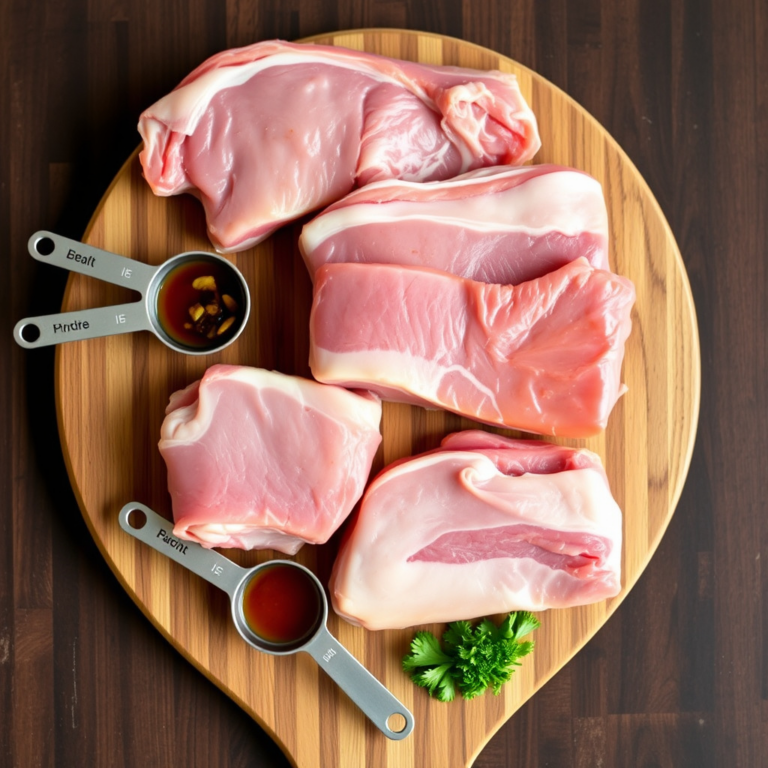
Brining a chicken involves soaking it in a saltwater solution to improve its moisture retention and boost its flavor. The key to how to brine a chicken is dissolving salt in water, optionally adding sugar and aromatics, and allowing the bird to soak for several hours. This process helps the meat stay juicy during cooking and adds a subtle savory taste.
This method matters because roasting or grilling chicken without brining often leads to dry, bland meat. Brining allows the bird’s muscle fibers to absorb and hold onto liquids, making the final dish tender and flavorful. Whether you're preparing a whole chicken or parts like breasts and thighs, brining elevates your meal noticeably.
In this article, we will explore different brining techniques, outline the necessary ingredients, discuss how long to brine based on chicken cut sizes, and share tips for seasoning and cooking after brining. Additionally, we'll compare wet and dry brining to help you decide which method suits your cooking style.
Essential Ingredients for Brining a Chicken
The Role of Salt in Brining
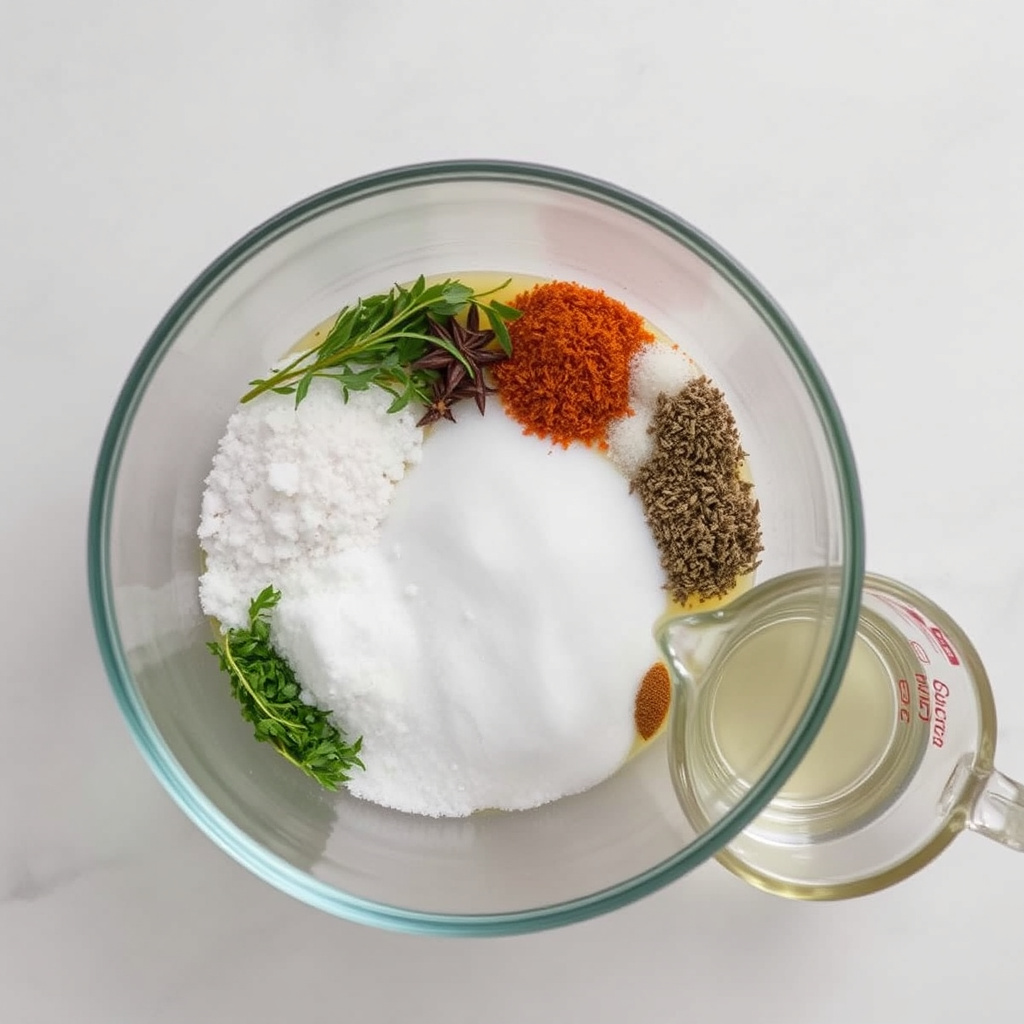
Salt is the fundamental component in any brine and works by breaking down protein structures in the meat, allowing water to penetrate deeper. The typical concentration is about 5-8% salt to water by weight, enough to enhance moisture without making the chicken overly salty.
Choosing kosher salt or sea salt is common because they dissolve well and produce consistent results. Too little salt won’t be effective, while too much can make the meat tough or salty, so precision in measuring is important.
- Kosher salt dissolves evenly
- Standard ratio: 1/4 cup salt per 4 cups water
- Avoid iodized table salt—too strong and bitter
Sugar and Aromatics for Flavor Depth
Adding sugar to brine balances the saltiness and promotes browning during cooking. Common sugars include brown sugar, white sugar, or honey. The amount usually matches or is half that of the salt component.
Herbs like rosemary, thyme, garlic, peppercorns, and citrus peels infuse subtle aromas into the meat. These extras are optional but enhance complexity and complement the chicken’s natural flavor when cooked.
- Brown sugar for caramel notes
- Fresh herbs for aroma
- Garlic cloves and peppercorns for spice
How to Brine a Chicken: Step-By-Step Process
Preparing and Mixing the Brine
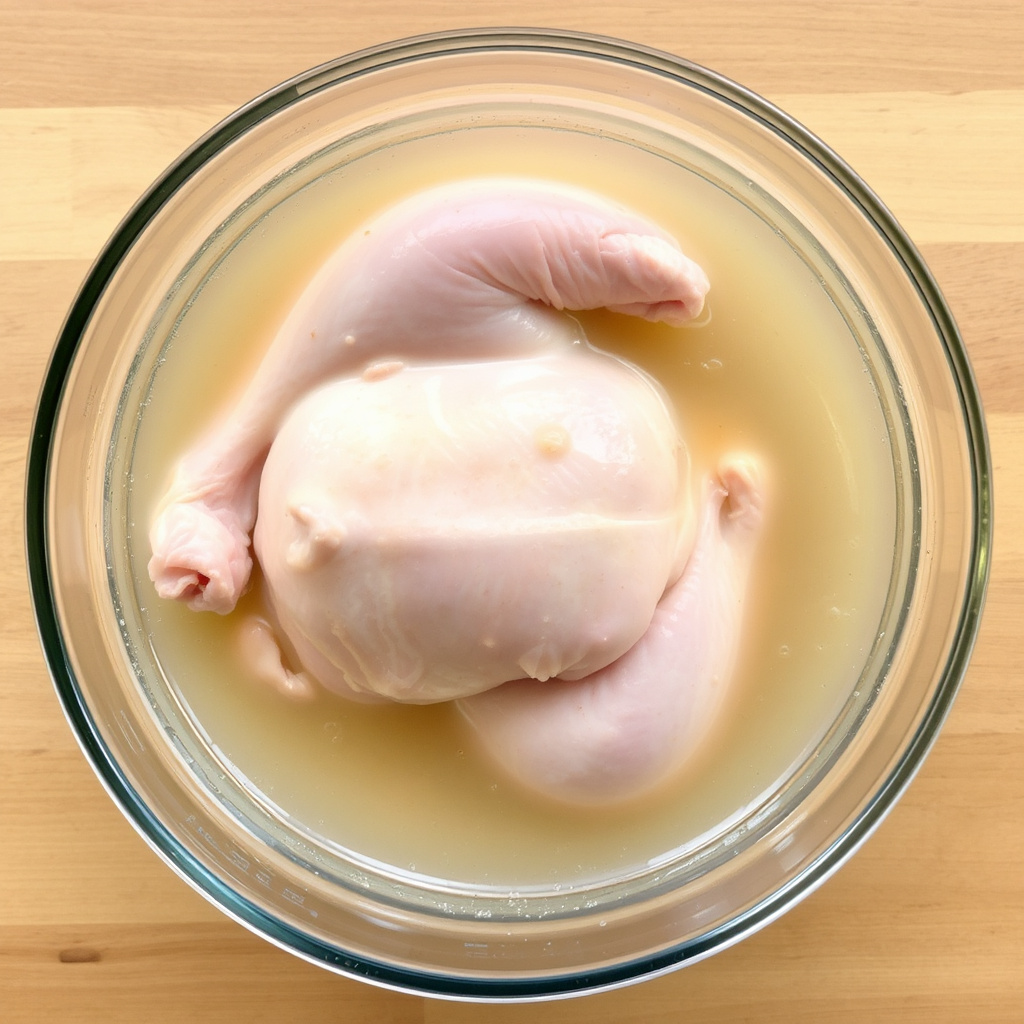
Begin by dissolving the measured salt and sugar into warm water, stirring thoroughly to ensure full dissolution. Once cooled to refrigerator temperature, add any chosen herbs or spices to the brine before placing the chicken inside.
Use a container large enough to hold the chicken fully submerged. Glass, stainless steel, or food-safe plastic tubs work well. Avoid reactive metals like aluminum, which can alter taste and color.
- Warm water helps dissolve salt and sugar
- Cool brine before adding chicken
- Use a non-reactive container
Brining Duration Guidelines
Whole chickens benefit from 8 to 12 hours of brining, while smaller cuts such as breasts or thighs need only 1 to 4 hours. Over-brining can lead to overly salty or mushy meat, so timing depends on the size and cut of your chicken.
Always refrigerate the chicken during brining to keep it safe. After brining, rinse the bird lightly under cold water to remove excess salt and pat dry thoroughly before cooking.
- Whole chicken: 8-12 hours
- Breasts/thighs: 1-4 hours
- Keep brining solution chilled
Techniques: Wet Brining vs. Dry Brining
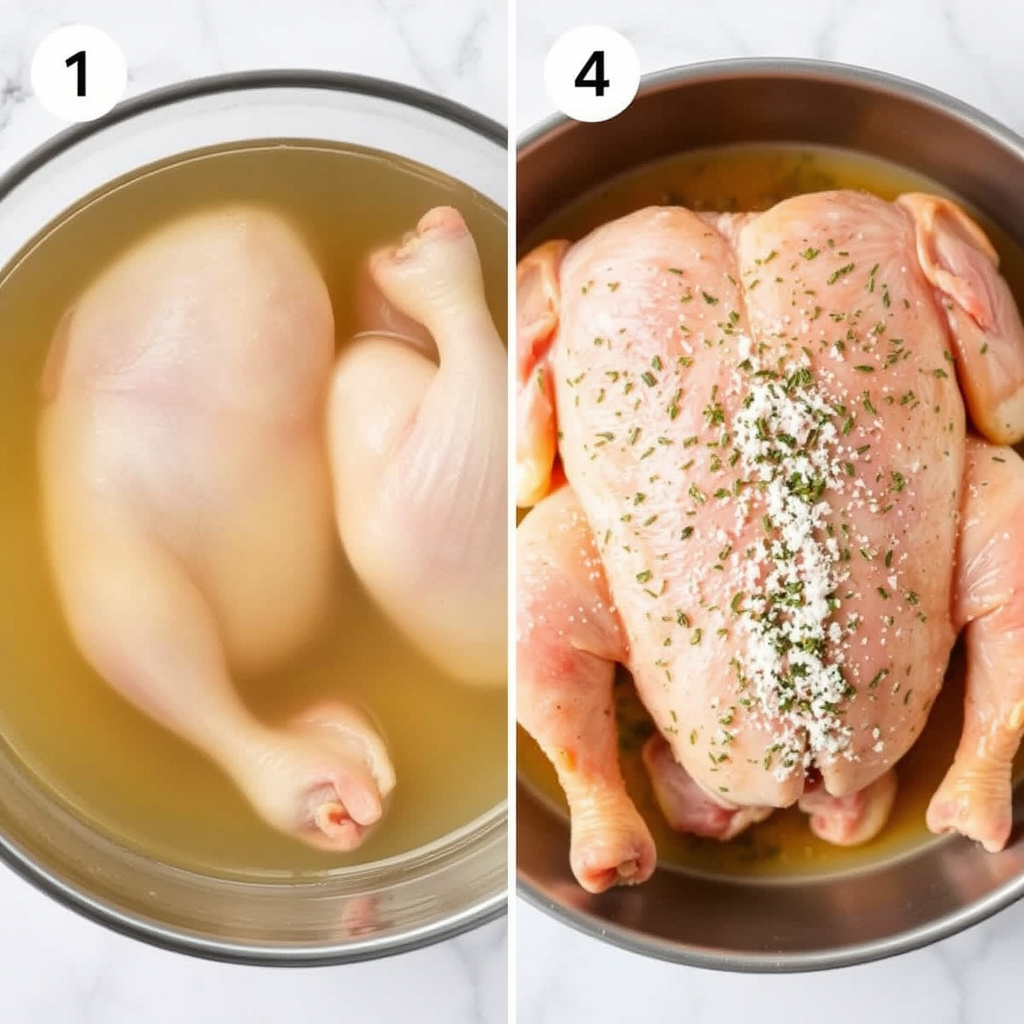
Understanding Wet Brining
Wet brining involves submerging the chicken in a saltwater solution. This method hydrates the meat directly and is especially effective for lean cuts prone to drying out. It also allows for flavor infusion from dissolved herbs and sugars.
However, wet brining requires space in the fridge and a container large enough to hold the liquid and chicken, which may not be convenient for some cooks.
- Hydrates meat thoroughly
- Allows herb infusion
- Needs fridge space and container
For more on this, see our related guide: How to Make a Brine for Chicken: Simple Steps for Juicy, Flavorful Meat.
Advantages of Dry Brining
Dry brining applies a salt and seasoning mixture directly onto the chicken’s surface without added water. This technique pulls moisture out initially but reabsorbs it, concentrating flavors and producing crisper skin when roasted.
Dry brining is easier and takes up less space but requires a longer resting time, typically 12 to 24 hours, to achieve similar benefits as wet brining.
- Less fridge space needed
- Promotes crisp skin
- Longer resting time
Cooking After Brining for Best Results
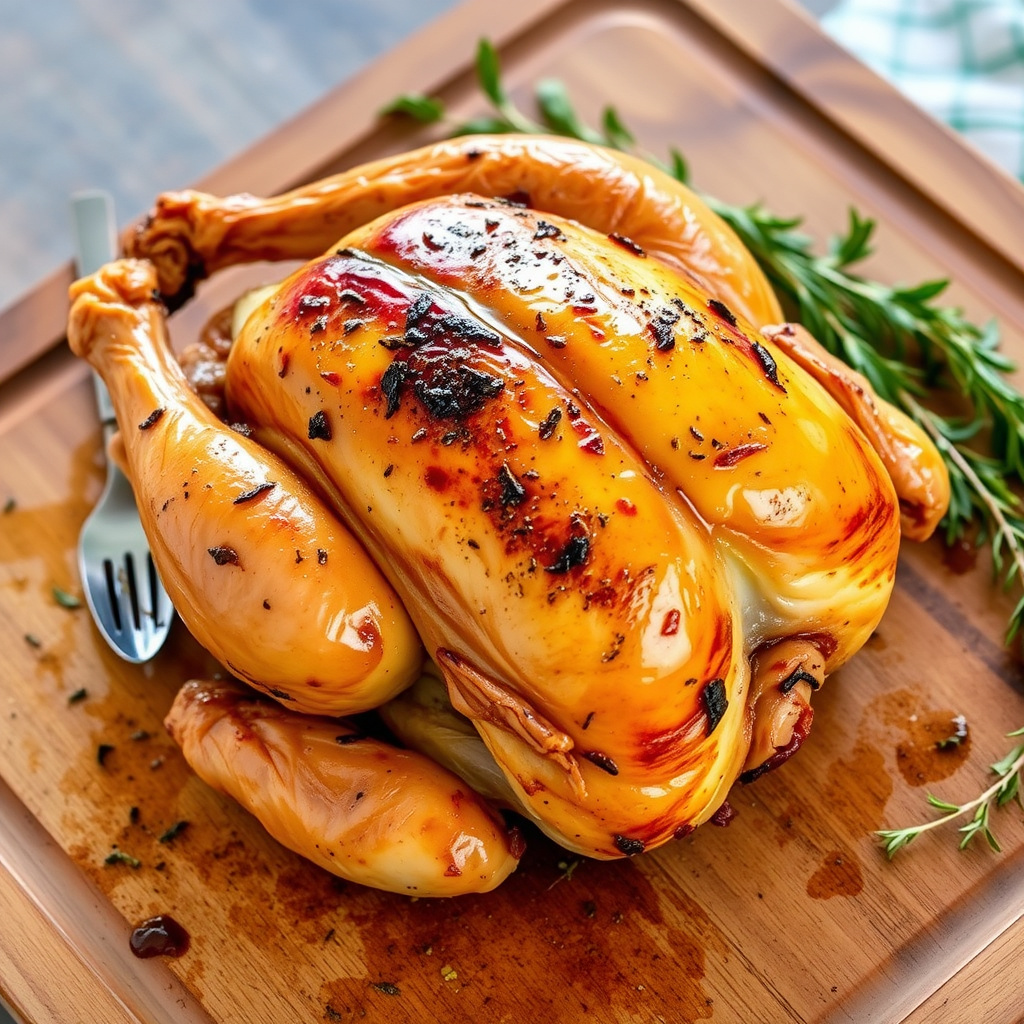
Preparing the Chicken Post-Brine
After removing the chicken from the brine, rinse lightly if needed to reduce surface saltiness, then pat dry thoroughly with paper towels. Removing moisture is key for browning during cooking, so air drying in the fridge uncovered for an hour can be helpful.
Avoid adding extra salt to the chicken before cooking unless desired, as the brine has already seasoned the meat internally.
- Rinse gently to remove excess salt
- Dry thoroughly for crisp skin
- Minimize added salt before cooking
Best Cooking Methods for Brined Chicken
Roasting is a popular choice, as the high heat crisps the brined skin while keeping the meat juicy. Grilling or pan-searing also work well, especially for brined chicken parts. Use a thermometer to avoid overcooking.
Monitor cooking times carefully; brined meat cooks slightly faster due to added moisture, so checking internal temperature is important to maintain juiciness.
- Oven roasting at 375-425°F
- Grilling with medium heat
- Use meat thermometer (165°F internal)
Common Brining Mistakes and How to Avoid Them

Avoiding Over-Brining
Leaving chicken in brine too long can result in a grainy or overly salty texture. Strictly follow recommended timing for the size of the bird and brine concentration. Shorter times are safer if unsure.
If you suspect over-brining, rinse the chicken under cold water and soak briefly in fresh water to help remove excess salt before cooking.
- Stick to timing guidelines
- Rinse if over-brined
- Use correct salt concentration
For more on this, see our related guide: How Long to Grill Chicken Breast: Perfect Timing for Juicy Results.
Proper Storage During Brining
Keeping the chicken cold during brining is vital to prevent bacterial growth. Always brine in the refrigerator or in a cooler with ice packs. Never leave poultry at room temperature in brine.
Use airtight containers or cover the brining vessel to avoid cross-contamination and fridge odors.
- Brine only in fridge or with ice
- Use sealed containers
- Avoid cross-contamination
Customizing Brine Flavors to Your Taste
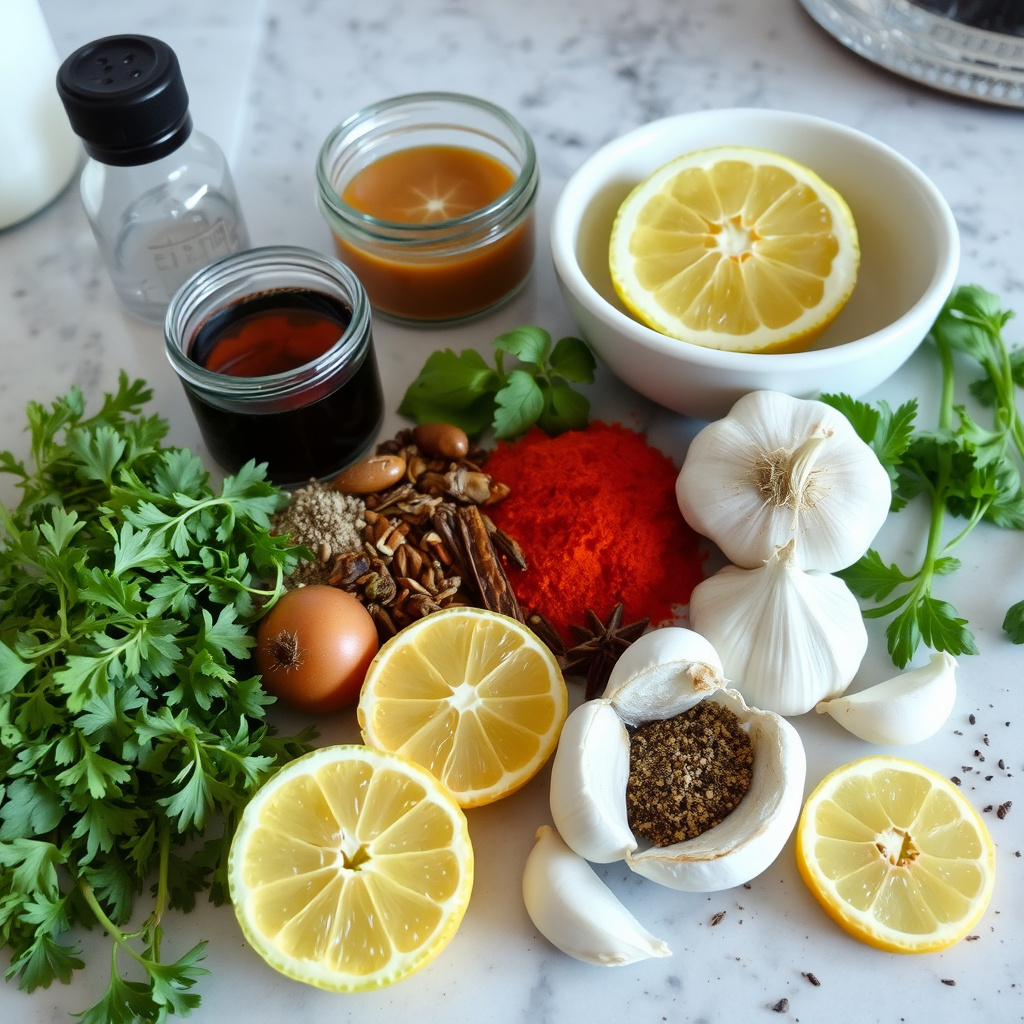
Incorporating Different Herbs and Spices
Experimenting with herbs like sage, bay leaves, or lemongrass can add unique nuances to your brined chicken. Spices such as cloves, star anise, or coriander seeds provide warmth and complexity, especially for holiday or themed meals.
Always consider the balance; too many strong flavors might overwhelm the chicken’s natural taste. Start small and adjust in future brines based on preference.
- Bay leaves for earthiness
- Coriander seeds for citrus notes
- Use fresh herbs for best aroma
For additional background on the science and history of brining chicken, consult this comprehensive guide. brining chicken techniques.
Citrus and Alcohol in Brines
Adding lemon, orange, or lime peels introduces brightness, cutting through meatiness and enhancing flavor. Small amounts of alcohol like whiskey or wine can tenderize and add fragrance but should not dominate the brine.
These additions offer culinary creativity while still improving moisture retention and taste when used sparingly.
- Use citrus peels, not juice, for acidity
- Add 1-2 tablespoons alcohol carefully
- Complementary flavors only
Brining Methods Category Comparison
This table contrasts common brining approaches based on preparation, time, and flavor impact to help you choose the right method.
| Method | Brine Type | Time Required | Flavor Enhancement | Ease of Use |
|---|---|---|---|---|
| Wet Brining | Liquid saltwater solution | 4-12 hours | Thorough moisture and flavor infusion | Requires large container and fridge space |
| Dry Brining | Salt and seasoning rub | 12-24 hours | Concentrated flavor with crisp skin | Simple, minimal equipment |
| Injection Brining | Saltwater injected into meat | Less than 1 hour | Very fast flavor and moisture boost | Needs injection equipment |
| Wet Brining with Aromatics | Saltwater plus herbs and sugar | 6-12 hours | Layered flavor complexity | More preparation but flavorful |
| Quick Brining | Concentrated saltwater for short time | 1-2 hours | Moderate moisture boost | Good for small cuts and last minute |
Frequently Asked Questions
Can I brine chicken overnight?
Yes, brining a whole chicken overnight (about 8-12 hours) is common and safe if refrigerated, providing great moisture retention without excess saltiness.
Do I need to rinse the chicken after brining?
Rinsing is optional but recommended for wet brines to remove surface salt. For dry brines, simply pat the chicken dry without rinsing.
How much salt should I use in the brine?
A good rule is 1/4 cup kosher salt per 4 cups of water, about a 6% solution. Adjust according to the recipe and bird size.
Is brining suitable for all chicken cuts?
Yes, although smaller cuts require shorter brine times. For example, breasts need 1-4 hours, while whole chickens need longer.
Can I add sugar to my brine?
Adding sugar balances saltiness and enhances browning during cooking. Use equal or half the salt amount for sweetness.
Key Takeaways
- Brining uses saltwater to keep chicken moist and flavorful.
- Wet and dry brining are both effective methods with different benefits.
- Timing and salt concentration are key to avoiding over-brining.
- Seasoning the brine personalizes flavor beyond basic salt and water.
Conclusion
Understanding how to brine a chicken well revolves around balancing salt concentration, timing, and flavor additions to increase the bird’s moisture and tenderness. This simple soaking technique allows the chicken to absorb water and salt deep into the meat, which prevents dryness during cooking. Whether you choose wet or dry brining, the process enhances texture and flavor significantly compared to unbrined poultry. Knowing the sizes of your chicken cuts and properly refrigerating during brining also contributes to safe, delicious results.
If you prefer a traditional approach, wet brining with a salt-sugar-water solution plus herbs is a versatile choice for whole chickens and larger pieces. Dry brining appeals to those seeking crispier skin and minimal hassle, especially for parts like breasts or thighs. For quick meals, consider a shorter brining time with a higher salt concentration or even injection brining, which delivers instant moisture and flavor but requires special tools. Experimenting with citrus peels or spices in your brine can further elevate your dish.
To start, choose your preferred brining method, prepare the right salt ratio, and plan the timing carefully to fit your cooking schedule. After brining, rinse and dry the chicken properly before roasting or grilling to maximize flavor and texture. With these techniques, every roast or grilled chicken you prepare will be noticeably juicier and more flavorful, delighting your family or guests at every meal.