Making beef jerky at home involves thinly slicing beef, seasoning or marinating it to taste, and drying it at low temperatures until it becomes tough and chewy. This process can be done using an oven, dehydrator, or smoker, depending on your equipment and preferences. Homemade beef jerky offers control over flavor and ingredients, avoiding preservatives found in store-bought options.
Beef jerky has been a favorite snack for centuries because of its portability and long shelf life. Crafting your own allows you to experiment with flavors from smoky and spicy to sweet and savory, tailoring it to your taste. Understanding the drying process is vital, as it preserves meat safely while retaining the ideal texture.
This article will cover everything from selecting the right cut of beef, preparing marinades, drying techniques, safety tips, and storing your jerky. Whether you have a dehydrator or just an oven, we’ll guide you through the steps for delicious, homemade beef jerky.
Choosing the Best Beef for Jerky
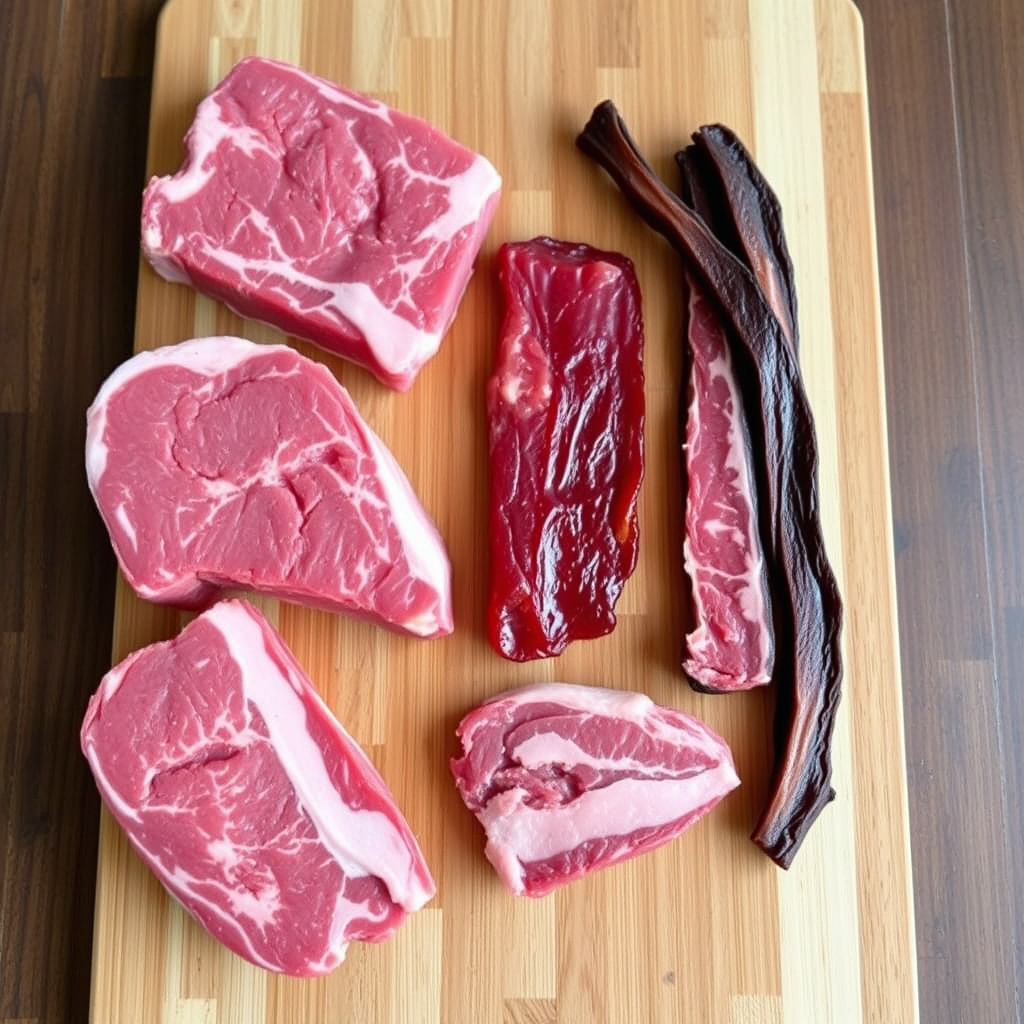
Ideal Beef Cuts for Jerky
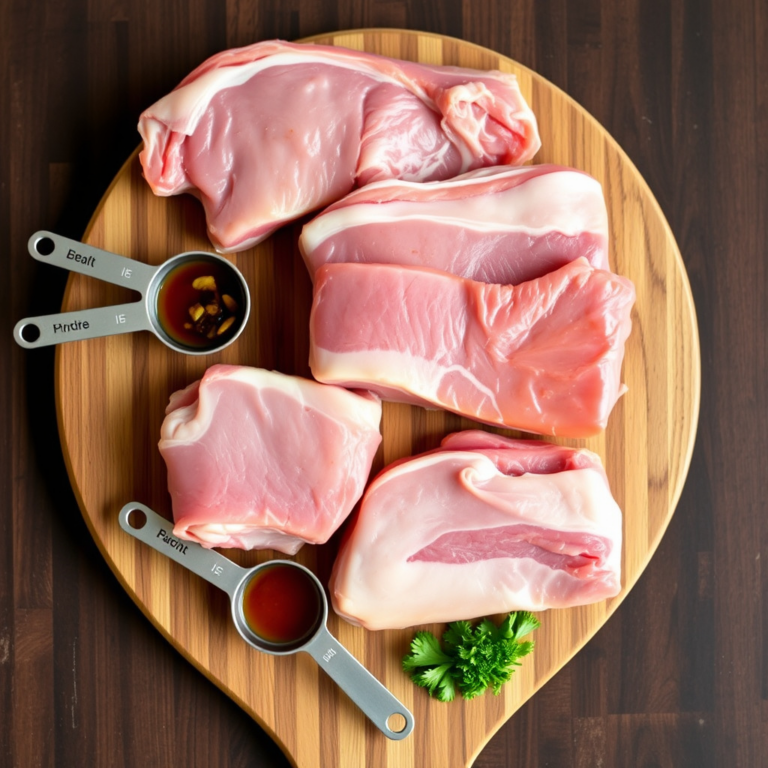
Selecting lean cuts is essential to prevent spoilage and ensure a longer shelf life. Cuts like top round, bottom round, flank steak, and sirloin tip are popular choices because they have minimal fat and good texture for slicing thinly.
Avoid marbled or fatty cuts since fat doesn’t dry well and can cause the jerky to become rancid quickly. The best beef for jerky comes from muscles that are dense and low in fat, offering a clean, chewy final product.
- Top round: lean and affordable
- Bottom round: sturdy texture
- Flank steak: flavorful and lean
- Sirloin tip: tender and low fat
Preparing the Beef for Slicing
Freezing the beef for about 1-2 hours makes it firmer and easier to cut thinly, which is vital for consistent drying and texture. Aim for slices about 1/8 to 1/4 inch thick.
Cut against the grain for a tender jerky or with the grain for a chewier texture. Uniform slicing helps ensure even drying and avoids partially dried or undercooked strips.
Marinating and Seasoning Your Beef Jerky
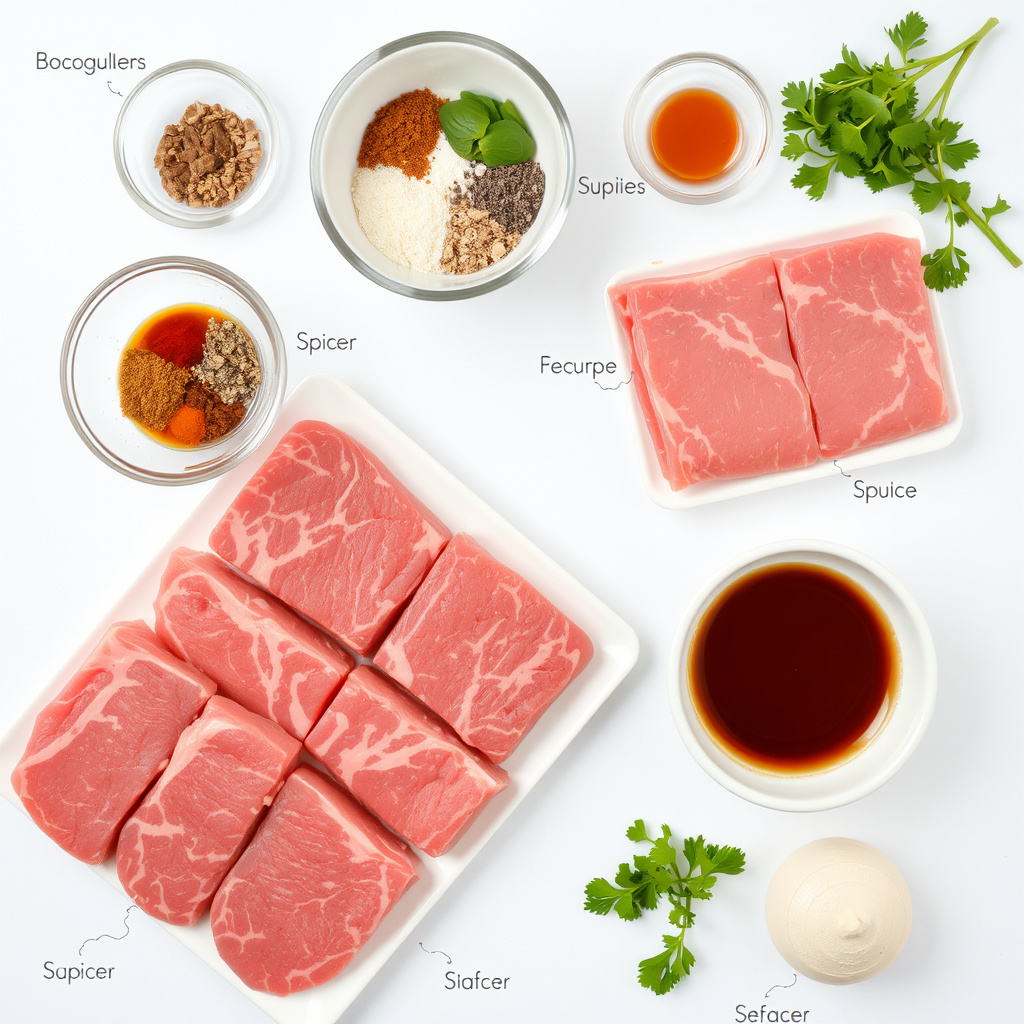
Creating a Flavorful Marinade
A well-balanced marinade combines salty, sweet, and spicy flavors to enhance the beef while aiding preservation. Common bases include soy sauce or Worcestershire sauce mixed with brown sugar, garlic powder, black pepper, and chili flakes.
Marinating overnight in the refrigerator lets the flavors penetrate deeply, improving taste. Remember to keep the beef submerged in the marinade and stir occasionally for even coating.
- Soy sauce or Worcestershire sauce base
- Brown sugar or honey for sweetness
- Garlic powder and onion powder
- Black pepper and chili flakes for spice
Dry Rub vs. Wet Marinade
Some prefer a dry rub using spices like smoked paprika, salt, pepper, and cumin, massaged directly onto the meat. This method can produce a different flavor profile with less mess.
Wet marinades add moisture and deeper flavor penetration, while dry rubs emphasize smoky and savory notes. Choose based on your equipment and the flavor intensity you want in the finished jerky.
Methods for Drying Beef Jerky
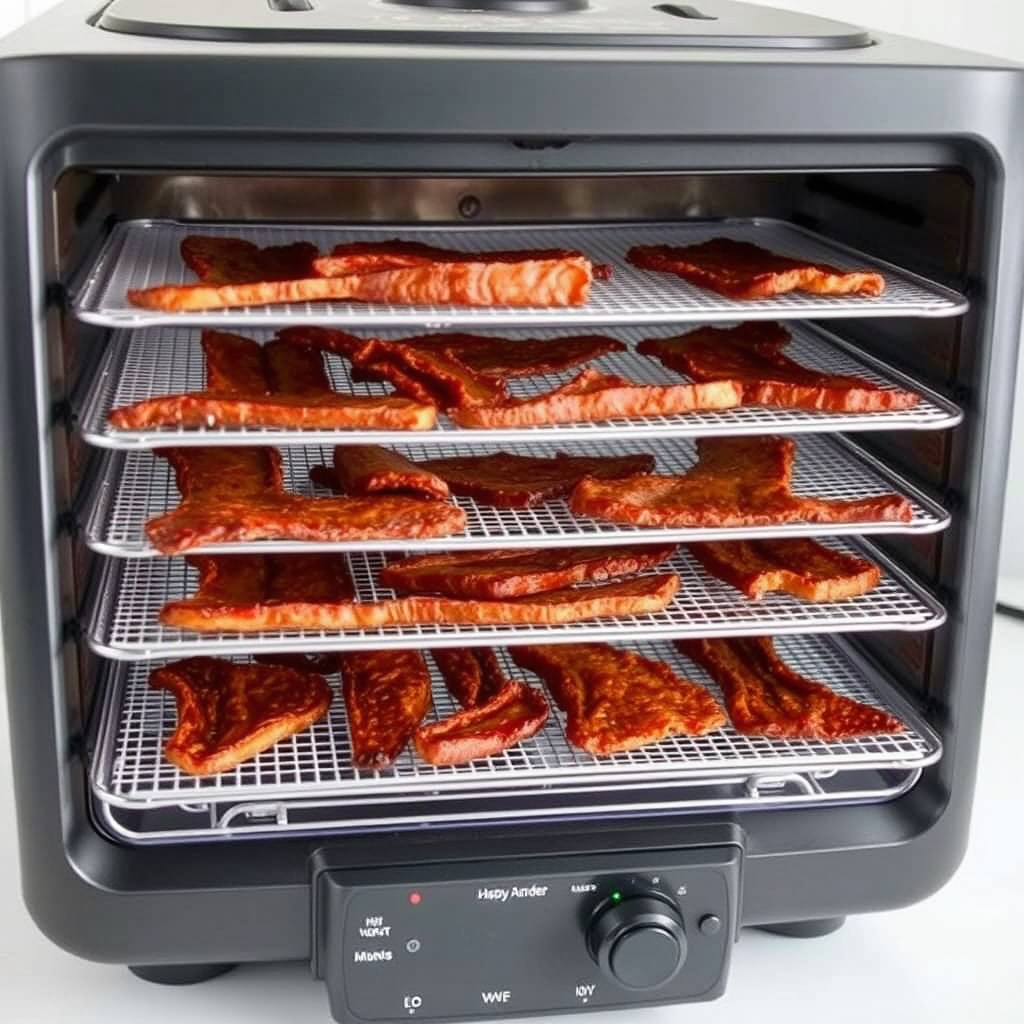
Using a Dehydrator
Food dehydrators provide a controlled environment with consistent low heat and airflow, making them ideal for drying jerky evenly. Set the temperature between 145°F and 160°F and dry for 4-8 hours depending on thickness.
Rotate trays if necessary to avoid uneven drying. Dehydrators also help keep the workspace clean and reduce energy usage compared to ovens.
- Set temperature: 145°F to 160°F
- Drying time: 4 to 8 hours
- Rotate trays for uniform drying
Oven Drying Techniques
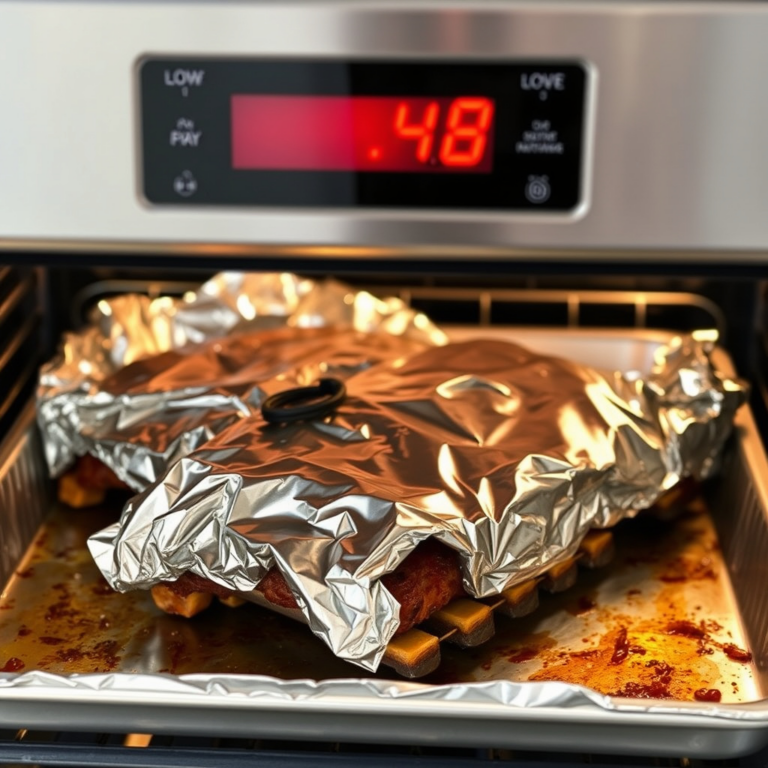
Home ovens can be used by setting them to the lowest temperature, typically around 170°F. Leaving the door slightly open with a wooden spoon allows moisture to escape, speeding up drying.
Place beef strips on wire racks with baking sheets underneath to catch drips. Drying times usually range from 3 to 6 hours, but check regularly to avoid over-drying or burning.
- Use lowest oven temperature (around 170°F)
- Keep oven door ajar for air circulation
- Use wire racks and trays for drip collection
Safety and Food Handling for Jerky
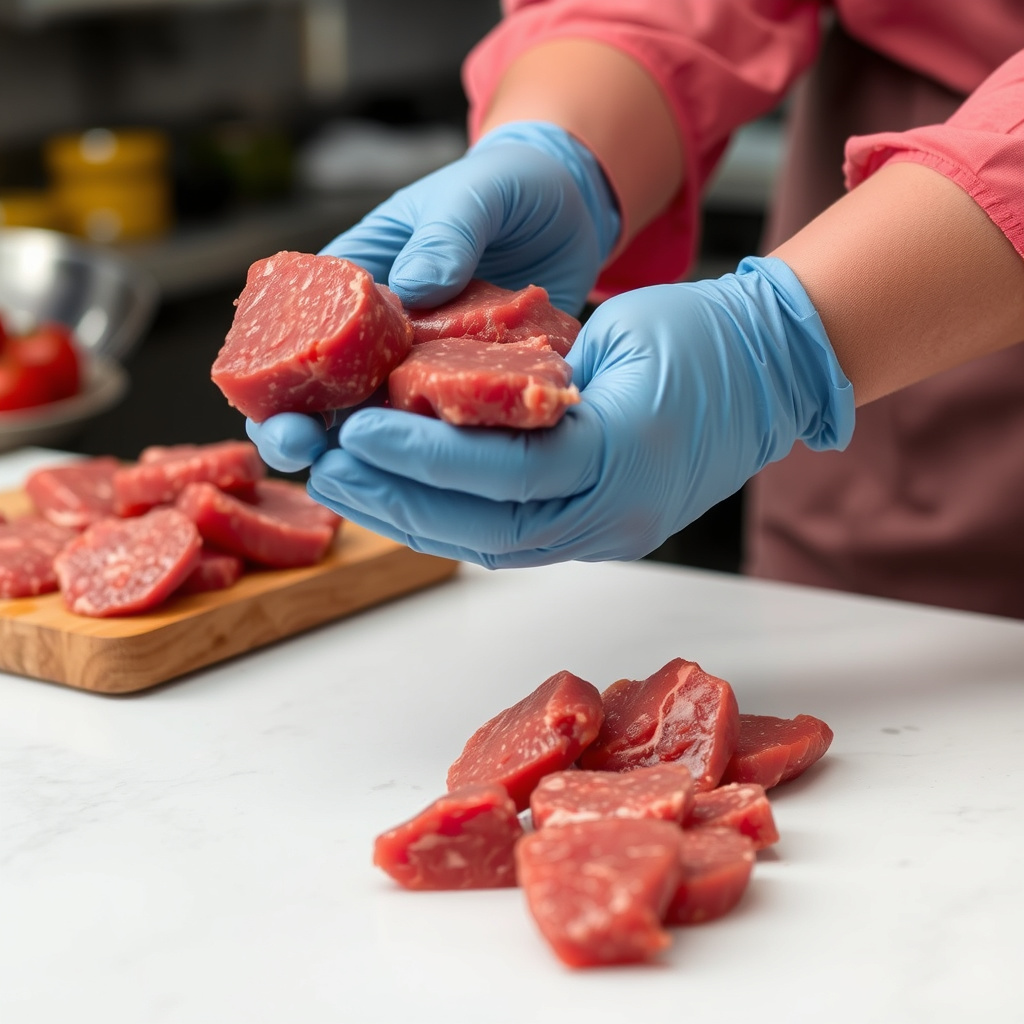
Preventing Bacterial Growth
Marinating beef in solutions containing salt and acid (like soy sauce or vinegar) helps slow bacterial growth before drying. Maintain proper hygiene when handling raw meat and avoid cross-contamination.
Drying at the recommended temperatures also ensures that harmful bacteria like Salmonella and E. coli are destroyed. Never dry jerky below 130°F as it increases food safety risks.
- Use marinades with salt and acid
- Maintain clean utensils and surfaces
- Dry at safe temperatures above 130°F
Storing Homemade Beef Jerky
Once dried and cooled, store jerky in airtight containers or vacuum-sealed bags to retain freshness. Refrigeration extends shelf life up to a few weeks, while freezing allows for months-long storage.
If kept in a cool, dark place, jerky can last 1 to 2 months depending on moisture content. Moist jerky spoils faster, so ensure it's fully dried before storage.
- Use airtight containers or vacuum seal bags
- Refrigerate for weeks, freeze for months
- Store in cool, dark, dry places
Customizing Flavor and Texture
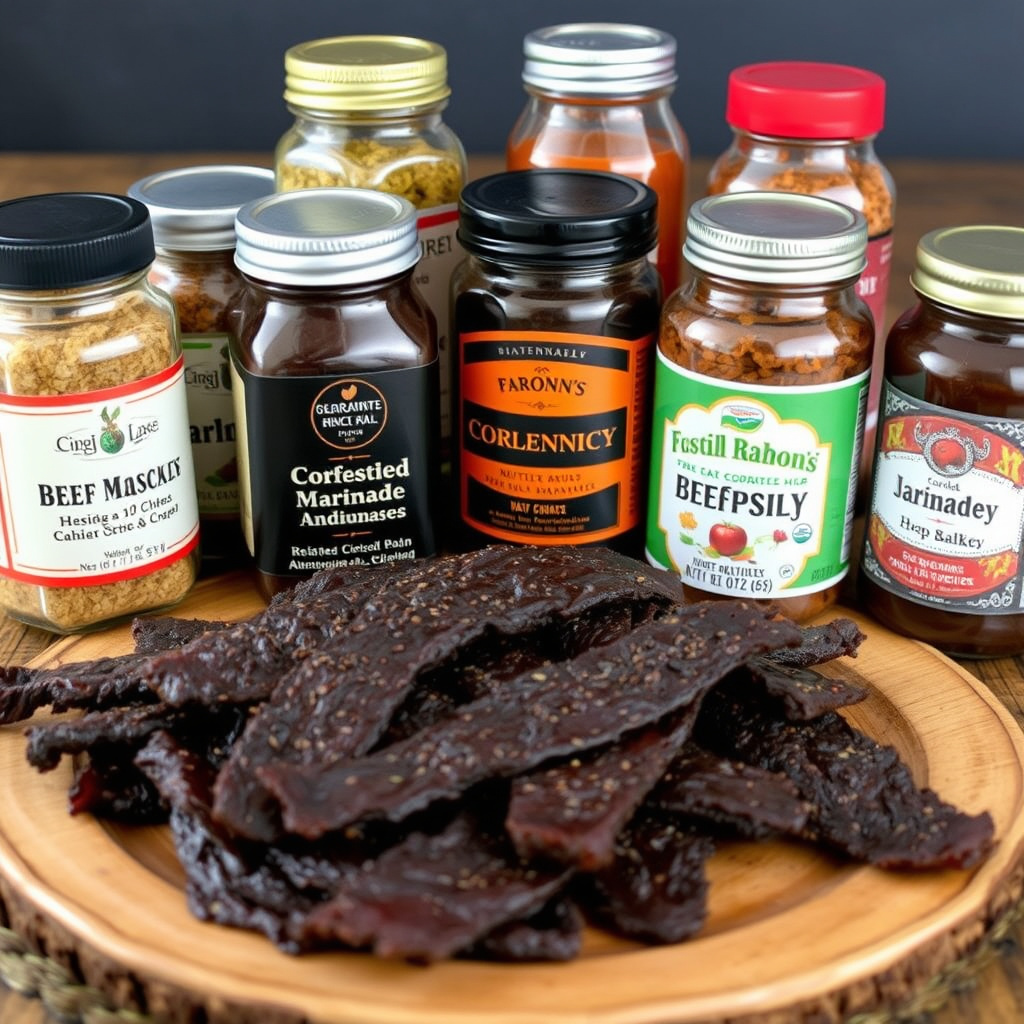
Adjusting Spice Levels and Ingredients
Modify the marinade to suit your palate by adding ingredients like liquid smoke for smokiness, honey for sweetness, or cayenne pepper for heat. Experiment with fresh herbs or Asian-inspired flavors such as ginger and sesame oil for variety.
For milder jerky, reduce chili powder and black pepper amounts. Balance is key between salty and sweet components to avoid overwhelming the natural beef flavor.
- Add liquid smoke for smoky flavor
- Use honey or brown sugar for sweetness
- Adjust chili and pepper for spice control
Controlling Texture Through Drying Time
Longer drying yields tougher, drier jerky, while shorter times give chewier results. Check texture frequently near the end of drying—jerky should be flexible enough to bend without breaking but not so moist it feels sticky.
Cutting the beef thicker or thinner influences drying duration and texture, so experiment to find your preferred chewiness.
- Longer drying = tougher jerky
- Shorter drying = chewier jerky
- Adjust slice thickness for texture
Troubleshooting Common Jerky Issues

Avoiding Mold and Spoilage
Mold often forms if jerky is dried insufficiently or stored in humid conditions. To prevent this, dry jerky thoroughly and store it in airtight containers with desiccant packets if available.
If mold appears, discard the jerky entirely to avoid health risks. Proper drying and refrigeration help prevent this issue.
For a detailed history and scientific explanation of beef jerky, you can refer to beef jerky on Wikipedia. Beef jerky on Wikipedia.
Fixing Hard or Brittle Jerky
Jerky that snaps or feels overly hard usually means over-drying. To avoid this, check jerky regularly during drying, especially in the last hour.
If jerky is too brittle after drying, store it in slightly humid environments briefly or add moisture by placing a damp paper towel in the container for a short time before eating.
Comparison of Beef Jerky Drying Methods
Here’s a side-by-side look at popular beef jerky drying methods, highlighting their benefits and drawbacks.
| Method | Temperature Range | Drying Time | Pros | Cons |
|---|---|---|---|---|
| Food Dehydrator | 145°F – 160°F | 4 – 8 hours | Consistent temperature, energy efficient, good airflow | Requires buying equipment |
| Oven Drying | Around 170°F | 3 – 6 hours | Uses common kitchen appliance, easy setup | Less precise temperature control, higher energy use |
| Smoking | 140°F – 160°F | 6 – 12 hours | Adds smoky flavor, natural drying | Longer time, need outdoor space and smoker |
| Sun Drying | Ambient temperature (varies) | 1 – 3 days | No equipment cost, traditional method | Risk of contamination, slow, weather dependent |
Frequently Asked Questions
How long should beef jerky be dried?
Beef jerky typically needs 4 to 8 hours when using a dehydrator or oven drying at low temperatures. Exact time depends on slice thickness and drying method.
Can I use any type of beef for jerky?
Lean cuts like top round, bottom round, or flank steak work best. Avoid fatty cuts because fat spoils faster and affects jerky shelf life.
Is it safe to make beef jerky at home?
Yes, if you follow proper food safety practices such as using a salt-based marinade, drying at correct temperatures above 130°F, and storing jerky properly.
How should I store homemade beef jerky?
Store jerky in airtight containers or vacuum-sealed bags. Refrigerate or freeze for longer shelf life and keep in a cool, dry place if consuming quickly.
Can I use a microwave to make beef jerky?
Microwaving is not recommended due to uneven heating and difficulty controlling dryness, which can increase food safety risks.
Key Takeaways
- Use lean beef cuts like top round or flank steak for best results.
- Marinate beef in salty and acidic mixtures to flavor and preserve it.
- Dry jerky at controlled low temperatures between 145°F and 170°F.
- Store jerky airtight and refrigerate or freeze for durability.
Conclusion
Deciding how to make beef jerky at home boils down to selecting the right cut of lean beef, preparing a flavorful marinade or spice rub, and choosing a drying method that suits your kitchen setup. The balance between drying time, temperature, and slice thickness ultimately affects the texture and safety of your jerky. Careful handling and drying ensure a tasty product that lasts well and satisfies your craving for a protein-packed snack.
If you have a dehydrator, it offers the easiest and most consistent way to dry beef jerky, maintaining steady heat and airflow. Ovens work well too, especially with wire racks and open-door airflow. For those pursuing smoky flavors, a smoker adds authentic character but requires patience. Beginners might start with a classic water-based marinade using soy sauce and brown sugar on top round beef slices. Adjust spices and drying times until you find your ideal chewiness and taste.
Once your homemade beef jerky is ready, store it in airtight containers in the refrigerator or freezer to stretch its shelf life. This protects your effort and ensures your snack stays fresh for weeks or months. Making jerky yourself lets you control ingredients and customize flavors, making it a rewarding project as well as a delicious snack. Give the process a try with these practical steps, and you’ll soon have a satisfying treat ready whenever hunger strikes.