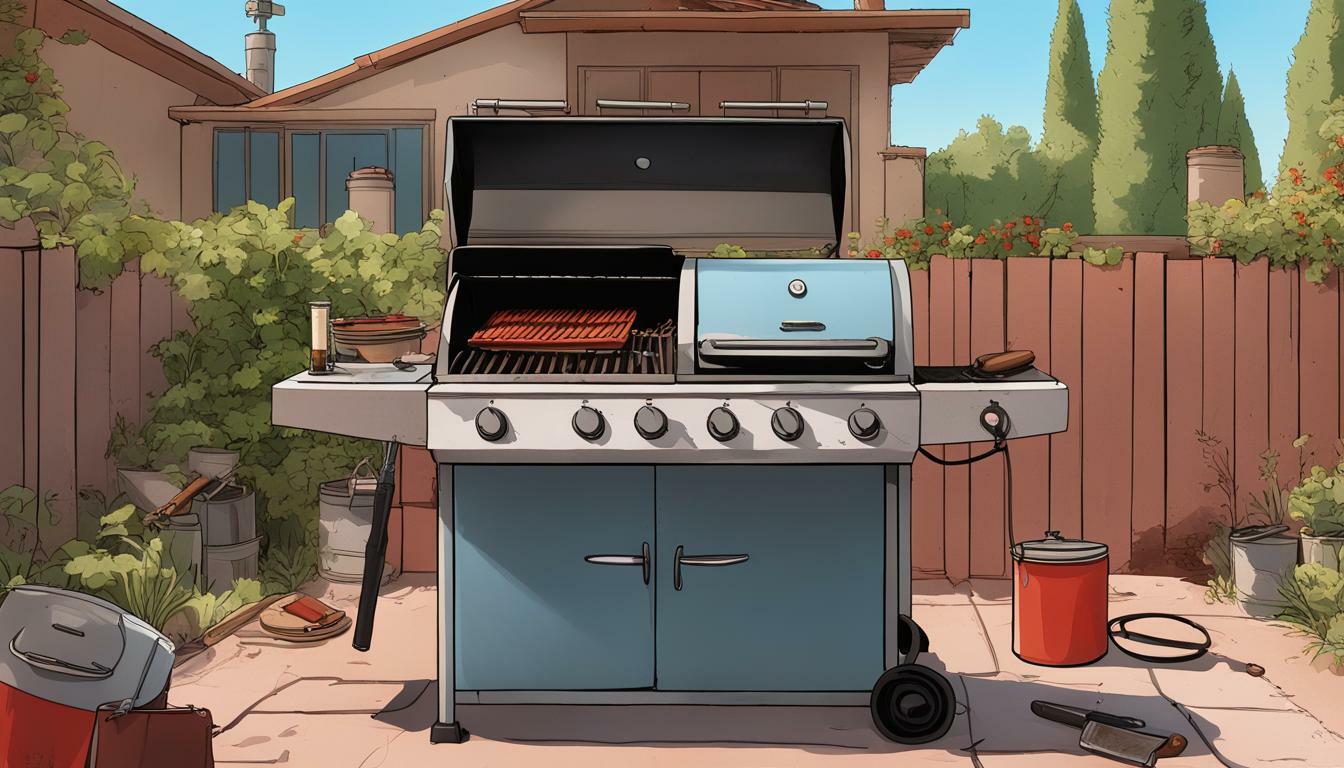
Are you tired of looking at your old, rusty grill? A fresh coat of paint is an easy and affordable way to give it a brand new look. In this section, I’ll guide you through the step-by-step process of painting a grill, sharing tips and tricks along the way to ensure a successful project.
Contents
Key Takeaways:
- Painting your grill is an affordable and easy way to give it a fresh, new look.
- Following the proper steps and using the right tools and materials is crucial for success.
- With the right techniques, you can achieve different finishes and effects on your grill.
Grill Painting Tips
So, you want to give your old grill a fresh new look? You’ve come to the right place! Here are some grill painting tips that I’ve learned through personal experience and research. Whether you’re a seasoned DIYer or a novice, these suggestions will help you achieve a professional-looking finish on your grill painting project.
1. Clean and Prepare
Before you dive into painting, you want to make sure that your grill is clean and prepped. Remove any dirt, grime, and rust using a wire brush. For tougher stains, use a degreaser or a mixture of water and vinegar. After cleaning, rinse the grill with water and let it dry completely before painting.
2. Choose the Right Paint
Using the right type of paint is crucial for a successful grill painting project. High-temperature paint is the best option for grills because it can withstand extreme heat without fading or peeling. Choose a paint that is specifically designed for high-heat applications and is suitable for outdoor use.
3. Use a Primer
Applying a primer is essential for achieving an even finish and ensuring the paint adheres well to the grill. Choose a primer that is formulated for use on metal surfaces. Apply a thin coat of primer and let it dry completely before painting.
4. Apply Thin Coats
When it comes to painting your grill, the key is to apply thin coats of paint. Avoid thick, heavy coats, as they can result in drips and uneven coverage. Instead, apply multiple thin coats, allowing each coat to dry completely before applying the next one.
5. Work in a Well-Ventilated Area
Painting can release fumes that can be harmful if inhaled, so you want to work in a well-ventilated area. If possible, paint outdoors or in a garage with the doors open. Wear a respirator mask to protect yourself from inhaling harmful fumes.
6. Don’t Rush
Patience is key when it comes to grill painting. Rushing can result in sloppy work and a less-than-perfect finish. Allow each coat of paint to dry completely before applying the next one, and take your time to ensure that the paint is applied evenly and smoothly.
7. Evaluate and Touch Up
After painting your grill, step back and evaluate your work. Look for areas with uneven coverage or drips. If you notice any imperfections, touch them up with a small brush or spray paint.
By following these grill painting tips, you can transform your old, worn-out grill into a beautiful, eye-catching centerpiece for your outdoor cooking area. Happy DIYing!
Steps to Paint a Grill
Painting a grill may seem like a daunting task, but with the right approach, it can be a fun and rewarding DIY project. Here are the step-by-step instructions you’ll need to follow:
- Disassemble the grill: Before you start painting, take your grill apart. Remove any grates, trays, and other parts that could get in the way.
- Clean the grill: Using a wire brush and a degreaser, clean the grill to remove any rust, dirt, or grease. Rinse thoroughly with water and let it dry completely.
- Apply primer: To protect the metal and ensure good paint adhesion, apply a coat of primer. Use a metal primer that is suitable for high-heat applications and follow the manufacturer’s instructions.
- Sand the grill: Once the primer is dry, sand the grill lightly with fine-grit sandpaper. This will create a smooth surface for the paint to adhere to.
- Apply paint: Using a paintbrush or a spray can, apply your chosen paint. Use a high-temperature paint that is specifically designed for grills and apply it in thin, even layers. Let each layer dry completely before adding another one.
- Apply a clear coat: To protect the paint and give it a glossy finish, apply a clear coat. This is an optional step, but it can make a big difference in the final result.
- Reassemble the grill: Once all the layers are dry, reassemble the grill. Make sure everything is in its place, and that all the screws and bolts are tight.
By following these steps, you can paint your grill with confidence and achieve a professional-looking result.
Best Paint for Grills
Choosing the best paint for your grill is essential to ensure a long-lasting and durable finish. When selecting paint for a grill, it is crucial to consider its ability to withstand high temperatures and protect against rust and corrosion.
The most common types of paint suitable for grills are enamel, high-heat spray paint, and ceramic-based paint. Enamel paint is an excellent choice for indoor grills or those not exposed to the elements. High-heat spray paint is ideal for outdoor grills, as it can withstand temperatures up to 1200°F. Ceramic-based paint is also a popular choice, as it provides superior heat resistance and rust protection.
| Paint Type | Best For | Pros | Cons |
|---|---|---|---|
| Enamel Paint | Indoor grills, low-temperature outdoor grills | Easy to apply, wide range of color options | Not suitable for high-temperature grilling or outdoor use |
| High-Heat Spray Paint | Outdoor grills exposed to high temperatures | Can withstand high temperatures, quick-drying | Not as durable as ceramic-based paint |
| Ceramic-Based Paint | All types of grills, especially those exposed to harsh weather conditions | Superior heat resistance, excellent rust protection, long-lasting finish | More expensive than other types of paint |
When selecting a paint for your grill, make sure to choose one that is specifically designed for use on metal surfaces. Look for a paint that provides excellent adhesion, as well as resistance to chipping, peeling, and fading.
Some of the best brands of paint for grills include Krylon, Rust-Oleum, and POR-15. These paints are specially formulated for use on grills and provide exceptional protection against high temperatures and weather conditions.
In conclusion, when it comes to painting your grill, the type of paint you choose is crucial to achieving a long-lasting and durable finish. Enamel paint is an excellent choice for indoor grills, while high-heat spray paint and ceramic-based paint are ideal for outdoor grills exposed to high temperatures and weather conditions. Make sure to choose a paint specifically designed for use on metal surfaces and look for brands that provide excellent adhesion and resistance to chipping, peeling, and fading.
Grill Makeover Tutorial
Transforming an old, worn-out grill into a stylish centerpiece can be an enjoyable DIY project, and the results are stunning. Here’s a step-by-step guide on how to give your grill a complete makeover:
Step 1: Clean the Grill
The first step in any paint project is to ensure the surface is clean. Scrub your grill with a heavy-duty cleaner and a stiff brush to remove any grease, debris, or rust. Rinse it off with a water hose and allow it to dry completely before proceeding.
Step 2: Sand the Grill
Next, use sandpaper to remove any remaining rust and rough up the surface for better paint adhesion. Start with a coarse sandpaper and then move to a finer grit to smoothen out the surface. Wipe it clean with a cloth to remove any dust before proceeding.
Step 3: Apply Primer
Apply a coat of rust-inhibiting primer to the entire surface of the grill. Use a paintbrush or a spray can, following the manufacturer’s instructions. Allow it to dry completely before proceeding.
Step 4: Paint the Grill
Once the primer is dry, apply a high-heat paint specifically designed for grills. Use a paintbrush or a spray can, following the manufacturer’s instructions. Apply at least two coats, allowing each coat to dry completely before adding the next.
Step 5: Add Finishing Touches
Apply any additional finishes or touches, such as decals or stencils, to give your grill a unique look. Seal the paint with a clear coat to protect the finish and let it dry completely before using the grill.
Taking the time to properly prep and paint your grill will result in a beautiful and long-lasting finish that will make your outdoor cooking area the envy of the neighborhood. With this grill makeover tutorial, your grill will look like new in no time!
Painting Metal Grills
Painting metal grills requires slightly different considerations compared to other materials. Here are some tips to ensure a successful project:
- Start with a clean grill: Before painting, make sure to clean the grill thoroughly to remove any grease or rust that may affect the adhesion of the paint.
- Choose the right paint: Opt for a high-temperature paint specifically designed for metal surfaces. These paints are formulated to withstand the heat and wear-and-tear of outdoor cooking.
- Apply in thin coats: When painting metal grills, it’s best to apply thin layers of paint rather than one thick coat. This helps prevent drips and ensures a smooth finish.
Painting Technique for Metal Surfaces:
When painting metal grills, use a back-and-forth motion with the spray can, starting from the top and working your way down. This helps prevent drips and ensures an even coverage.
Pro tip: To add a little extra visual interest, consider using a combination of matte and glossy paints or creating a textured finish using a spray-on rust inhibitor.
Grill Painting Supplies
Before you start your grill painting project, gather all the necessary supplies and materials to ensure a smooth and successful process. Here’s a list of items you’ll need:
| Supplies | Description |
|---|---|
| Paint stripper | For removing old paint and rust from the grill |
| Sandpaper | For smoothing out rough surfaces and preparing the grill for painting |
| Primer | A base coating that helps the paint adhere better and prolongs the life of the finish |
| High-heat paint | A specially formulated paint that can withstand high temperatures and weathering |
| Paintbrushes and rollers | For applying the paint and primer to the grill |
| Dust mask and gloves | For protecting yourself from paint fumes and chemicals |
Make sure you choose high-quality materials for best results and durability. You can find all of these supplies at your local hardware or home improvement store.
Grill Painting Techniques
When it comes to painting your grill, there are a number of techniques you can use to achieve different finishes and effects. Here are some of the most effective grill painting techniques:
- Brushing: This is the most common method of painting a grill and involves using a paintbrush to apply the paint in even strokes. It’s a great option for achieving a smooth, consistent finish.
- Spraying: If you have a large or intricate grill, spraying can be a more efficient option. Use a spray gun or can to apply the paint in a thin, even coat.
- Dipping: Dipping your grill involves completely submerging it in a paint bath. This method is best for smaller grills or grill parts and can result in a thick, uniform coating.
Regardless of which technique you choose, make sure to use a high-quality grill paint and follow the manufacturer’s instructions carefully. Here are a few additional tips to keep in mind:
- Sand and clean: Before you start painting, sand the surface of your grill to create a textured surface that will help the paint adhere. Then, clean the grill with soap and water to remove any dirt or debris.
- Prime: For the best results, apply a layer of primer before you begin painting. This will help the paint adhere to the surface and can also prevent rust and corrosion over time.
- Thin coats: When painting your grill, it’s better to apply several thin coats of paint rather than one thick one. This will help ensure an even, consistent finish and minimize the risk of drips or clumps.
- Dry time: Finally, give your grill plenty of time to dry between coats and after the final layer of paint. This will prevent smudges or smears and help ensure a strong, durable finish.
Conclusion
Now that I’ve shared the step-by-step process for painting your grill, you’re well on your way to transforming your outdoor cooking space. Remember to take your time and follow the tips and tricks I’ve provided, and you’ll end up with a beautiful new addition to your backyard.
Don’t be afraid to experiment with different painting techniques and finishes to truly make your grill your own. Whether you opt for a bright pop of color or a sleek metallic finish, the possibilities are endless.
So go ahead and grab those supplies, put on some tunes, and let’s get painting! Trust me, the satisfaction of a job well done will be well worth the effort.
FAQ
Q: How do I prepare the grill before painting?
A: Before painting the grill, make sure to clean it thoroughly by removing any grease, dirt, or rust. Use a wire brush or sandpaper to scrub off any loose paint or rust flakes. Then, wash the grill with warm soapy water and let it dry completely before proceeding with the painting process.
Q: What type of paint should I use for my grill?
A: It is recommended to use high-temperature paint specifically designed for grills. This type of paint is heat-resistant and durable, ensuring it can withstand the high temperatures produced during grilling. Look for paints labeled as “grill paint” or “stove paint” for the best results.
Q: Can I paint a rusty grill?
A: Yes, you can paint a rusty grill. However, it is essential to remove as much rust as possible before painting. Scrub the rusted areas with a wire brush or sandpaper to get rid of loose rust flakes. If there are deep rust spots, you may need to use a rust converter or primer to prevent further rusting before applying the paint.
Q: Should I remove the grates before painting?
A: It is usually recommended to remove the grates before painting to ensure an even application of paint and to prevent any paint from getting on the cooking surface. However, if you cannot remove the grates, make sure to cover them with painter’s tape or aluminum foil to protect them from paint splatters.
Q: How many coats of paint should I apply?
A: It is generally recommended to apply two to three coats of paint to achieve a smooth, even finish. Allow each coat to dry completely before applying the next one. Multiple thin coats are better than one thick coat, as it reduces the risk of drips and ensures better adhesion.
Q: How long should I wait before using the grill after painting?
A: It is best to wait at least 24-48 hours before using the grill after painting. This allows the paint to fully cure and harden, ensuring it can withstand the heat from grilling without peeling or bubbling.

- 15 Best Cordless Electric Fillet Knives for 2026 - February 13, 2026
- 15 Best Commercial Fillet Knives for 2026 - February 13, 2026
- 15 Best Cleaver Knives for Vegetables in 2026 - February 13, 2026