The 3 2 1 method for ribs is a barbecue cooking technique designed to produce tender, flavorful ribs by dividing the cooking process into three distinct phases: 3 hours of smoking, 2 hours wrapped in foil, and 1 hour unwrapped with sauce. This method balances cooking time and temperature to break down connective tissues while preserving moisture.
This approach matters because ribs can be tricky to cook evenly without drying out or ending up too tough. The 3 2 1 method optimizes tenderness and bark formation by managing smoke exposure, heat, and moisture retention throughout the cook, making it a favorite among pitmasters and backyard grillers alike.
In this article, you’ll learn the detailed steps of the 3 2 1 method for ribs, variations to try, and important tips for preparing, seasoning, and serving ribs cooked this way. We'll also compare it to other popular rib-cooking techniques to help you find the best method for your taste.
Understanding the 3 2 1 Method for Ribs
What the 3 2 1 Numbers Mean
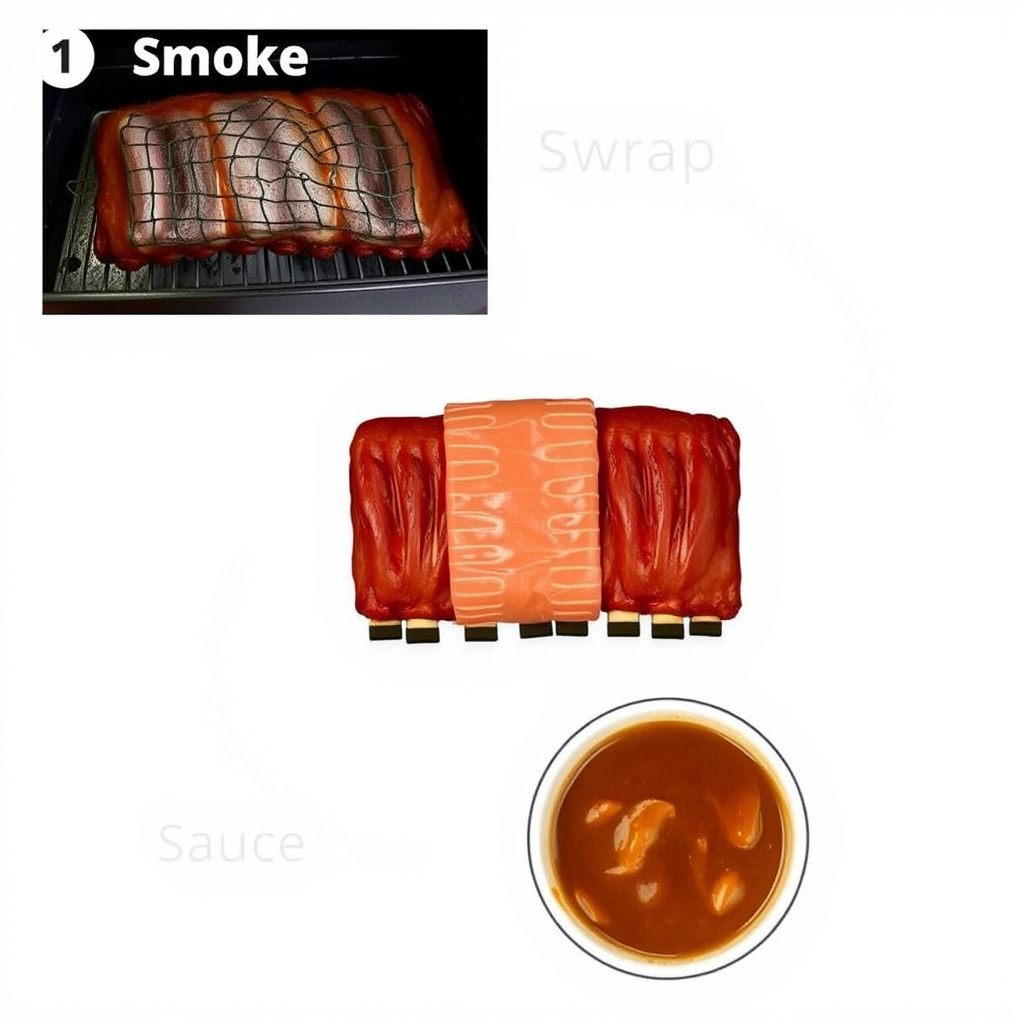
The numbers in the 3 2 1 method represent three hours of smoking ribs at a low temperature, followed by two hours wrapped tightly in foil, and then one hour unwrapped to set the sauce and firm up the bark. This timing is suited for bone-in pork spare ribs.
Smoking for 3 hours lets the ribs absorb flavor and start cooking slowly. Wrapping seals in moisture and steams the ribs for 2 hours, tenderizing the meat. The final hour unwrapped firms the surface and caramelizes the sauce.
Why This Method Works for Tenderness
The key benefit of the 3 2 1 method is its ability to render connective tissues like collagen into gelatin while preventing the meat from drying out. Wrapping locks in steam, softening the ribs deeply.
This balance between exposure to smoke and flavorful moisture creates ribs that are tender enough to pull away easily from the bone but still hold together well.
Preparing Your Ribs for the 3 2 1 Method
Selecting and Trimming Your Ribs
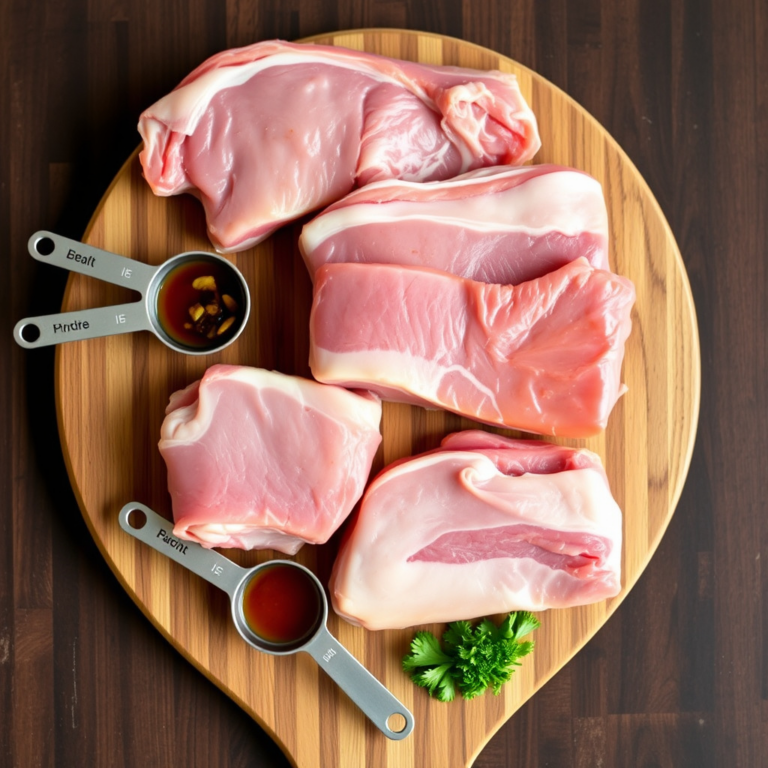
Start with high-quality pork spare ribs or St. Louis-cut ribs. Removing the silver skin on the back side of the ribs ensures the rub penetrates better and prevents toughness.
Trim excess fat to avoid flare-ups during smoking, but leave enough to keep the meat moist throughout the 6-hour cooking process.
- Remove membrane (silver skin)
- Trim excess fat while preserving some marbling
- Choose ribs with good bone structure
Applying Rub and Preparing the Smoker
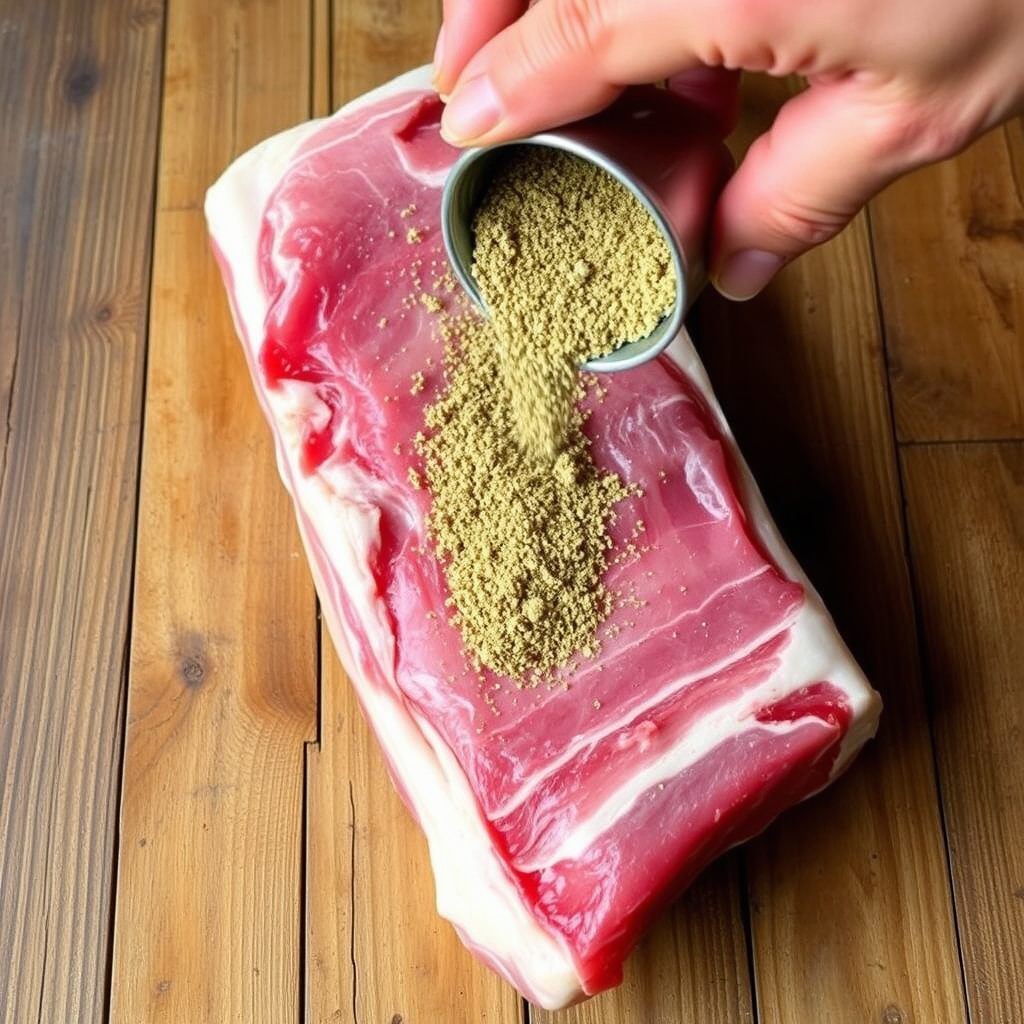
Generously apply a dry rub of your choice to all sides of the ribs, ideally letting it sit for 30 minutes to an hour for flavor absorption.
Set your smoker to a stable temperature around 225°F (107°C) to 250°F (121°C), using woods like hickory or apple for balanced smoke flavor during the 3-hour initial phase.
- Use a spice rub with salt, sugar, paprika, and spices
- Preheat smoker to 225-250°F
- Add hardwood chips for flavor
Executing the 3 2 1 Cooking Process
Stage One: Smoke for 3 Hours
Place the ribs bone-side down on the smoker rack and maintain consistent temperature throughout the first 3 hours. This allows the ribs to develop a flavorful smoke ring and bark.
Avoid opening the smoker frequently to preserve heat and smoke. A good airflow balance gives the best smoke infusion without causing temperature spikes.
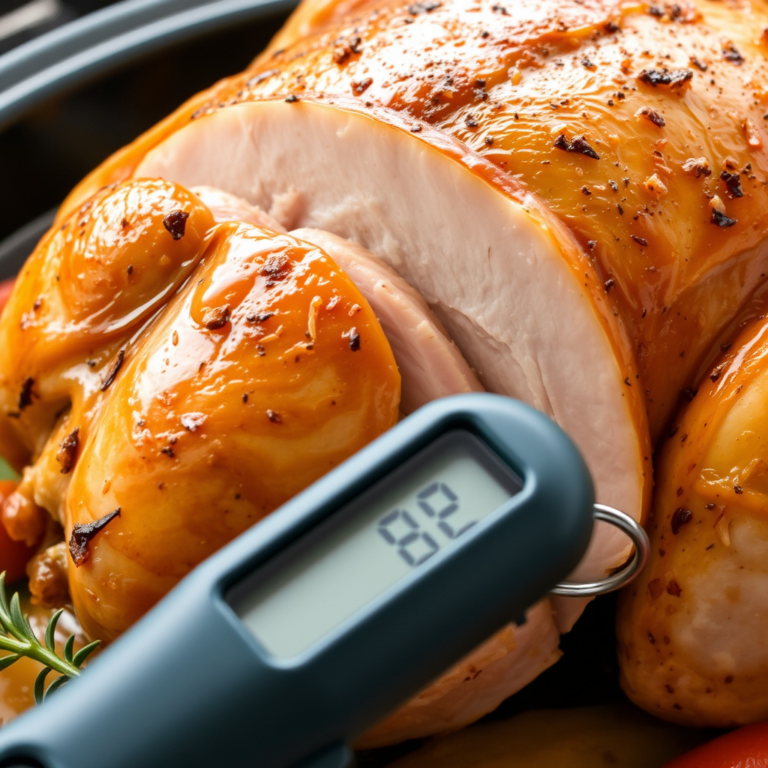
For more on this, see our related guide: What Is the Internal Temperature for Ribs? A Practical Guide.
Stage Two: Wrap for 2 Hours
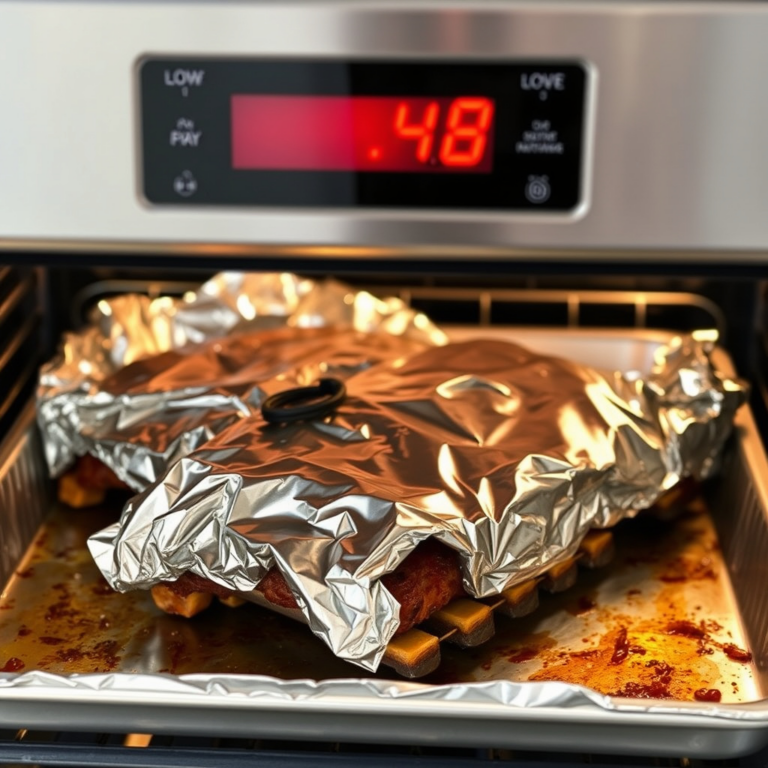
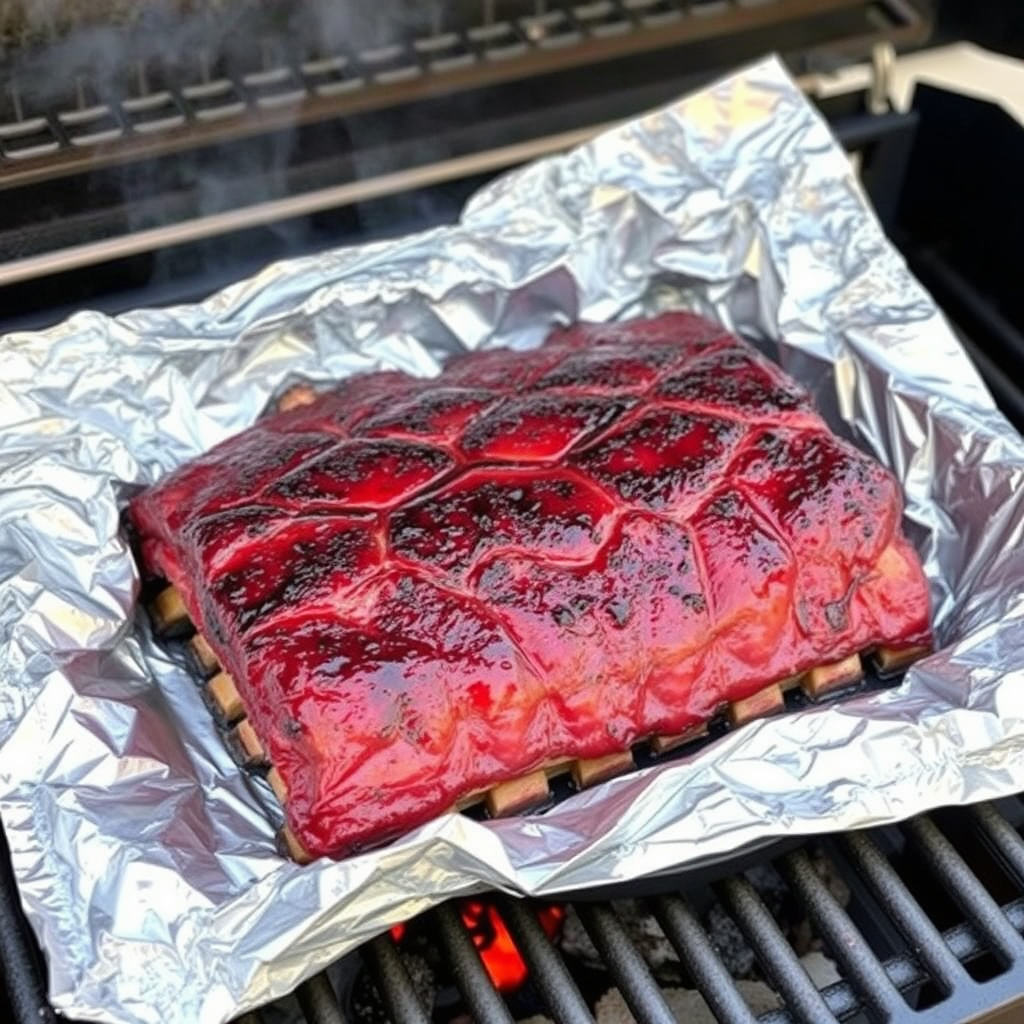
After 3 hours, tightly wrap the ribs in aluminum foil. You may add a little liquid—apple juice, cider vinegar, or butter—to the foil packet to enhance moisture retention.
Return the foil-wrapped ribs to the smoker for 2 hours. This steams and tenderizes the ribs by trapping heat and moisture for gentle cooking.
- Add moisture inside foil wrap optionally
- Seal foil tightly to trap steam
- Place back on smoker at same temperature
Finishing Steps and Serving Tips
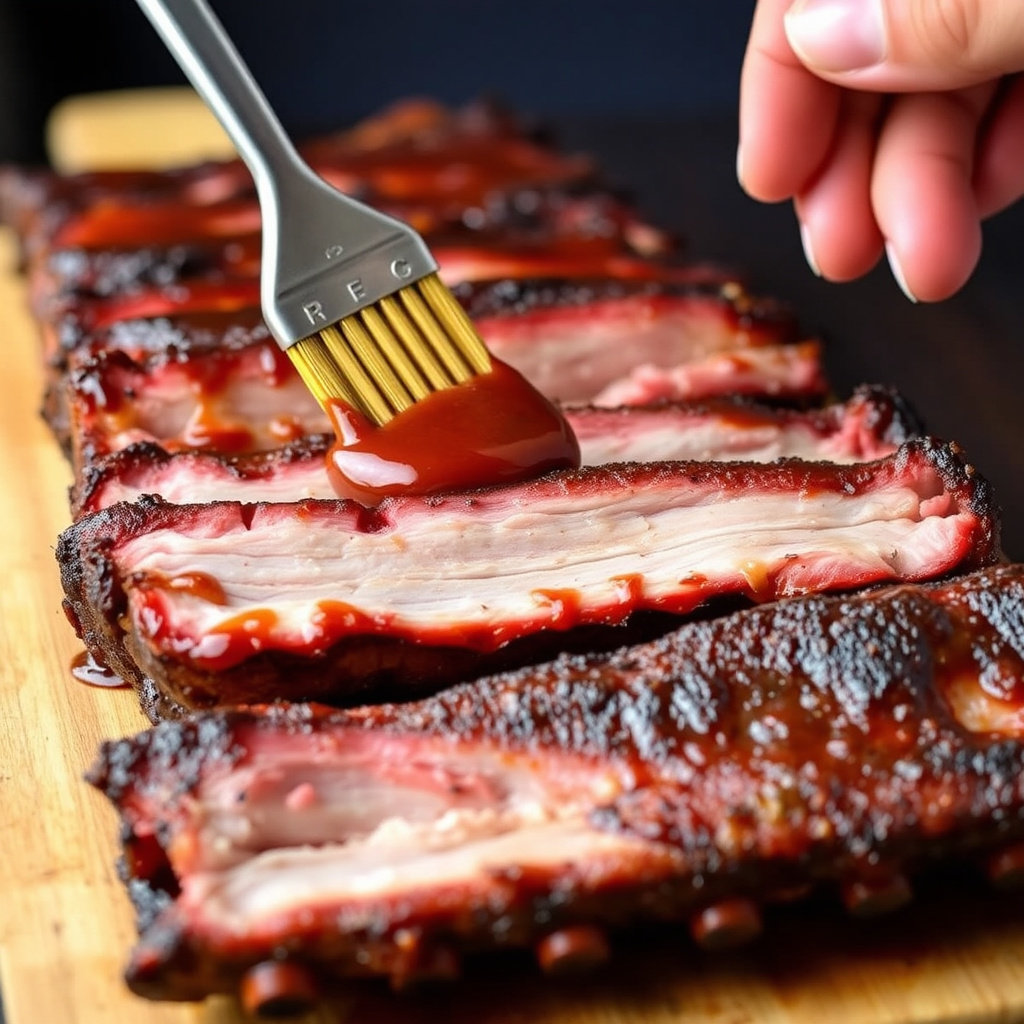
Stage Three: Unwrap and Sauce for 1 Hour
After 2 hours wrapped, carefully remove ribs from foil and place them back on the smoker or grill for a final hour. This stage firms the bark and caramelizes barbecue sauce if applied.
Brush ribs with your favorite barbecue sauce during the last 30 minutes to let it set but avoid burning the sugars by maintaining moderate heat.
- Apply sauce in the last 30 minutes
- Avoid overly high heat to prevent charring
- Let ribs rest before slicing
Serving and Storage Suggestions
Let the ribs rest 10 to 15 minutes after cooking to redistribute juices. Slice between the bones for neat serving portions.
Store leftovers wrapped tightly and refrigerated for up to 3 days. Reheat gently to maintain moisture and texture.
- Rest ribs before slicing
- Store in airtight container
- Reheat with foil to retain moisture
Variations of the 3 2 1 Method
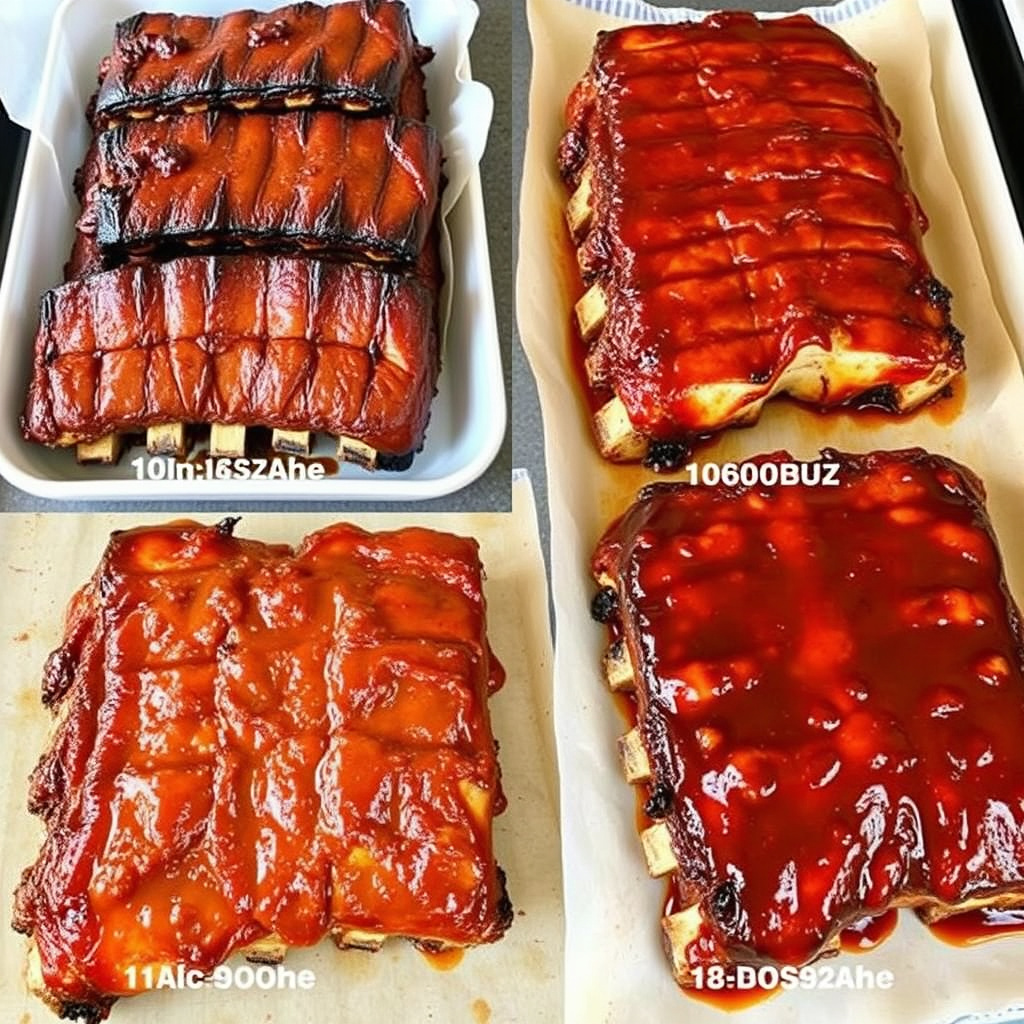
Adjusting Time for Baby Back Ribs
Baby back ribs cook faster than spare ribs, so a 2-2-1 timing often works better: 2 hours smoking, 2 hours wrapped, and 1 hour unwrapped. This prevents overcooking while still tenderizing properly.
Monitor tenderness since thinner ribs can dry out if left too long in foil or over-smoked.
For more on this, see our related guide: How to Cook Ribs Fall Off the Bone: A Complete Guide for Tender Perfection.
Incorporating Different Sauces and Rubs
The 3 2 1 method works well with dry rubs ranging from sweet to spicy, as well as various sauces such as vinegar-based Carolina style or thick Kansas City glaze during the last stage.
Experimenting with multiple smoke woods like cherry, pecan, or mesquite lets you customize flavors without changing the cooking structure.
Common Mistakes to Avoid When Using the 3 2 1 Method
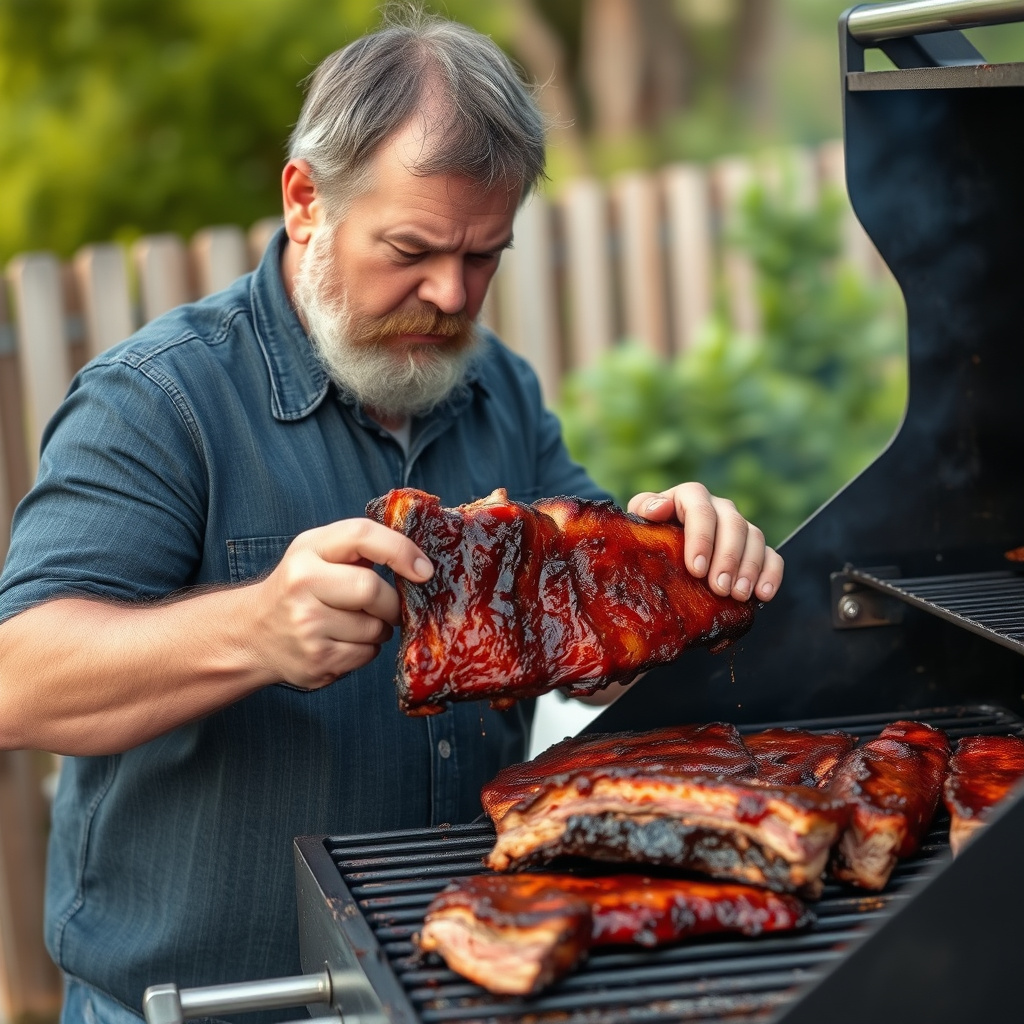
Overcooking and Dryness
Cooking ribs longer than necessary or at higher temperatures can dry them out despite wrapping. The 3 2 1 method’s time frames should be followed closely for ideal tenderness.
Using foil for too long or without added moisture risks steaming the ribs into mushier consistency rather than tender but firm.
For additional background on various ribs cooking approaches, you might explore barbecue ribs cooking techniques on Wikipedia. Barbecue ribs cooking techniques on Wikipedia.
Improper Temperature Control
Maintaining a steady smoker temperature between 225°F to 250°F is essential. Fluctuations lead to uneven cooking and missed smoke flavor development.
Opening the smoker too often causes heat loss and inconsistent environment for the ribs to cook evenly.
Comparison of Ribs Cooking Methods
Here’s a table comparing popular ribs cooking methods to help you understand how the 3 2 1 method fits among them.
| Method | Cooking Time | Temperature | Texture Result | Flavor Profile |
|---|---|---|---|---|
| 3 2 1 Method | 6 hours | 225-250°F | Tender, moist, well-smoked | Balanced smoky, sweet, caramelized |
| Hot and Fast | 1.5-2 hours | 300-350°F | Juicy with a firmer bite | Less smoke, more char flavor |
| Oven-Baked | 2.5-3 hours | 275°F | Tender, less smoky | Mild, rub-driven |
| Boiling and Grilling | 30-45 min boil + 15-20 min grill | Varies | Tender but less bark | Less smoke, saucy |
| Slow Cooker then Broil | 6-8 hours slow cook + broil | Low then high | Very tender, no smoke | Sauce-forward flavor |
Frequently Asked Questions
Can I use the 3 2 1 method for baby back ribs?
Yes, but usually with adjusted timing like 2 hours smoking, 2 hours wrapped, and 1 hour unwrapped since baby back ribs are smaller and cook faster.
Is foil wrapping necessary in the 3 2 1 method?
Wrapping in foil during the 2-hour phase traps moisture and tenderizes ribs effectively, making it a crucial step for the method’s success.
What type of wood is best for smoking ribs in this method?
Woods like hickory, apple, cherry, or pecan work well, providing balanced smoke that complements pork without overpowering it.
Can I apply sauce during the entire cook using the 3 2 1 method?
It's best to add sauce only in the last hour unwrapped to avoid burning sugars and maintain a good bark formation.
How do I know when ribs are done using the 3 2 1 method?
Ribs should be tender enough to pull away easily from bones with slight resistance; the meat will shrink back from the bone tips, and the surface will have a nice bark.
Key Takeaways
- The 3 2 1 method combines smoking, steaming, and finishing for tender ribs
- Proper preparation and temperature control are vital for best results
- Adjust timing for different rib cuts like baby backs
- Add sauce only during the final cooking stage to prevent burning
Conclusion
Choosing the right ribs cooking method depends on your texture and flavor preferences along with your available equipment. The 3 2 1 method provides a structured, time-tested approach that balances smoke flavor and tenderness. Its staged cooking process respects the anatomy of pork ribs, carefully breaking down collagen without drying out the meat.
For pork spare ribs, the classic 3 2 1 timing delivers consistently tender and flavorful results, especially if you maintain stable smoker temperatures and prepare the ribs properly with trimming and rubs. Baby back ribs benefit from reduced smoking time due to size differences, while experimenting with different wood types and sauces can fine-tune the flavor profile.
If you’re new to barbecue or looking to perfect your rib game, start with the 3 2 1 method as your foundational technique. Follow the timings closely, invest in a good temperature controller for your smoker, and practice seasoning. From there, you can adjust and personalize your process to suit your own taste and style, assured of reliably good ribs every time.