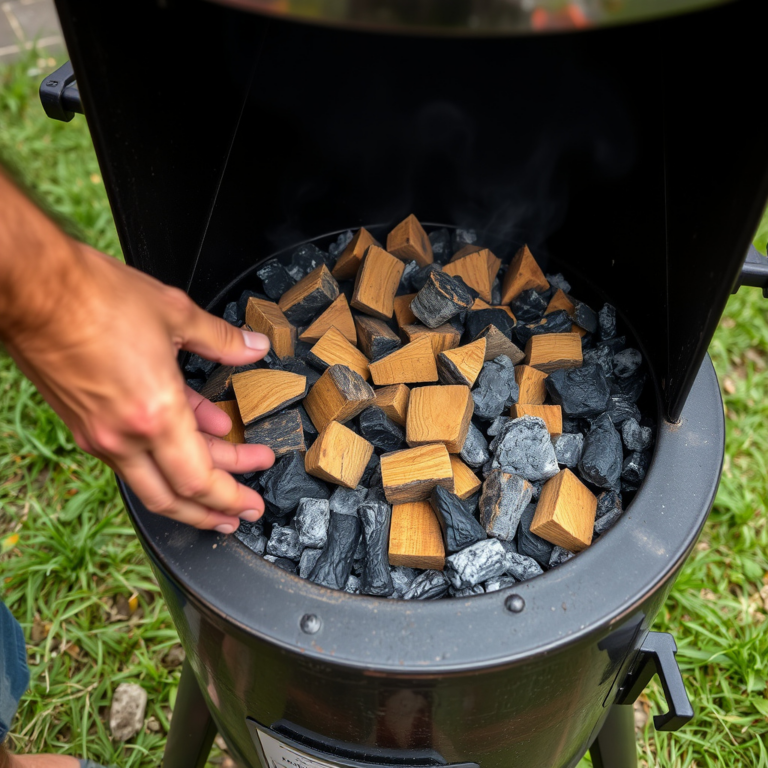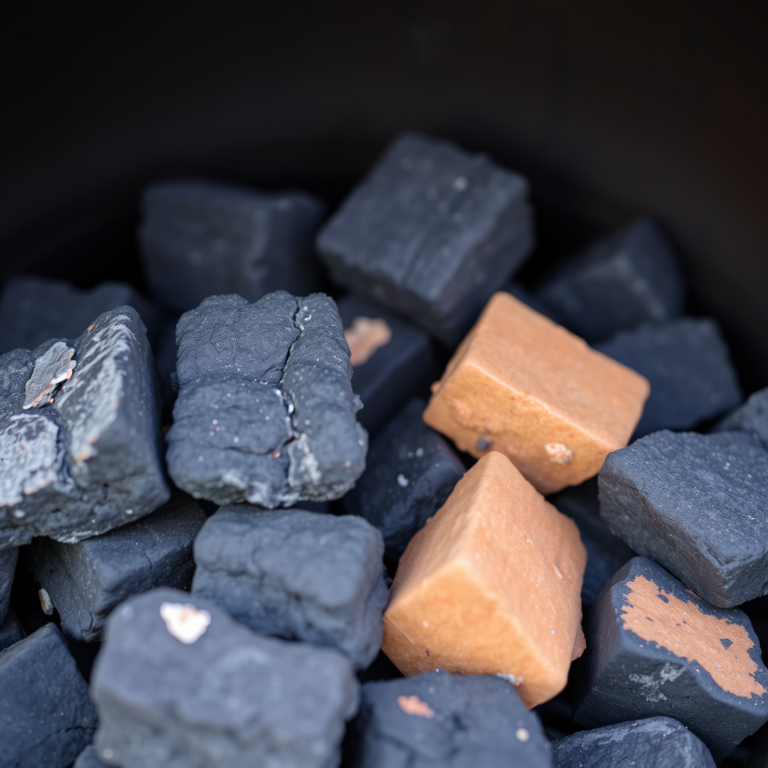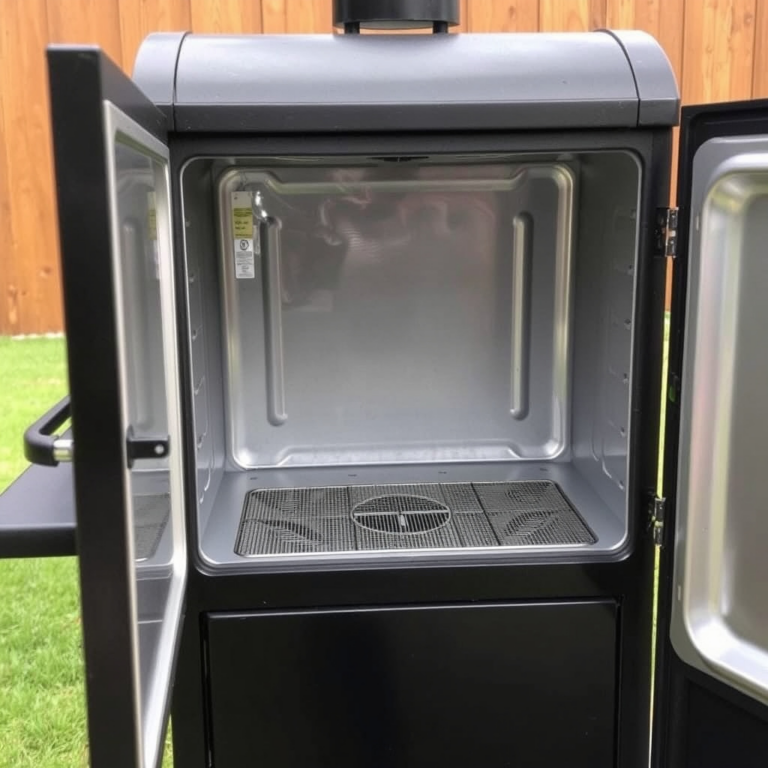
Seasoning a smoker is the essential first step to prepare your equipment for cooking and to prevent rust or damage. It involves coating the interior with fat or oil and slowly heating it to create a protective layer that seals and protects your smoker from moisture while promoting better smoke circulation.
Properly seasoning your smoker matters because it extends the life of the metal, improves heat retention, and imparts a subtle smoky flavor to your food over time. Without seasoning, your smoker’s surface may rust or develop uneven heat spots that affect cooking quality.
This article will guide you through the key stages of seasoning a smoker, from cleaning and selecting the right oils to the heating process. We’ll also explore common mistakes to avoid and tips to maintain your smoker’s seasoning for the best results.
Preparing Your Smoker for Seasoning
Cleaning the Interior Thoroughly
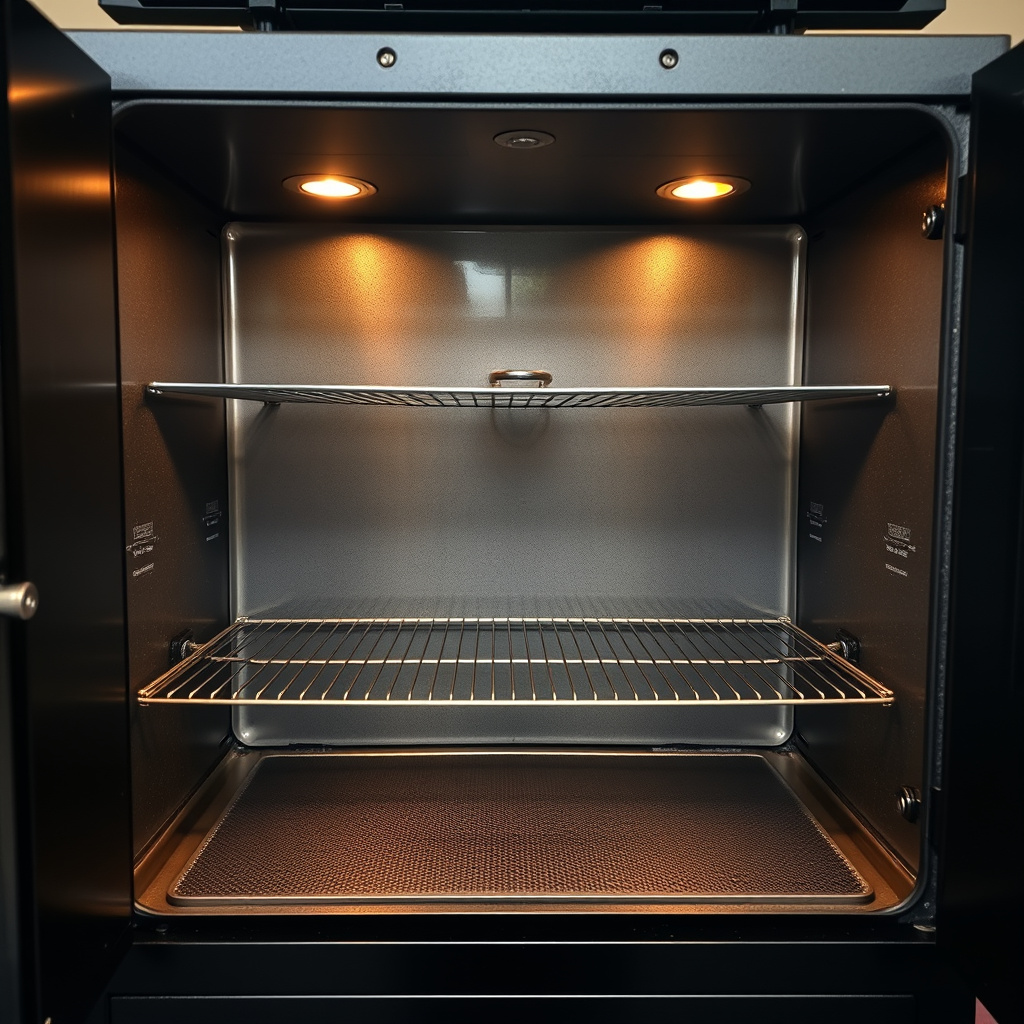
Before seasoning, clean your smoker’s interior to remove any factory residues, dust, or oils that could affect the seasoning layer. Use warm water and mild soap with a sponge or cloth, then rinse well and let it dry completely.
Pay special attention to corners and crevices where debris can linger. Avoid harsh chemicals as they may leave residues that interfere with the seasoning oils bonding to the metal.
- Use mild dish soap and warm water
- Avoid abrasive scrubbers that damage surfaces
- Dry completely before moving to next step
Choosing the Right Oil or Fat
Select an oil with a high smoke point for the seasoning process, such as vegetable oil, canola oil, or flaxseed oil. These oils polymerize well to form a strong protective coating that withstands heat and moisture.
Butter or cooking sprays aren’t recommended because they contain milk solids or additives that can burn and leave sticky residues. Pure fats without additives work best for a solid seasoning layer.
- Vegetable or canola oil: affordable and readily available
- Flaxseed oil: forms a durable finish but is pricier
- Avoid butter, olive oil, and non-heat-stable fats
Seasoning the Smoker: Step-by-Step Process
Applying Oil Evenly Across All Surfaces
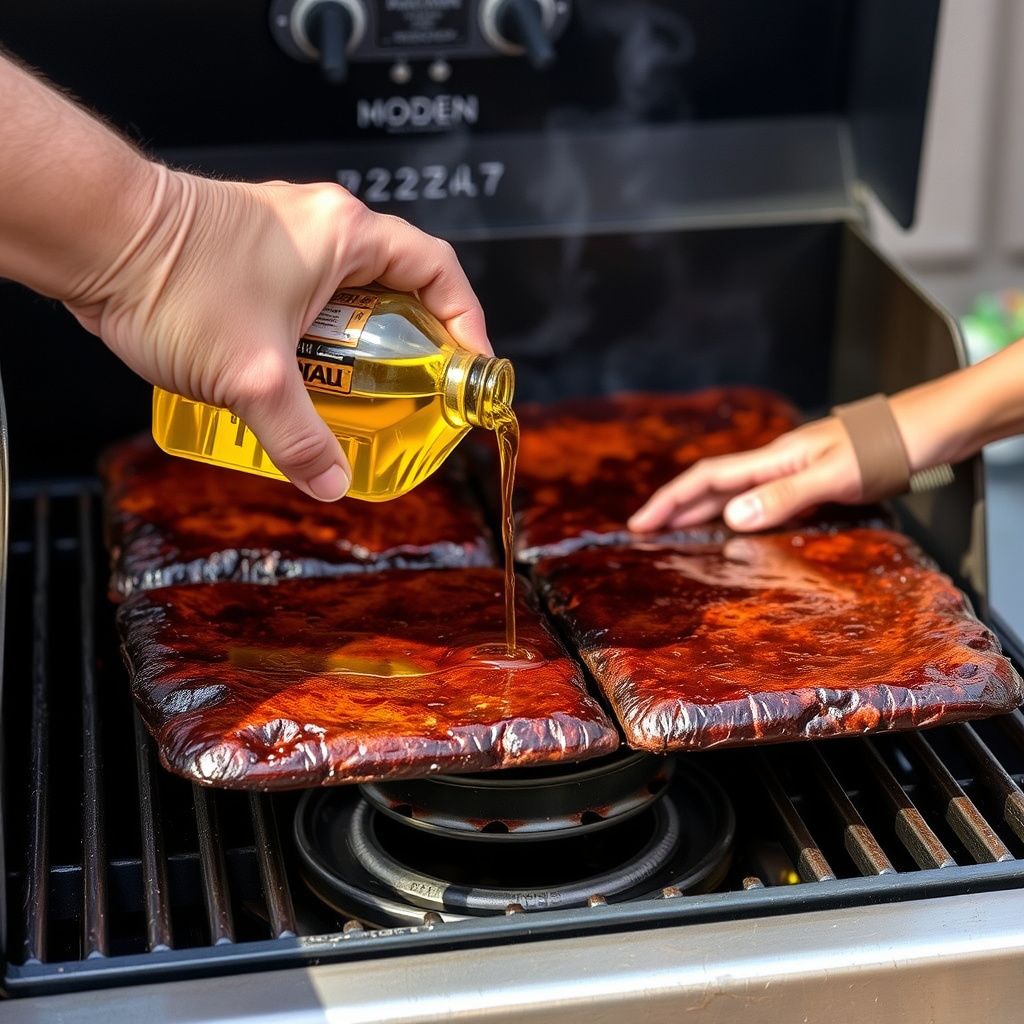
Using a clean cloth or brush, apply a thin, even coat of your chosen oil to every internal surface, including racks, walls, ceiling, and doors. Avoid pooling oil, which can drip or create uneven seasoning patches.
Make sure to coat areas that are harder to reach, such as hinges, vents, and smoke stacks, because these parts also need protection from rust and wear.
- Thin, even layers are critical
- Apply to all internal metal parts uniformly
- Wipe off excess oil to prevent dripping
For more on this, see our related guide: The Difference Between a Pellet Grill and a Smoker: Which One Suits Your BBQ Style?.
Gradually Heating the Smoker to Polymerize the Oil
Start your smoker at a low temperature (around 225°F or 107°C) to allow oils to slowly polymerize and bond to the metal surface. Maintain this temperature for 2-4 hours, then gradually increase it to about 275-300°F (135-150°C) for another hour to strengthen the protective layer.
Close all vents and doors during seasoning to keep consistent heat and smoke circulation. This slow heating prevents burning the oil and ensures a longer-lasting seasoned surface.
- Initial low heat setting (225°F) for several hours
- Increase gradually to 275-300°F for finishing
- Keep smoker closed and vents controlled
Common Mistakes to Avoid When Seasoning a Smoker
Using Too Much Oil
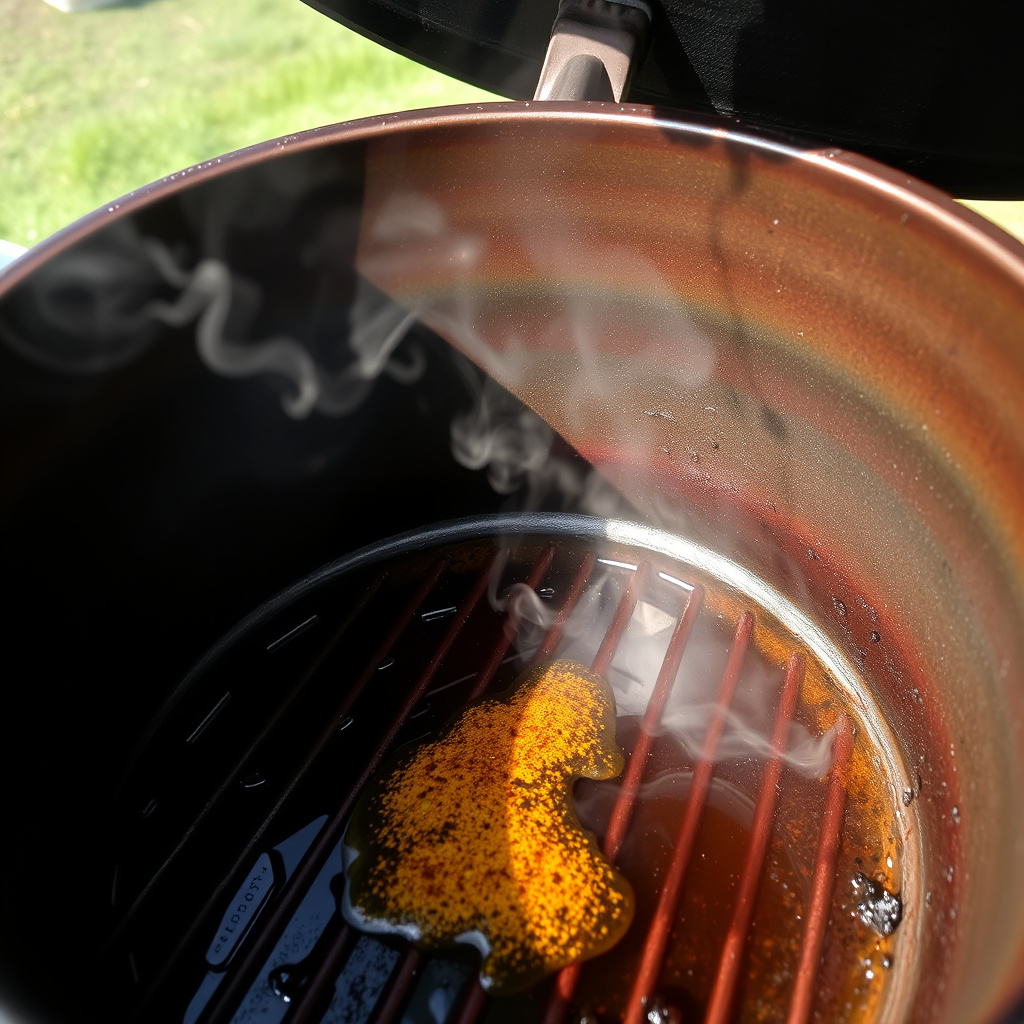
Applying an excessive amount of oil causes dripping and sticky residue buildup inside the smoker. This sticky surface not only traps dirt and ash but can also result in unpleasant flavors during cooking.
Instead, use a minimal amount and wipe down all surfaces thoroughly after applying to create an even and dry finish before heating.
- Avoid pooling oil inside the smoker
- Wipe off excess immediately
- Less oil creates better seasoning
Skipping the Cleaning Stage
Failing to clean the smoker before seasoning can leave contaminants that prevent oils from bonding properly, potentially causing uneven seasoning or rust development.
Always clean and dry the unit thoroughly before applying oils to maximize the effectiveness of the seasoning process.
Maintaining Your Smoker’s Seasoning Over Time
Regular Oil Reapplications
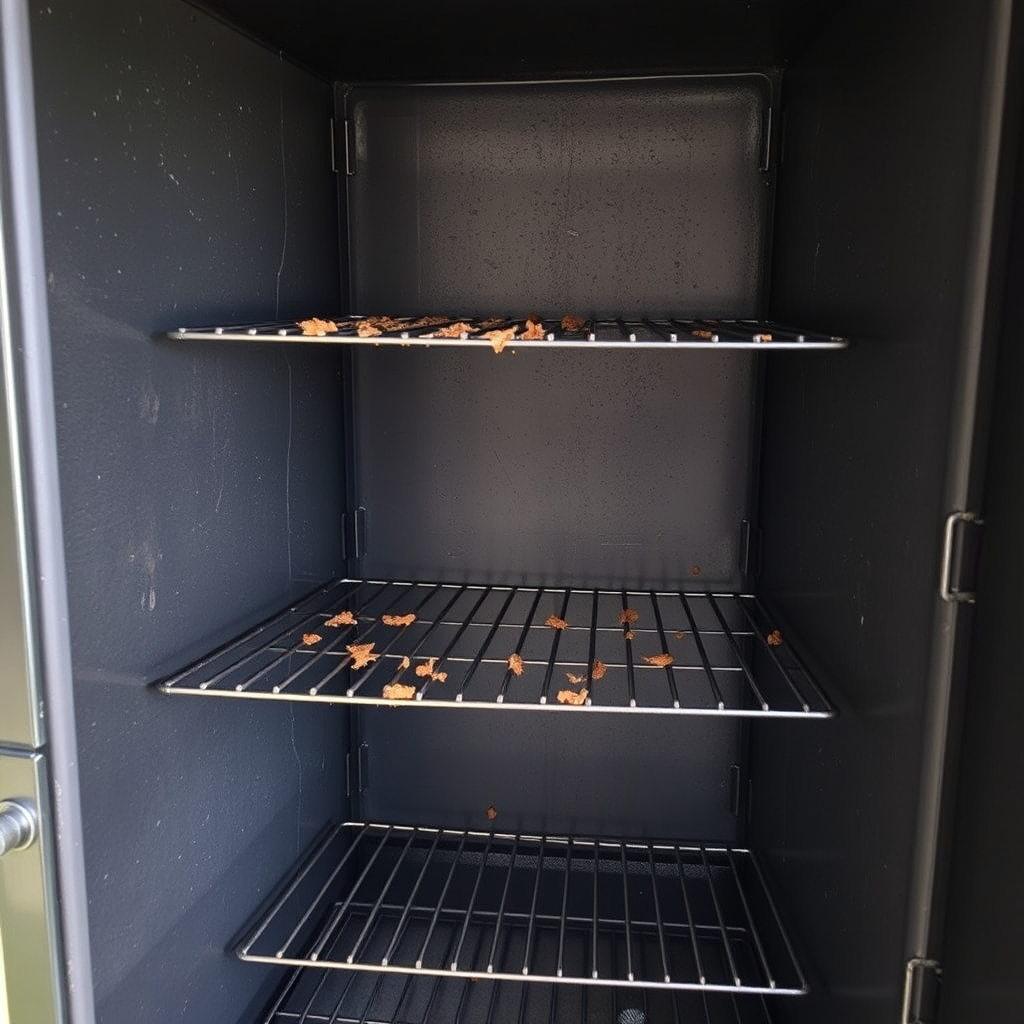
After every few uses, especially if you notice dryness or rust spots, wipe the smoker’s interior with a light coat of oil to renew the seasoned surface. This prevents oxidation and prolongs the smoker’s life.
Apply oil when the smoker is still warm but not hot, using a clean cloth to spread it evenly and avoid buildup.
- Touch-up after 3-5 cooking sessions
- Use the same high smoke point oil used initially
- Avoid thick oil layers
For more on this, see our related guide: Understanding the Difference Between a Grill and a Smoker.
Proper Cleaning Between Uses
Clean ash and debris regularly to stop corrosion underneath the seasoning layer. Use a brush or vacuum designed for smokers and avoid harsh chemical cleaners that could damage the seasoning.
After cleaning, always dry the smoker thoroughly and consider a light oil application before storage.
- Remove ash after each cooking session
- Avoid abrasive or chemical cleaners
- Keep smoker dry to prevent rust
Enhancing Flavor Through Smoker Seasoning
Building Up Flavor Layers With Each Use
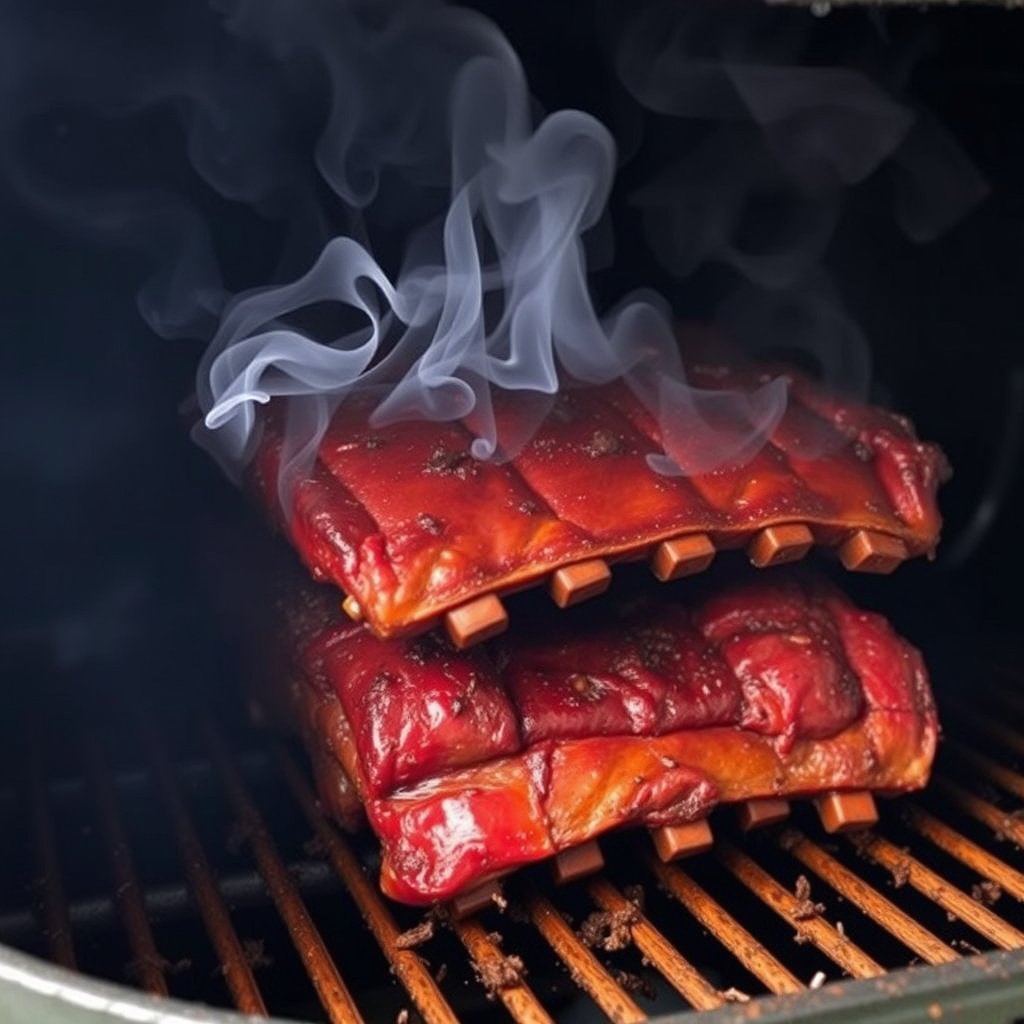
The seasoning on your smoker not only protects metal surfaces but also subtly enhances the smoky flavor of your food over time. Each cook adds layers of natural seasoning from the oils and smoke that build complexity in flavor.
This cumulative effect means well-seasoned smokers often produce richer, more nuanced barbecue tastes compared to newly purchased units.
For more detailed insights on the science behind smoker seasoning, you can explore this comprehensive overview on smoking and maintenance. seasoning a smoker basics.
Using Wood Chips or Pellets to Complement Seasoning
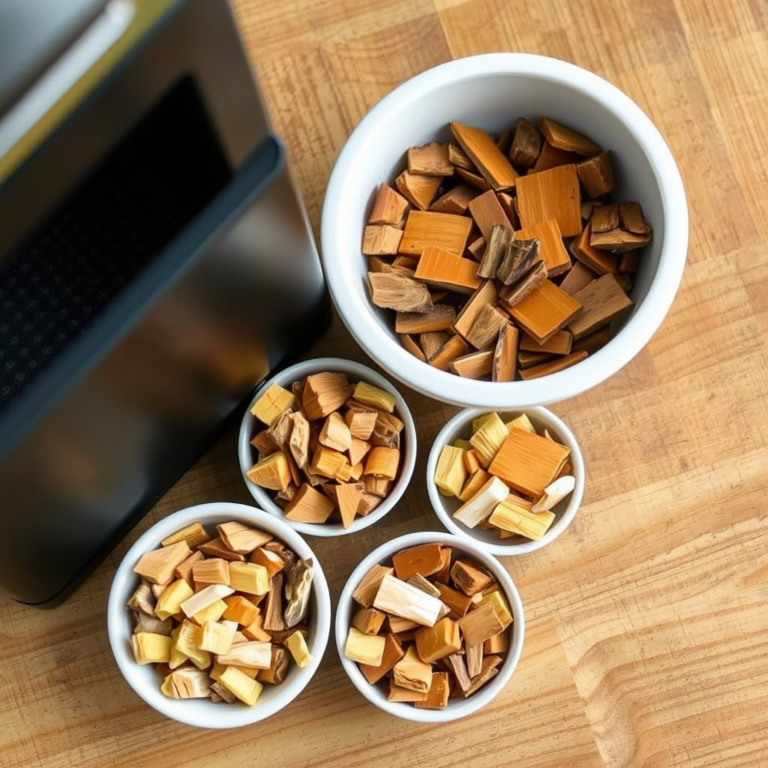
Choosing the right wood chips or pellets during smoking can enhance the seasoned flavors. Woods like hickory, apple, and mesquite add unique aromas that interact with the seasoned surfaces, deepening the overall flavor profile.
Rotate wood flavors occasionally to prevent monotony and keep your smoker’s flavor profile dynamic.
- Hickory for robust flavor
- Apple wood for mild sweetness
- Mesquite for intense smokiness
Smoker Seasoning Method Comparison
Here’s a concise comparison of common smoker seasoning methods, evaluating time, cost, and durability.
| Method | Time Required | Cost | Durability |
|---|---|---|---|
| Oil and heat seasoning | 3-5 hours | Low | High |
| Commercial seasoning sprays | 1-2 hours | Medium | Medium |
| Natural fat seasoning (like lard) | 4-6 hours | Low | Medium |
| No seasoning (factory use only) | None | None | Low |
Frequently Asked Questions
How often should I reseason my smoker?
Reseason your smoker every few months or after heavy use to maintain protection, especially if you see rust or uneven surfaces.
Can I use olive oil to season a smoker?
Olive oil has a low smoke point and can burn, causing sticky residues. It’s better to use oils like vegetable or flaxseed oil with higher smoke points.
Is seasoning necessary for electric smokers?
While electric smokers don’t reach as high temperatures, seasoning their interior with oil can still protect metal surfaces and improve durability.
What if I skip seasoning my new smoker?
Skipping seasoning leaves metal exposed to moisture, increasing rust risk and causing uneven heat distribution during cooking.
Can I season the smoker outdoors?
Yes, seasoning outdoors is often preferred due to odors and smoke emitted. Just protect the smoker from wind for consistent heating.
Key Takeaways
- Seasoning protects your smoker from rust and improves cooking performance
- Use thin coats of high smoke point oils like vegetable or flaxseed oil
- Clean thoroughly before seasoning and avoid excessive oil application
- Regular maintenance oiling extends your smoker’s lifespan
Conclusion
Approaching how to season a smoker with care and patience pays off in a durable, rust-resistant cooking tool that enhances flavor over time. Proper preparation, oil selection, and gradual heating are the foundations of effective seasoning that both novice and experienced pitmasters should follow to extend their smoker's usability and consistency.
For anyone regularly smoking meats or veggies, beginning with a traditional oil and heat seasoning offers the best balance between cost and protective qualities. Advanced users might experiment with flaxseed oil for a harder finish or commercial sprays for quicker seasoning, but the fundamental idea remains uniform. Pair seasoning with quality wood chips for richer flavors and consistent results.
As a practical next step, prepare your smoker by cleaning it well, pick an appropriate high smoke point oil, and schedule several hours where you can keep the smoker running steadily at low temperatures. Soon, you’ll enjoy the benefits of a seasoned smoker that not only protects the equipment but also elevates your barbecue game.