To season a Masterbuilt smoker, start by cleaning the cooking chamber with warm soapy water to remove any residues. Then, apply a light coat of cooking oil on all cooking surfaces. Preheat the smoker to 275°F and let it run for about two hours to cure the paint and seasoning oils for durability and flavor enhancement.
Properly seasoning your Masterbuilt smoker is essential to create a protective layer inside the cooking chamber that prevents rust and helps develop rich smoky flavors in your food. This preparation step improves the smoker’s longevity and ensures consistent temperature control during cooking.
This article will walk you through each stage of seasoning your Masterbuilt smoker, from initial cleaning techniques to the recommended oils and temperature settings. You'll also learn about maintenance tips and the importance of repetitive seasoning for optimal barbecue performance.
Preparing Your Masterbuilt Smoker for Seasoning
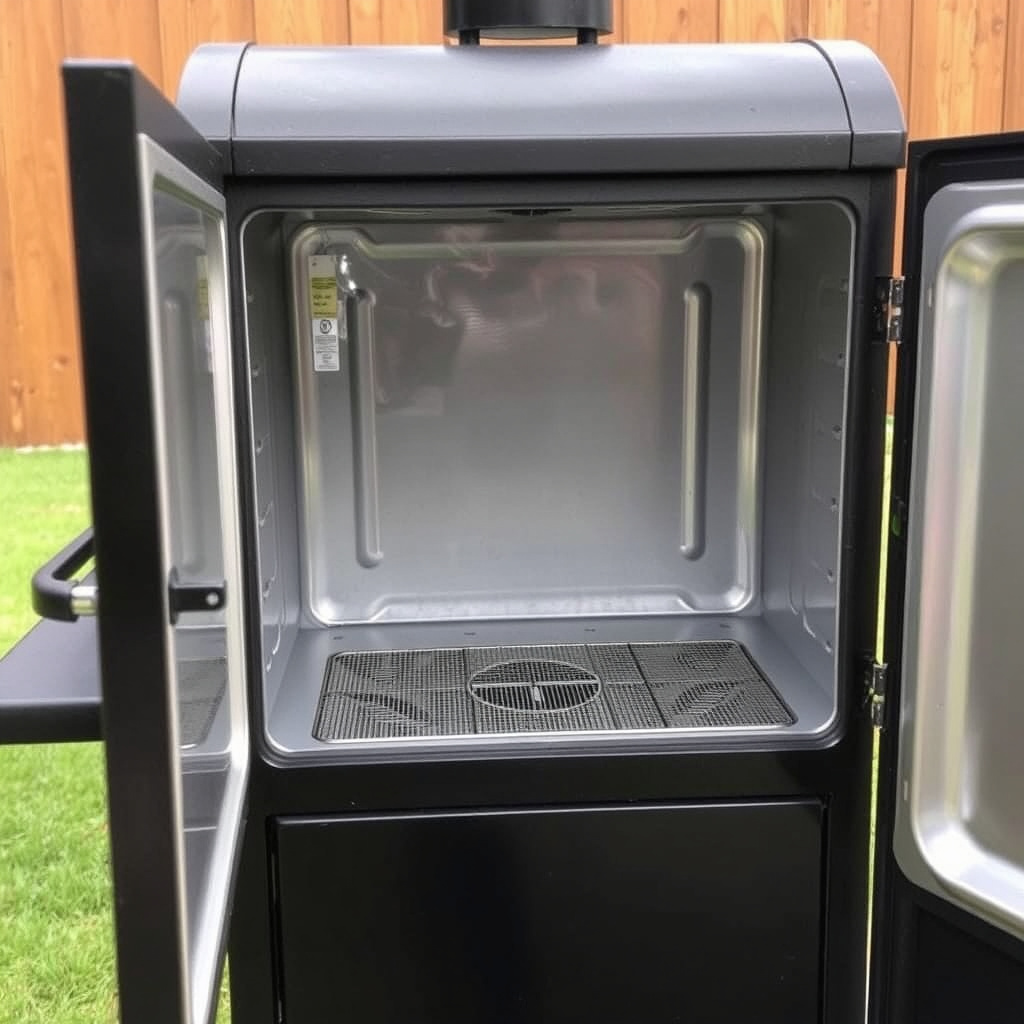
Cleaning the Smoker Interior
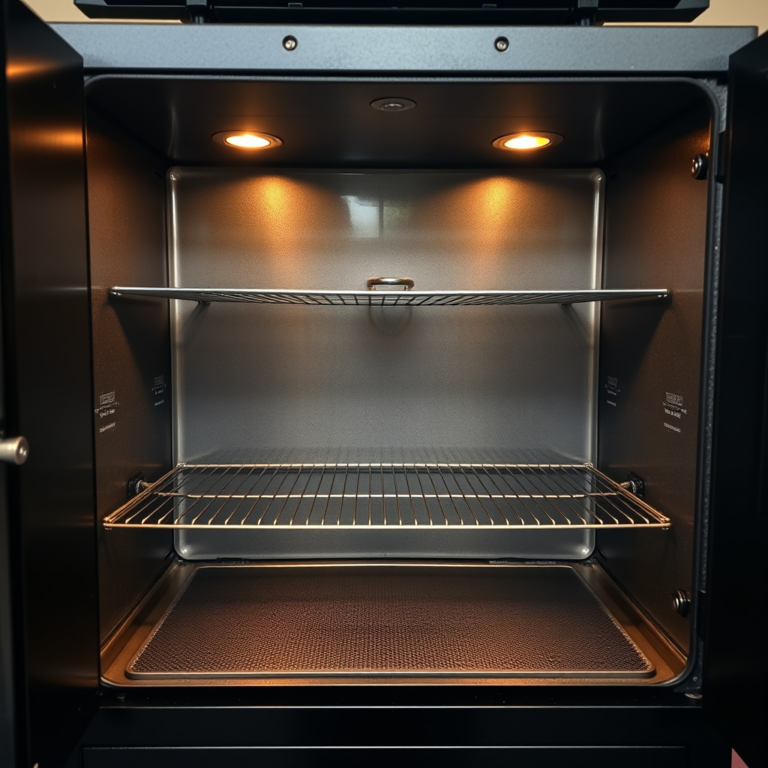
Before seasoning, remove all packaging materials and wipe down the smoker interior with warm, soapy water. This ensures any factory residues or dust get eliminated, which might otherwise affect smoke flavor or damage the finish.
Use a soft cloth or sponge for cleaning, avoiding abrasive tools that may scratch surfaces. Once cleaned, rinse thoroughly and dry it well to prevent moisture buildup during the seasoning process.
- Remove racks and trays for separate cleaning
- Use mild dish soap and a non-scratch sponge
- Dry completely before proceeding
Choosing the Right Oil for Seasoning
Selecting a suitable oil is key to seasoning. Common options include vegetable oil, canola oil, or even refined flaxseed oil due to its high smoke point and polymerizing properties.
Apply a thin, even coat on all cooking surfaces—including racks, walls, and drip pans—to build a protective, non-stick layer that enhances smoke adhesion and flavor development over time.
- Avoid scented or olive oils—they can burn and produce unpleasant flavors
- Use a heat-resistant brush or cloth for oil application
- Apply sparingly to prevent sticky residue buildup
The Masterbuilt Smoker Seasoning Process
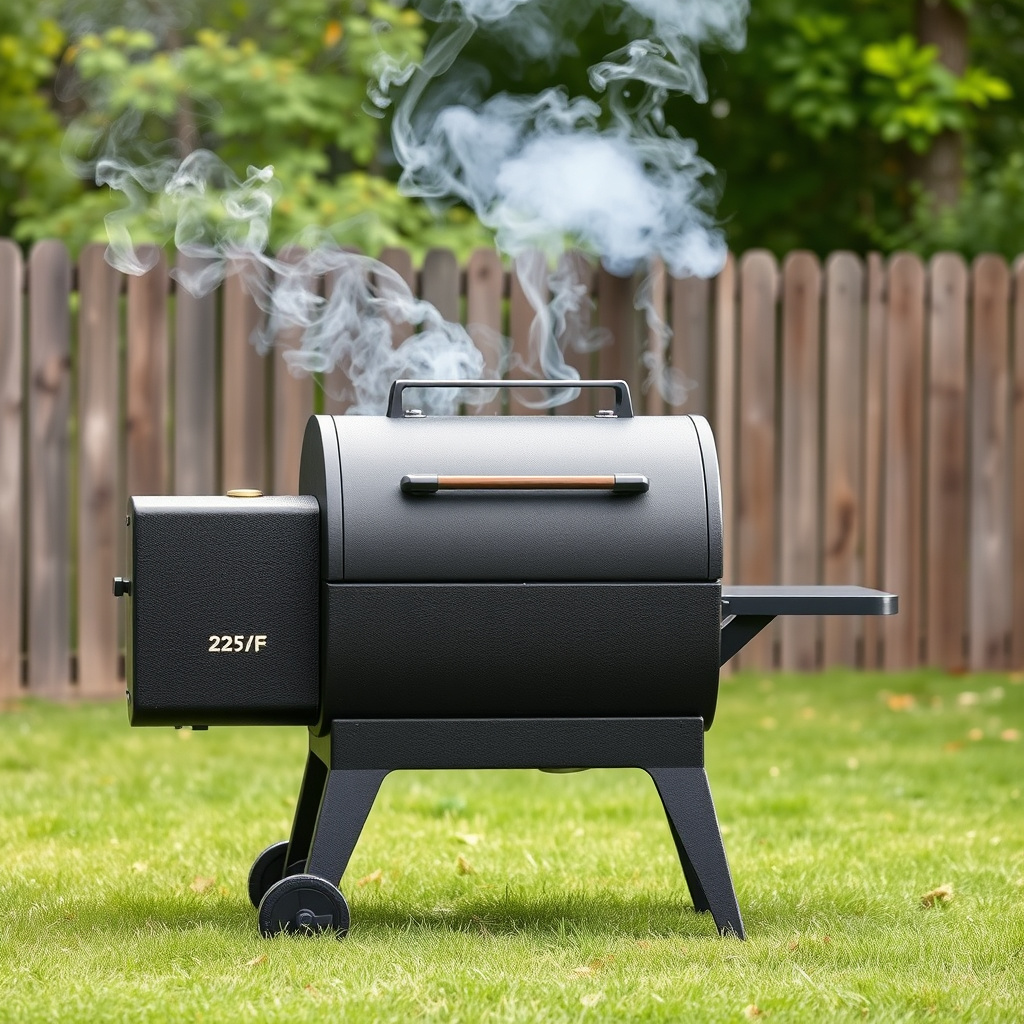
Heating the Smoker for Initial Seasoning
Preheat your Masterbuilt smoker to around 275°F (135°C), ensuring stable temperature before starting the seasoning. This moderate heat activates the oils to bond with the metal surfaces.
Maintain the temperature steadily for 2 hours; the heat will cure the paint, burn off any impurities, and harden the seasoned oil coating.
- Keep smoker door closed throughout heating
- Monitor internal temperature with a thermometer
- Ensure proper ventilation to allow smoke exit
For more on this, see our related guide: Understanding the Difference Between a Grill and a Smoker.
Ventilation and Safety During Seasoning
Good ventilation is critical to avoid buildup of smoke or fumes released during seasoning. Position the smoker outdoors or in a well-ventilated area with enough clearance around it.
Avoid inhaling the smoke directly and keep children and pets away. Use heat-resistant gloves when handling smoker parts after heating.
- Open side vents partially to regulate airflow
- Stay close to monitor smoker during entire process
- Have a fire extinguisher nearby as a precaution
Post-Seasoning Care for Your Masterbuilt Smoker
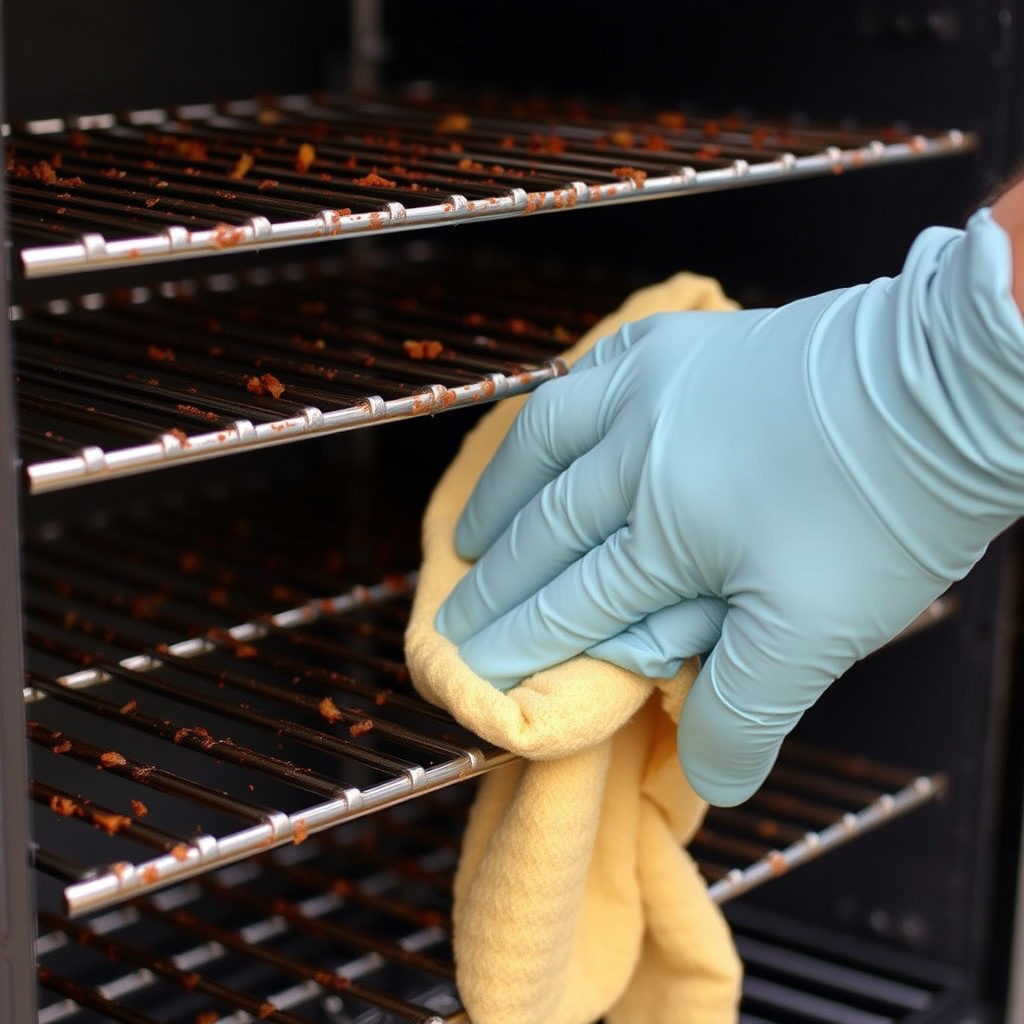
Cleaning After the First Seasoning
Once the smoker cools down, wipe off any excess oil or residue with a dry cloth to prevent sticky build-up during food cooking. Avoid harsh detergents to maintain the seasoning layer intact.
Inspect the interior surfaces for any uneven oil patches and reapply a light coat if necessary before your first cook.
- Cool smoker gradually before cleaning
- Use a microfiber cloth for gentle wipes
- Check racks and trays for oil coverage
Maintaining Seasoning Over Time
Seasoning is not a one-time process; regularly oil your cooking grates and interior after each use or cleaning session to reinforce the protective layer.
Avoid washing your smoker with soap frequently; instead, clean with hot water and scrub brushes to preserve the seasoning while removing food debris.
- Re-season annually or when rusting appears
- Apply cooking oil before long cooking sessions
- Store smoker covered in dry environments
Choosing the Best Wood for Smoking with Your Masterbuilt Smoker
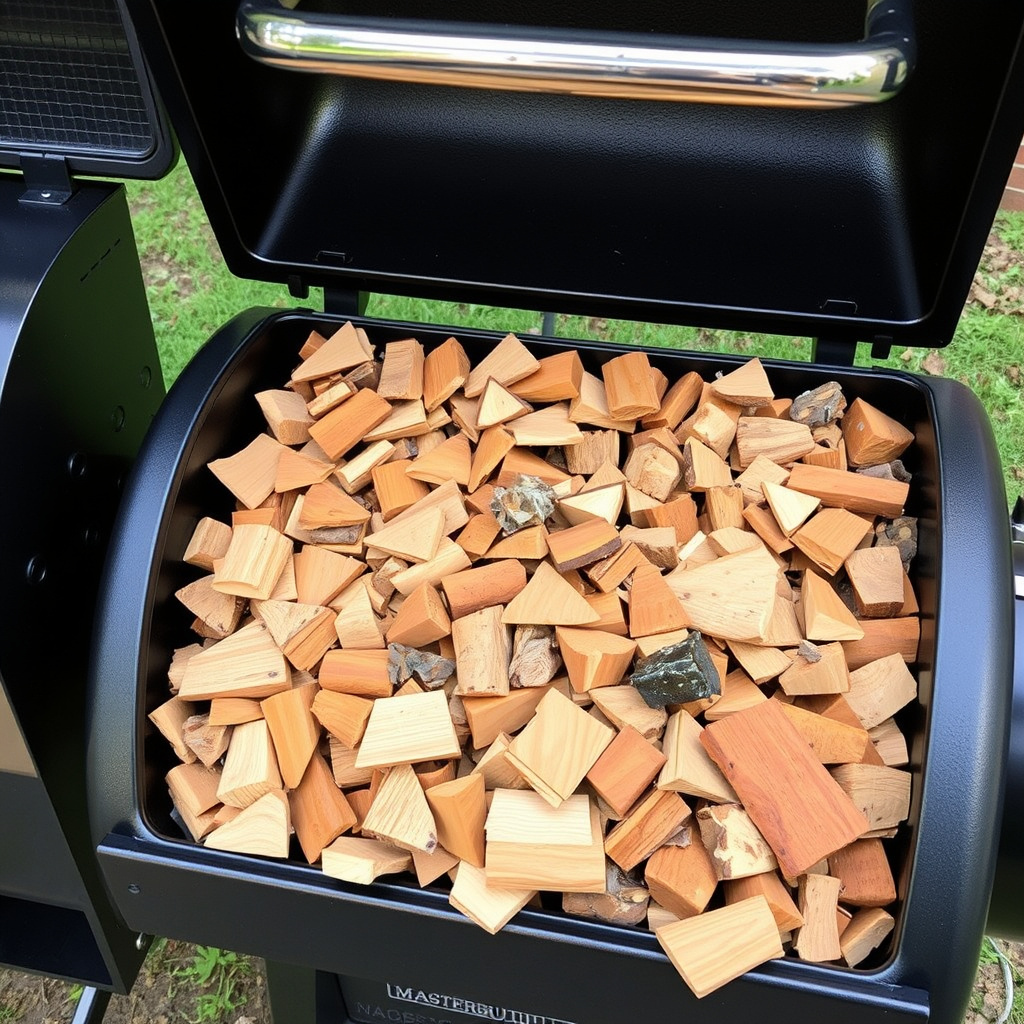
Popular Wood Types for Flavor Profiles
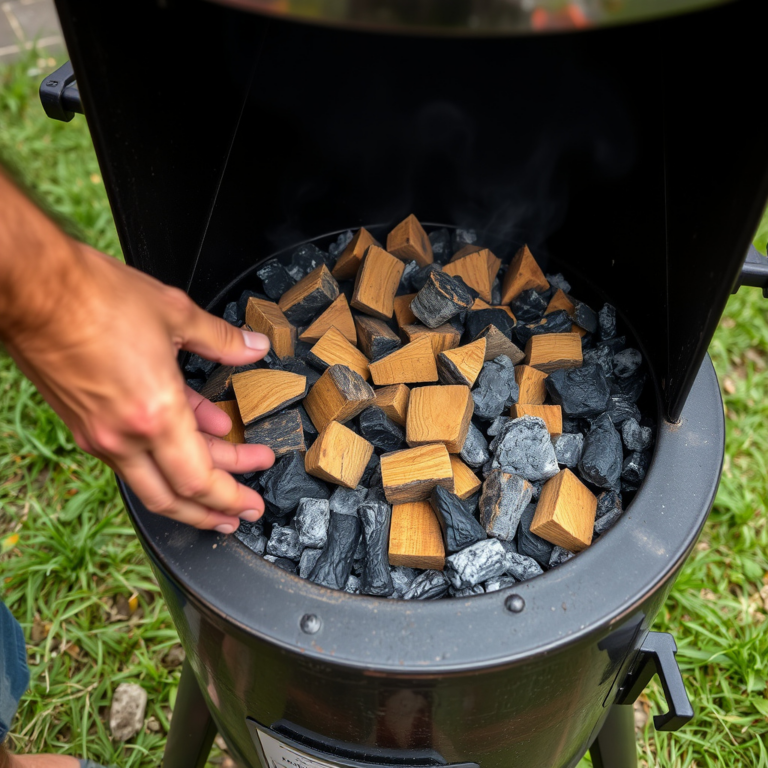
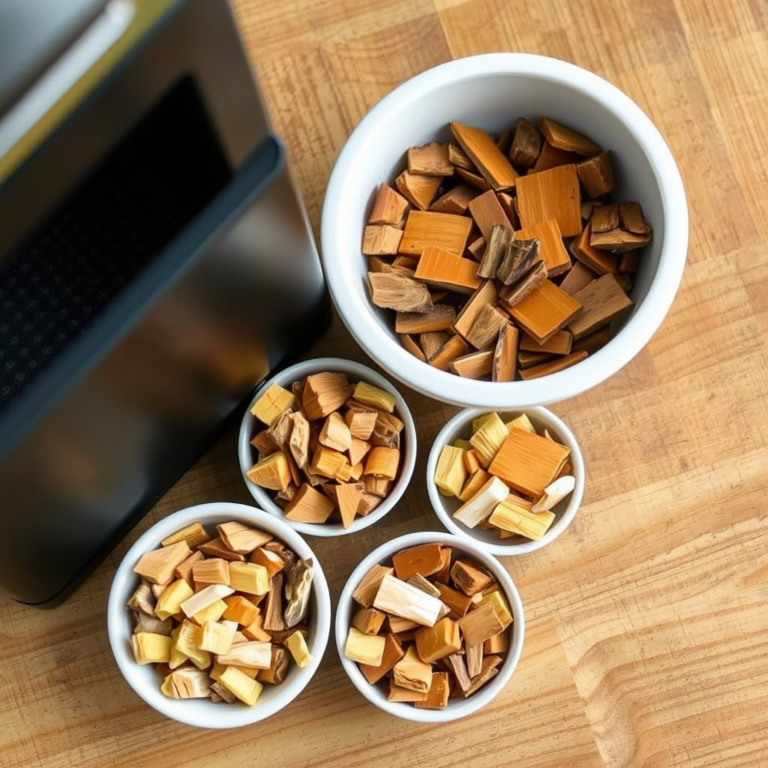
Different woods impart distinct flavors: hickory offers a strong bacon-like smokiness, apple wood is sweeter and fruitier, while mesquite provides a bold, earthy taste. Selecting wood depends on the type of meat and flavor level you prefer.
Masterbuilt smokers accommodate wood chips rather than logs, so keep chips moist for optimal smoke production and avoid overloading chambers.
- Try combinations like apple and hickory for balance
- Avoid softwoods like pine due to resin content
- Monitor chip moisture for steady smoke
Wood Chip Preparation and Usage Tips
Soak wood chips in water for 30 minutes before use to slow burning and extend smoke duration. Drain excess water before placing chips in the smoker’s wood chip tray to prevent steaming instead of smoking.
Replace chips as needed during long cooking sessions to maintain consistent smoke flavor without overpowering the meat.
- Use metal or foil trays for easy chip replacement
- Don’t soak chips for more than an hour
- Adjust chip quantity based on cooking time
Common Troubleshooting Tips for Masterbuilt Smokers
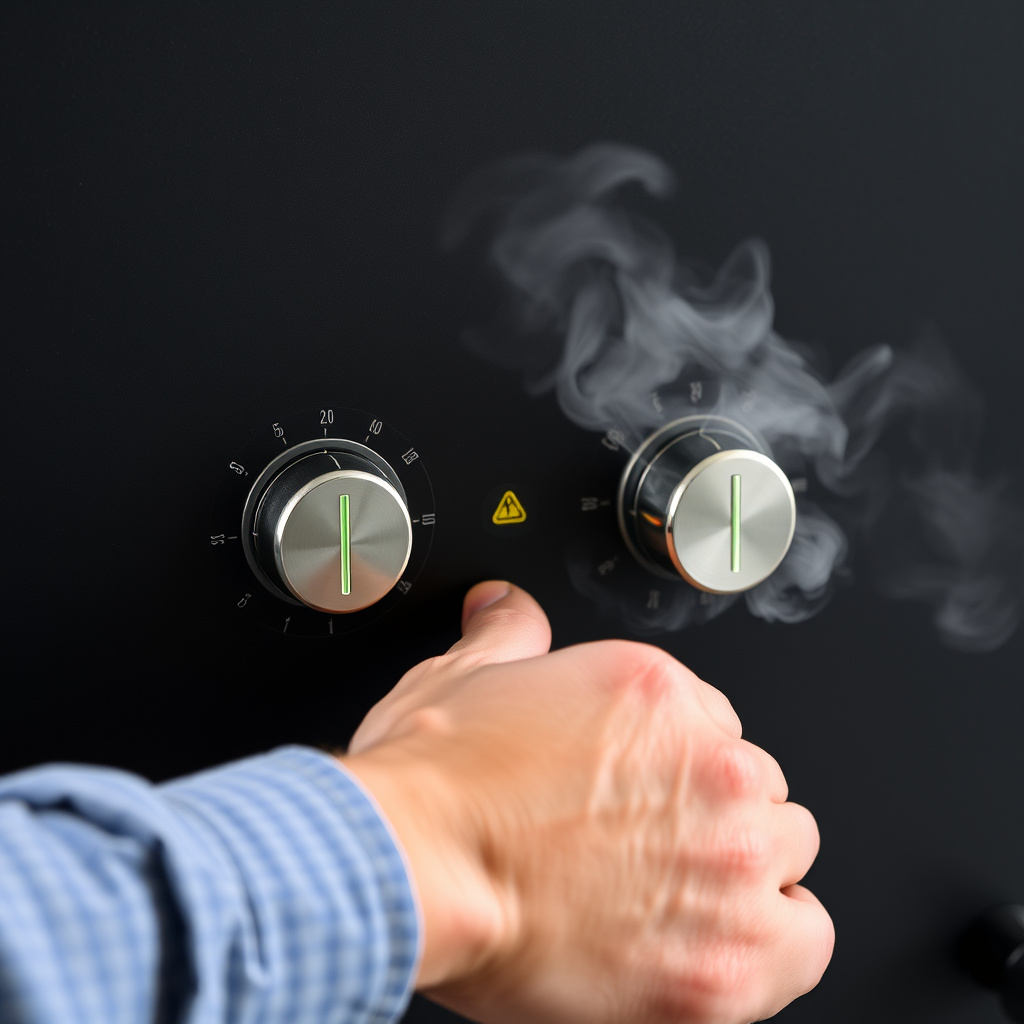
Addressing Temperature Fluctuations
Inconsistent temperatures often result from poor ventilation or incorrect placement. Ensure vents are adjusted to allow airflow without wide openings that drop temps rapidly.
Avoid opening the smoker door frequently, as this releases heat. Use a reliable thermometer to track true chamber temperature.
- Keep smoker away from wind drafts
- Preheat smoker thoroughly before cooking
- Calibrate thermometer regularly
For a broader understanding of electric smokers like the Masterbuilt, check out this detailed article from Wikipedia. Masterbuilt smoker article on Wikipedia.
Fixing Excessive Smoke or Bitter Flavors
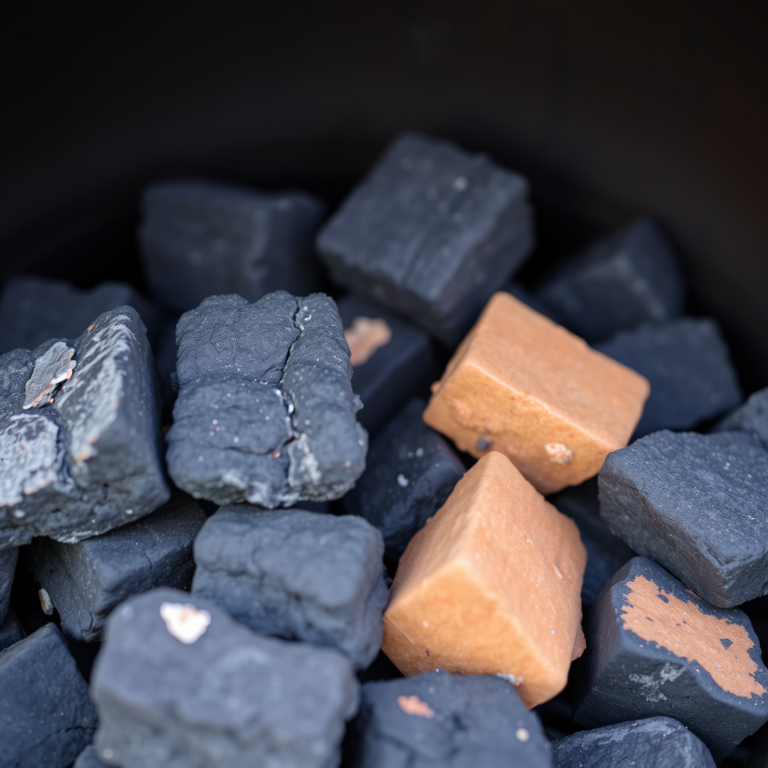
Excess smoke or harsh bitterness may come from oversaturated wood chips or low-quality fuels. Remove wet chips and replace with properly soaked, clean wood.
Clean the smoker’s firebox or heating element routinely to prevent buildup that can cause off-flavors.
- Avoid synthetic wood and treated materials
- Use quality hardwood chips for better taste
- Regularly inspect and clean fuel compartments
Masterbuilt Smoker Seasoning Methods Comparison
Here's a quick comparison of different seasoning approaches to help decide the best method for your Masterbuilt smoker.
| Method | Oil Type | Temperature | Duration | Pros | Cons |
|---|---|---|---|---|---|
| Basic Vegetable Oil | Vegetable oil | 275°F | 2 hours | Simple, widely available, affordable | May require reapplication frequently |
| Canola Oil | Canola oil | 275°F | 2 hours | High smoke point, neutral flavor | Minor risk of sticky residues if overapplied |
| Flaxseed Oil | Refined flaxseed oil | 275°F | 2 hours | Forms durable, hard coating | More expensive, slight curing odor |
| No Oil, Just Heat | None | 275°F | 2 hours | Cures paint and removes residues | No added protective layer, risk of rust |
Frequently Asked Questions
Why should I season my Masterbuilt smoker before use?
Seasoning builds a protective layer that prevents rust and enhances flavor by conditioning cooking surfaces, making your smoker more durable and improving food taste.
Can I use olive oil to season my smoker?
Olive oil is not ideal because it has a lower smoke point and can leave sticky residues or off-flavors when heated at smoker temperatures.
How often do I need to season my smoker?
Seasoning should be done initially and repeated yearly or when you notice rust or food sticking, plus light oiling after each use helps maintain the surface.
Is it necessary to soak wood chips before smoking?
Soaking wood chips helps them burn more slowly and produce steady smoke, resulting in better flavor control and less chance of bitter taste development.
What temperature is best for seasoning my Masterbuilt smoker?
Maintaining a stable temperature around 275°F for about two hours is ideal for curing the oils and paint inside your smoker effectively.
Key Takeaways
- Clean and dry the smoker thoroughly before seasoning.
- Use a light coat of high smoke point oil like canola or vegetable oil.
- Season at 275°F for around two hours to cure surfaces.
- Maintain seasoning by regular oiling and careful cleaning.
Conclusion
Deciding the best way to season a Masterbuilt smoker involves balancing proper cleaning, the right oil selection, and maintaining consistent heat. These steps create a protective coating that improves cooking performance, flavor quality, and prevents corrosion. Understanding this process upfront helps you avoid common pitfalls such as sticky residues or poor smoke taste.
If you enjoy mild flavors, vegetable or canola oil seasoning combined with apple wood chips provides smooth results, while more advanced users may prefer refined flaxseed oil for its durable finish. Seasoning should be repeated annually, alongside light maintenance after each use, to keep your smoker in peak condition for diverse barbecue styles and extended lifespan.
To get started, thoroughly clean your Masterbuilt smoker, apply a thin coat of oil, then run the smoker at 275°F for about two hours outdoors for ventilation. Following this practical approach ensures your Masterbuilt smoker will be ready to deliver satisfying smoky flavors every time you cook.